
 Pin it
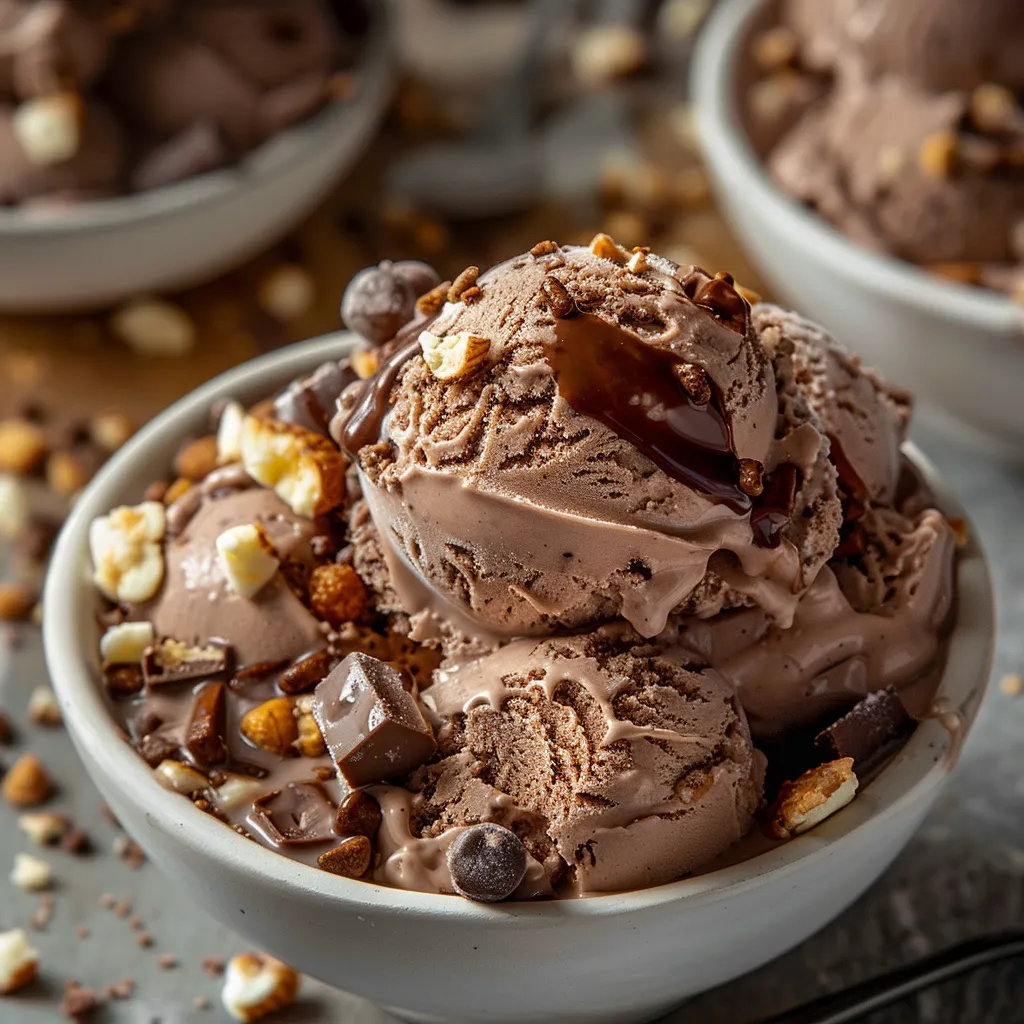
This decadent, smooth Rocky Road ice cream combines the ultimate trio of chocolatey goodness, toasty peanuts, and soft marshmallows for a homemade dessert that puts store brands to shame. The no-egg chocolate foundation makes it super easy to whip up while still giving you that authentic Rocky Road flavor everyone wants.
I first created this treat during an extremely sweltering summer when my children kept asking for daily trips to the ice cream shop. These days they actually wait eagerly for this homemade batch to set because they can dump in as many marshmallows as they want.
Ingredients
- Sweetened condensed milk: Makes an unbelievably silky foundation without the fuss of eggs
- Unsweetened cocoa powder: Adds deep chocolate taste without going overboard on sweetness
- Heavy cream: Gives that velvety feeling you want in fancy ice cream
- 2% milk: Cuts the richness but keeps things creamy
- Vanilla extract: Boosts the chocolate flavor; grab real stuff not the fake kind
- Chopped peanuts: Bring that signature Rocky Road bite; dry roasted ones pack more flavor
- Miniature chocolate chips: Create little bursts of chocolate throughout
- Miniature marshmallows: Deliver that classic Rocky Road magic; get the fresh squishy kind
Step-by-Step Instructions
- Prepare the Base:
- Mix condensed milk with cocoa powder in a medium pot over low flame. Keep stirring for roughly 5 minutes until everything's completely smooth and slightly thick. This gentle heating helps the cocoa blend in perfectly without clumping or burning.
- Cool and Enhance:
- Take your chocolate mixture off the heat and let it sit for about 10 minutes. Slowly stir in the heavy cream, 2% milk, and vanilla until it's all blended together. Don't worry that it looks runny right now – that's exactly right.
- Chill Thoroughly:
- Pour the mixture into a container with a lid and stick it in the fridge until it's totally cold, at least 4 hours but better overnight. This waiting step is key for proper freezing in your machine and getting that ultra-smooth texture.
- Churn to Perfection:
- Empty your cold mixture into your ice cream maker and start churning based on what your machine's manual says. Most home units take around 20-30 minutes to reach a soft-serve thickness.
- Add Mix-ins:
- When the ice cream gets somewhat firm about halfway through churning, slowly sprinkle in the peanuts, chocolate chips, and marshmallows. Adding them at this point keeps everything from sinking to the bottom and spreads the goodies evenly.
- Final Freeze:
- Scoop the churned ice cream into a freezer container, throwing extra marshmallows on top if you want it to look fancy. Put parchment paper right on the surface to block ice crystals, then close it up. Freeze for at least 2 hours until solid.
Pin it
The tiny marshmallows are hands down the best part of this treat. After testing many batches, I found that tossing them in halfway through the churning stops them from completely melting while letting them get just soft enough to give that dreamy fluffy feel when you take a bite.
Storing Your Ice Cream
Your homemade Rocky Road keeps better in a flat, wide container instead of a tall deep one. Put parchment paper directly on the ice cream surface before closing the lid to stop ice crystals. When you keep it in the back of your freezer where the temperature doesn't change much, this dessert stays amazing for up to two weeks, though the marshmallows might start getting a bit different after the first week.
Customization Options
This formula works great as a starting point for making your own Rocky Road twists. You can swap in walnuts or almonds if you don't like peanuts or have allergies. White chocolate chips look cool against the dark chocolate background. For grown-up tastes, try adding a spoonful of coffee liqueur to the mix before churning or throwing in some chopped toffee bits instead of marshmallows. The chocolate base tastes fantastic on its own if you want to skip all the extras.
Serving Suggestions
Rocky Road ice cream tastes amazing in a warm waffle bowl with a little hot fudge drizzled over top for that awesome hot-cold contrast. For a fancy dessert, put a scoop between two homemade chocolate cookies to make the best ice cream sandwich ever. During summer parties, try setting up a Rocky Road topping bar with extras like caramel sauce, whipped cream, and more nuts so friends can fix their own perfect bowl.
Troubleshooting Tips
If your ice cream turns out too soft after churning, your mixture probably wasn't cold enough when you started. Always make sure your base is totally chilled and your ice cream maker bowl has been in the freezer for at least 24 hours. Want firmer ice cream? Just freeze it longer after churning. Are your add-ins all sinking to the bottom? You likely put them in too soon. The ice cream needs to be thick enough to hold them up when you mix them in.
Pin it
Frequently Asked Questions
- → Can I swap the peanuts with a different nut?
Sure! Try almonds, walnuts, or other favorites. Pick what works for allergies or personal taste.
- → What can I do without an ice cream maker?
No machine? No problem! Whisk your mix, then freeze. Stir it every 30 minutes to get that creamy texture.
- → Can I skip the cocoa powder?
Cocoa adds the chocolate flavor, but melted chocolate works for an even richer twist if you'd rather go that route.
- → How many servings does it make?
You’ll get about 12 servings, great for sharing at gatherings or keeping handy for a treat.
- → Can I tweak how sweet it is?
Cut down the sweetness by reducing sweetened condensed milk or swap in a low-sugar version.