
 Pin it
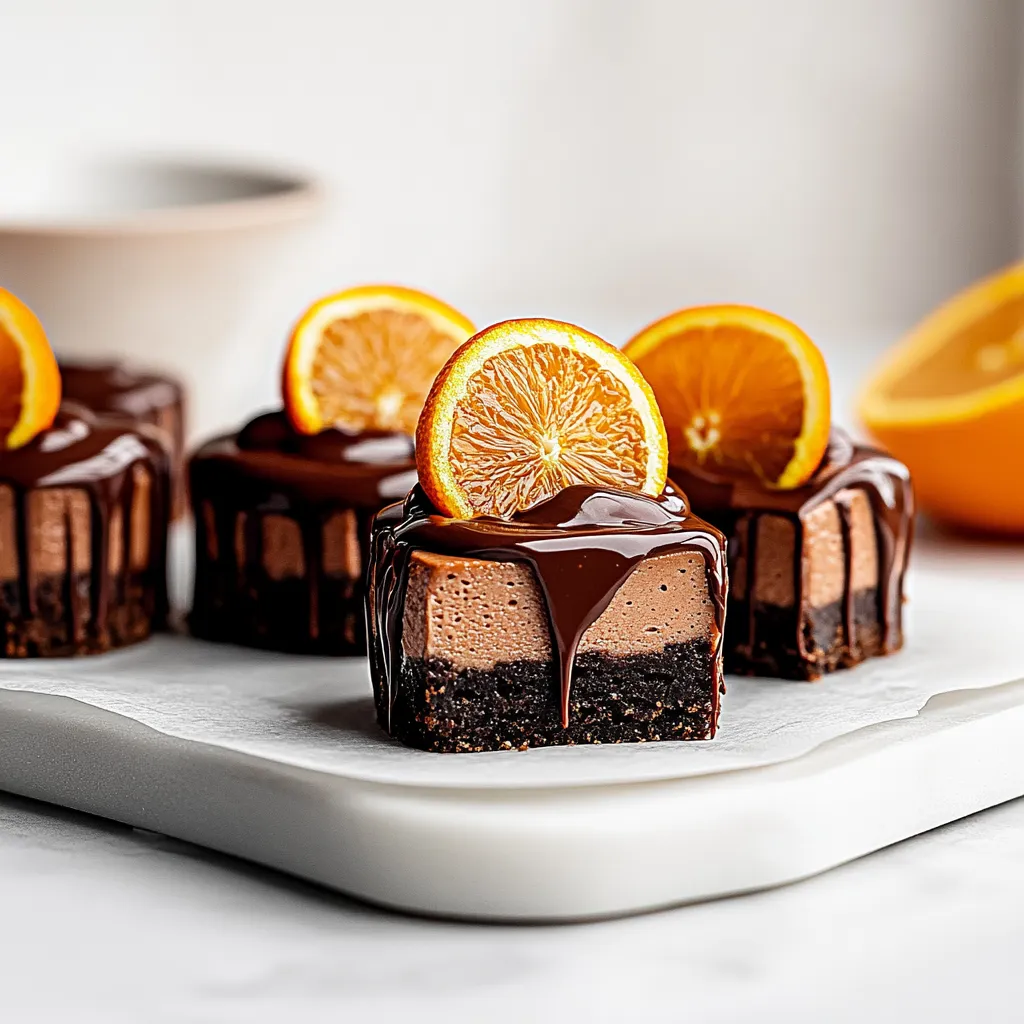
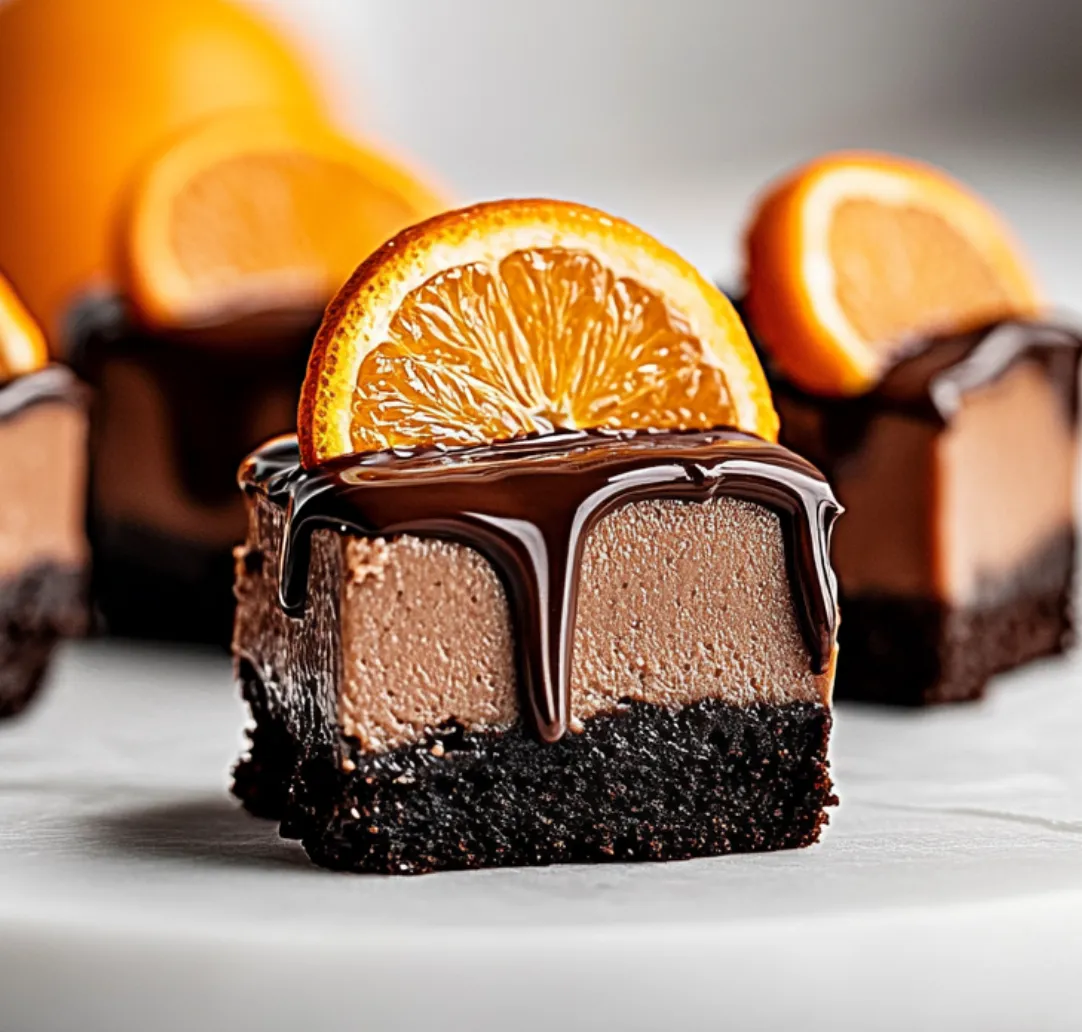
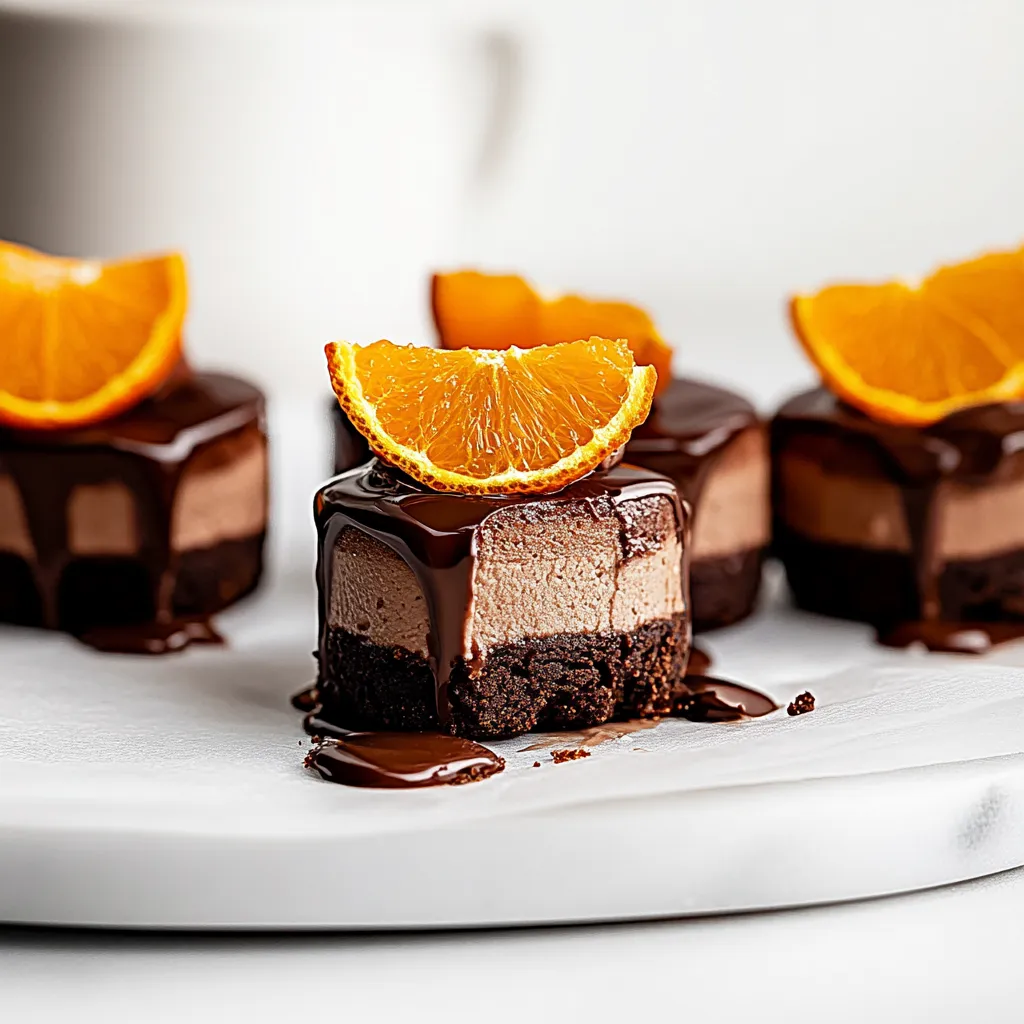
These Mini Chocolate Orange Cheesecakes blend the deep richness of dark chocolate with zesty orange for a stunning bite-sized treat. They're fancy yet impossible to resist. The combo of chocolate shortbread base, smooth cheesecake middle, and shiny ganache topping with orange hints makes them special. Their small size works great for parties and they look impressive without much fuss.
I've tweaked this recipe many times and found that getting the chocolate-orange balance just right is crucial, along with watching your temperatures carefully. There's nothing more satisfying than seeing that ganache set with a gorgeous shine.
Key Ingredients Breakdown
- Dark Chocolate: Pick one with 70% cocoa for the best flavor
- Fresh Oranges: Go for organic ones to get better zest
- Cream Cheese: Don't skimp on fat and let it warm up first
- Dutch Process Cocoa: It gives a more intense chocolate taste
- Heavy Cream: Needs at least 36% fat content for the topping
- Pure Vanilla Extract: The real stuff makes everything taste better
Step-by-Step Baking Guide
- Step 1: Making Your Base
- Whip the butter till it's fluffy. Mix your dry stuff separately. Push mixture firmly into pans. Let it chill then bake it. Wait for it to cool completely.
- Step 2: Creating the Filling
- Rub the orange zest into sugar first. Whip cream cheese until it's totally lump-free. Add eggs individually. Gently mix in melted chocolate. Strain if you want it super smooth.
- Step 3: Setting Up the Water Bath
- Make sure pans are sealed tight. Use water that's already boiling. Pour it halfway up the sides. Take them out with care. Let them cool slowly.
- Step 4: Making the Ganache
- Cut chocolate into tiny pieces. Warm the cream just right. Let them sit together before you stir. Cool until it's thick enough. Pour when the temperature feels right.
- Step 5: Adding Final Touches
- Make sure they've set completely. Add garnishes thoughtfully. Sprinkle zest with care. Think about presentation height. Keep them cold until serving.
 Pin it
I really love watching the ganache flow over each tiny cheesecake, creating those gorgeous glossy tops that make everyone think you bought them from a fancy bakery.
Keeping Fresh and Planning Ahead
Get organized for best results: You can make the bases 2 days early. Finished cheesecakes stay good in the fridge for 5 days. They'll freeze for up to 2 months without the ganache layer. Save the final decorating until you're ready to serve. Take them out 2 hours before eating.
 Pin it
Tasty Twists and Presentation Ideas
- Variations: Try white chocolate with orange, swap in raspberry with dark chocolate, mix in some coffee flavors, add a splash of Grand Marnier, or go for a hazelnut chocolate combo.
- Serving Suggestions: Add fresh orange segments, top with chocolate curls, place a bit of gold leaf on top, decorate with candied orange peel, or add tiny dollops of whipped cream.
Frequently Asked Questions
- → Why do I need a water bath for these cheesecakes?
- The water bath helps cook them evenly all around and keeps the tops from cracking by adding moisture while baking.
- → Can I make these ahead of time?
- Definitely! They need to cool overnight anyway and will stay good for 2-3 days in the fridge. Just add the chocolate topping right before you serve them.
- → Why must ingredients be room temperature?
- When stuff isn't cold from the fridge, it mixes way better. You won't get lumps and your cakes will bake more evenly.
- → Can I freeze these cheesecakes?
- You bet! They'll keep for up to 2 months frozen if you leave off the ganache. Just let them thaw in your fridge overnight before eating.
- → What if I don't have black cocoa powder?
- Don't worry! Just use more of the Dutch process cocoa you already have. The flavor will be a bit different but still really yummy.