
 Pin it
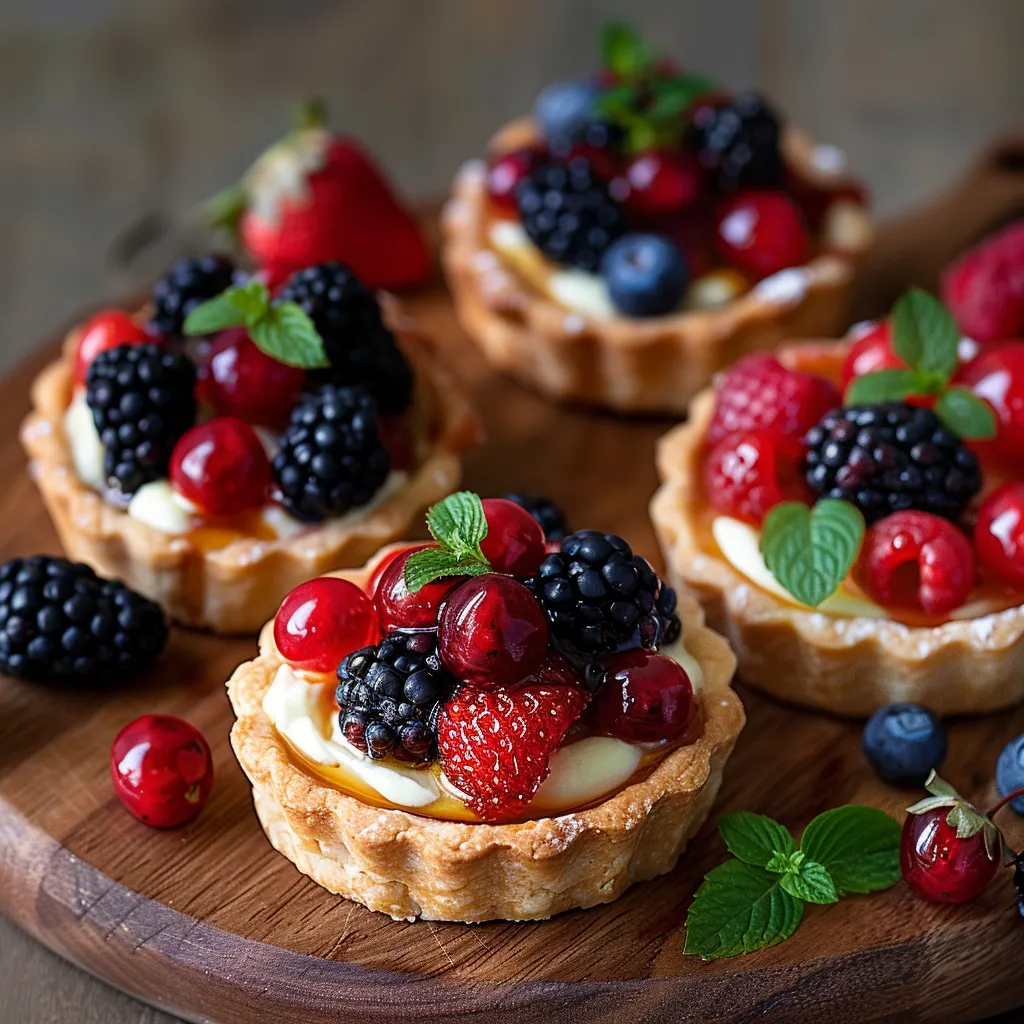
Tiny fruit cups mix flaky pastry cases with smooth vanilla custard and colorful fresh fruits for a fancy sweet treat that's as yummy as it is pretty. Each small bite gives you the perfect mix of crunchy base, creamy filling, and tangy-sweet fruit. Though they look fancy, these little goodies are actually pretty easy to whip up, especially if you grab ready-made shells from the store.
I picked up how to make custard filling during a cooking workshop in Paris a while back. The teacher kept saying that once you get this basic cream down, you can make tons of fancy desserts. When I got home, I started making these little fruit cups for birthdays and holidays, and they quickly turned into my go-to dessert. The day my sister asked for these instead of wedding cake at her shower, I knew they'd become a real family hit.
Key Custard Building Blocks
- White sugar: Gives just the right amount of sweetness
- Country egg yolks: Make the base rich and smooth
- Cornstarch: Helps it firm up without getting heavy
- Full-fat milk: Adds that must-have dairy goodness
- Whipping cream: Makes everything soft and dreamy
- Chilled butter: Stops film from forming and adds shine
- Vanilla bean paste: Packs more punch than extract with pretty dots
Must-Have Cup Elements
- Crispy shells: Give you that buttery, crunchy base
- Just-picked berries: Add bright colors and tastes
- Shiny fruit coating: Makes everything look fancy
- Different fruits: Look great and taste even better
- Extra touches: Take your presentation up a notch
Step-By-Step Guide
- Start With Eggs:
- First, grab those cold egg yolks and mix them with sugar in a bowl that can take heat. Keep whisking until you see the mix get lighter and a bit thicker. This puts air in and breaks down sugar for a smoother result.
- Add The Thickener:
- Put cornstarch into your egg mix and whisk like crazy until there's not a single lump left. The cornstarch makes everything thick but keeps it lighter than flour would, so you end up with a silkier feel. Getting this part right means no lumps later.
- Heat Your Dairy:
- Pour milk and cream into a thick-bottomed pot over medium heat. Stir now and then so nothing burns, and wait until you see little bubbles around the edge. Don't let it boil though - that'll mess up your end product.
- Warm Those Eggs:
- This next bit stops your eggs from scrambling. Pour about a third of your hot milk mix into the eggs in a slow, steady stream while you keep whisking. This slowly brings up the egg temperature without cooking them too fast.
- Cook Your Mix:
- Now put everything back in the pot and cook it on medium-low. Keep stirring with a wooden spoon or heat-safe spatula. Don't stop moving around the whole bottom of the pot or stuff might burn. You'll know it's ready when it coats the back of your spoon.
- Final Touches:
- Once thick, take it off the heat right away and mix in those cold butter chunks and vanilla paste. The cold butter stops the cooking and makes everything rich while keeping skin from forming. The vanilla paste tastes better than extract and looks pretty with those little black specks.
- Strain It Smooth:
- Push your custard through a fine strainer into a clean bowl, using your spatula to help it along. This gets rid of any lumps or bits of cooked egg, so your cream ends up super smooth. Cover with plastic wrap pressed right onto the surface so no skin forms.
- Cool It Down:
- Stick your cream in the fridge for at least two hours until it's totally cold and set. This wait helps flavors get stronger and makes the cream the right thickness for piping. You can do this up to two days ahead if you want.
- Fill Your Shells:
- Put your cold cream into cooled tart shells using either a piping bag for a neat look or just carefully spoon it in. Leave a little room at the top for your fruit. The cream should hold its shape but not be runny.
- Layout Your Fruit:
- Put fresh fruits on top in pretty patterns. Think about mixing colors and sizes to make it look interesting. Berries work great because they're bright and don't get too juicy or soggy.
- Add The Shine:
- The secret to fancy-looking tarts is the glaze. Warm up some apricot jam with a little water until it's runny, then strain it if needed. Use a pastry brush to gently put this on your fruits - it makes them shine and helps them stay fresh longer.
 Pin it
The thing I love most about serving these cups is watching people's faces when they take their first bite. There's something special about that mix of crunchy shell and smooth filling that just makes people smile. My grandma always said small desserts somehow taste better, and these little cups really show she was right.
Stunning Display Options
Set your cups on a stand with different levels to wow guests at special events. Mix up your fruit choices for a rainbow look that gives everyone something they'll like. For extra fanciness, sprinkle some powdered sugar right before you serve or add tiny mint leaves on top. They go great with strong coffee or bubbly for grown-up parties.
Mix It Up Ideas
Switch things up by adding lemon or orange zest to your cream for a fresh, zingy kick. Chocolate fans will love when you mix in two spoons of cocoa with the cornstarch and top with chocolate curls. You can also match the seasons - try soft cooked pears in fall, bright red cranberries at Christmas, or juicy peaches and plums in summer.
Do-Ahead Tricks
Fix your cream filling up to two days before, just keep it tightly covered in the fridge. Bake your shells a day early and store them in a sealed container on the counter. If you're partly getting ready, you can fill the shells with cream up to 6 hours before your party and keep them cold, then add fruit and glaze just before guests arrive so everything looks super fresh.
 Pin it
Frequently Asked Questions
- → Can I prepare the cream ahead?
- Absolutely! The cream keeps well in the fridge for up to 48 hours. Just cover it with plastic wrap pressed onto the surface so it doesn’t form a layer. Give it a quick whisk before using to bring back its smooth consistency.
- → What are my tart shell options?
- There’s plenty of variety! Use pre-made tart shells, bake your own with shortcrust pastry, or try mini phyllo cups. For something different, press sugar cookie dough into a muffin tin for sweet edible cups.
- → Which fruits are best for topping?
- Berries—like blueberries, raspberries, and sliced strawberries—are always great since they’re easy to prep. Kiwi, peach slices, mandarin wedges, or small grape halves also work perfectly. Go for less juicy fruits to keep the tarts from getting soggy.
- → What if I don’t have vanilla paste?
- No worries! Swap it with double the amount of pure vanilla extract (2 teaspoons). While vanilla paste gives a stronger flavor and pretty flecks, extract still works well for that sweet, fragrant taste.
- → How long do these stay fresh?
- Once put together, they’re best eaten the same day (within 24 hours). The glaze keeps the fruit fresh a little longer, but the crust could soften. Prep the parts separately if needed, and assemble when you’re ready to serve.