
 Pin it
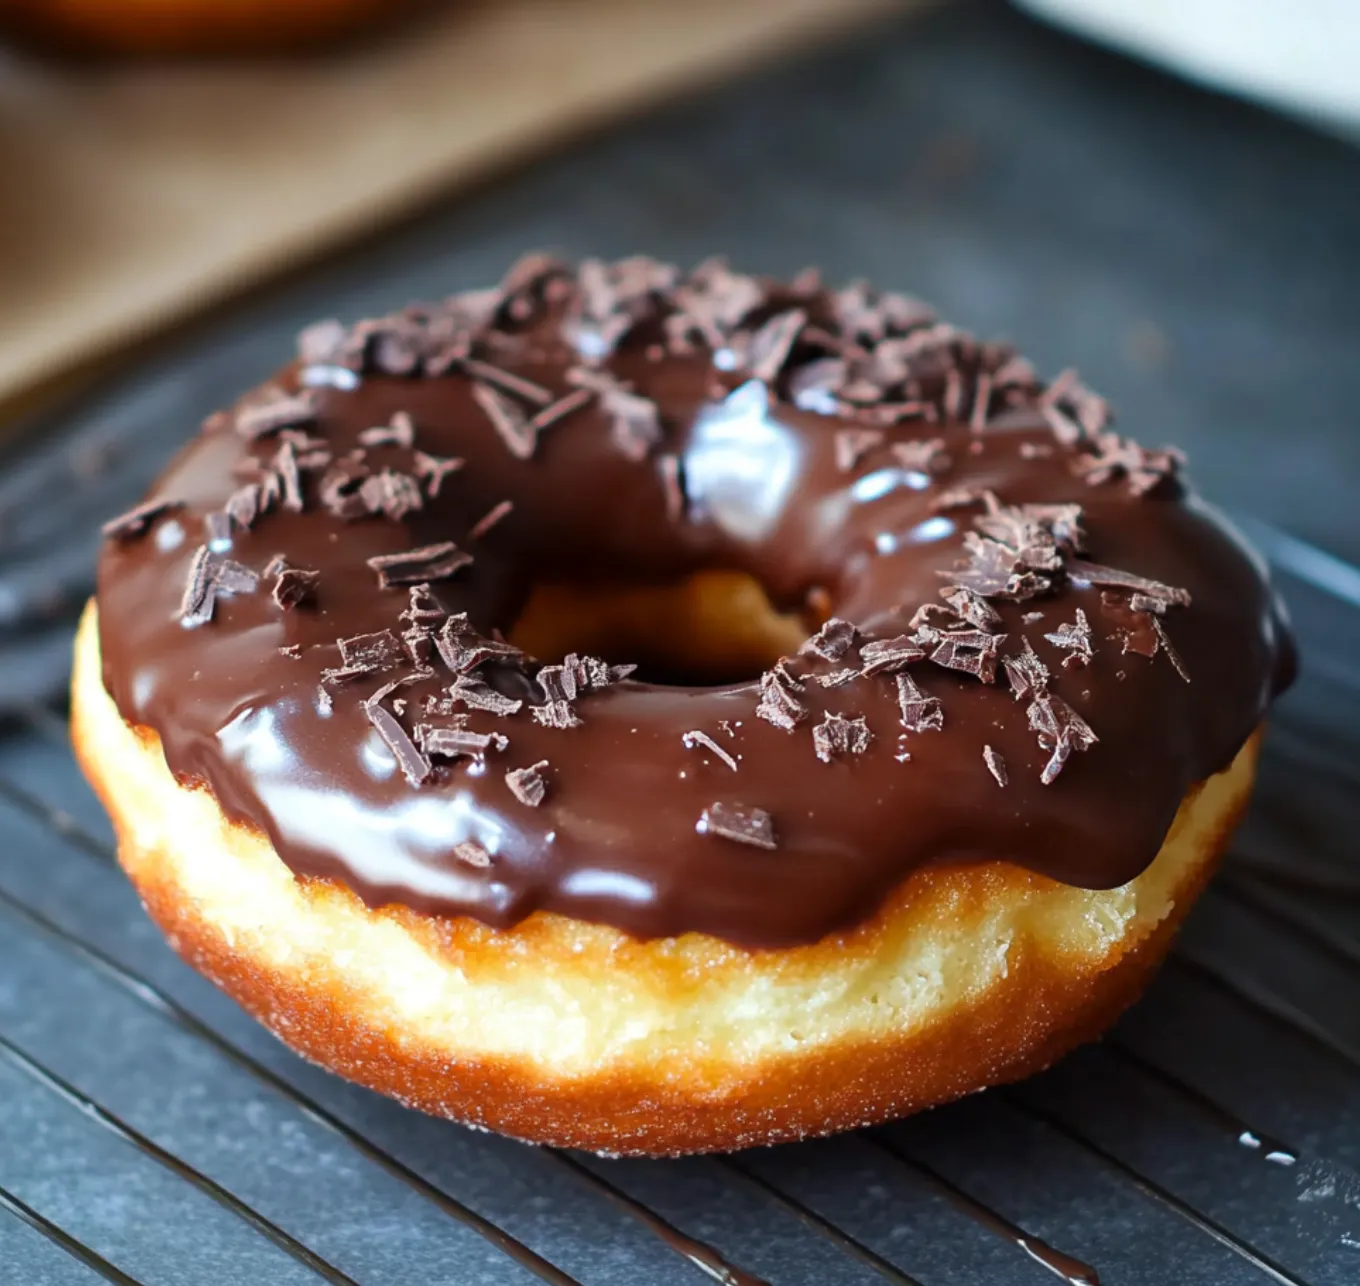
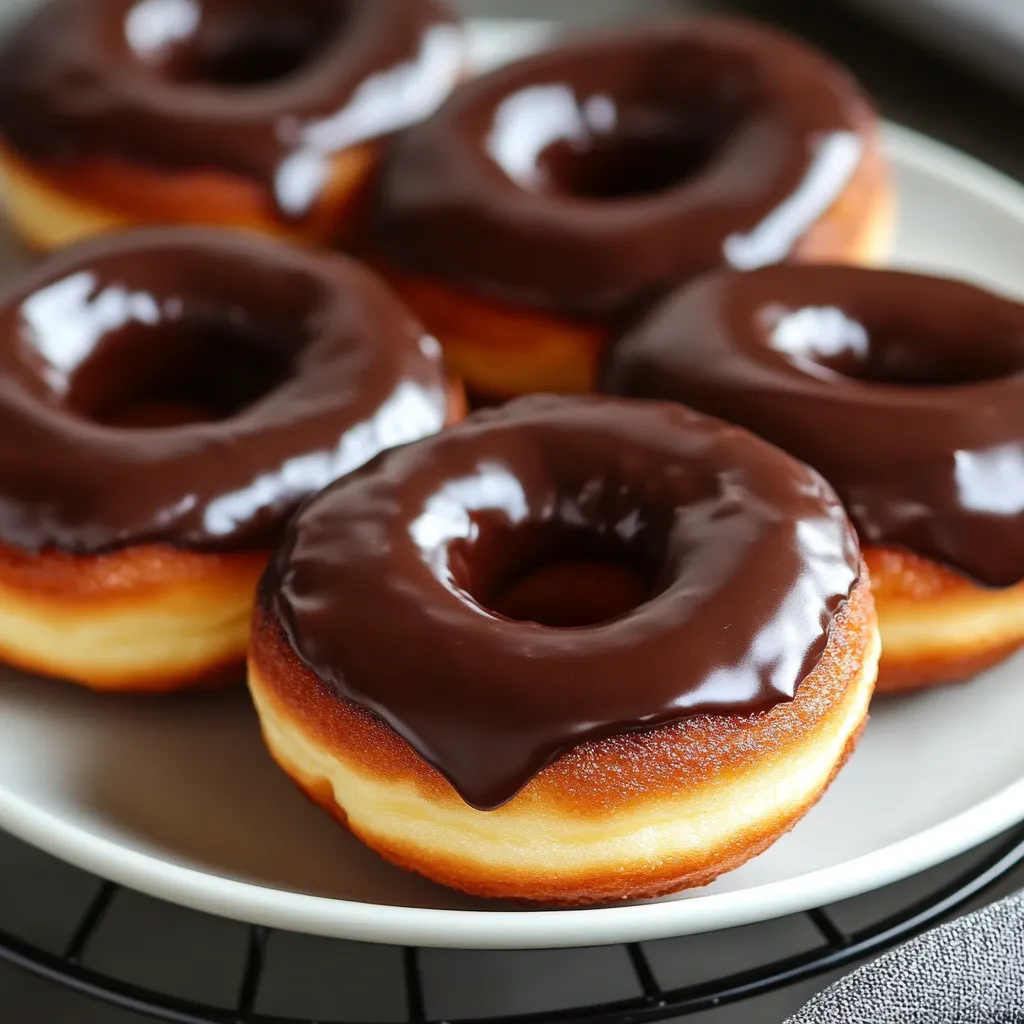
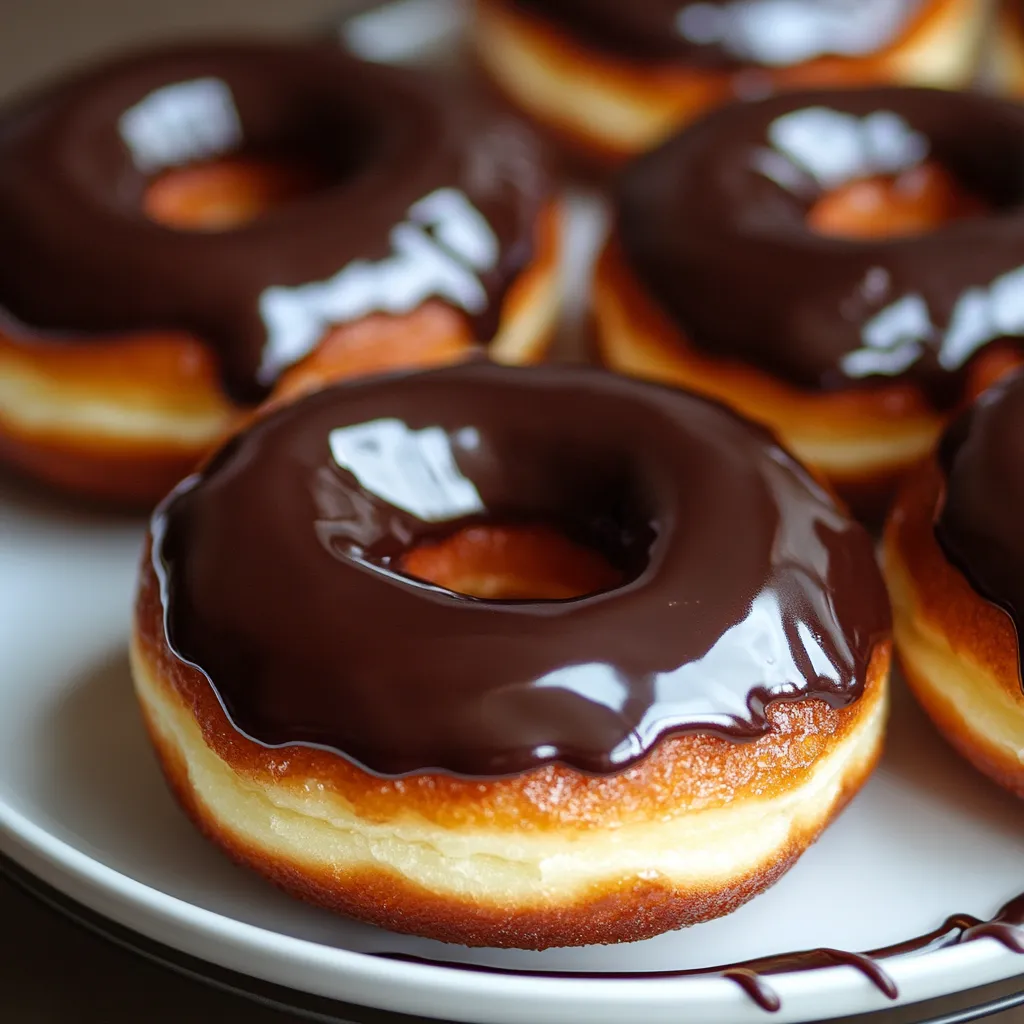
These rustic cocoa buttermilk rings boast a moist, cake-style texture without any frying. Dutch cocoa paired with tangy buttermilk results in super soft donuts topped with a shiny chocolate coating. They're fast to whip up with basic kitchen tools, perfect for morning treats or after-dinner sweets that stay good for several days. The soft inside and deep chocolate taste beats store-bought versions while being easier and better for you when made at home.
I came up with this after trying dozens of batches to nail the perfect mix of chocolate flavor and soft texture. The buttermilk adds crucial moisture and cuts down on sweetness. People who normally only trust bakery donuts always rave about how these taste and look just like pro-made ones.
Essential Components
- All-purpose flour: Gives the donuts their perfect structure
- Natural cocoa powder: Delivers deep chocolate taste
- Fresh buttermilk: Makes them incredibly soft and moist
Cooking Steps
- Get Started:
- Heat your oven to 350°F. Really grease those donut pans well.
- Combine Dry Stuff:
- Mix flour, sugar, cocoa, salt, and rising agents together.
- Pour in Wet Stuff:
- Stir in egg, buttermilk, oil, and vanilla until all blended.
- Load Pans:
- Squeeze batter into donut shapes.
- Cook:
- Bake for 8-10 minutes till they bounce back when touched.
- Let Sit:
- Wait 5 minutes before taking them out.
- Whip Up Topping:
- Mix powdered sugar, cocoa, buttermilk, and vanilla together.
- Top Them:
- Dunk the tops in the topping and let them harden.
 Pin it
Choosing Your Chocolate
Go for natural unsweetened cocoa with 22-24% fat content for the best taste and proper chemistry with the baking powder and soda.
Better-For-You Perks
Baking instead of frying cuts down on fat a lot. The buttermilk adds some protein while keeping things moist. You can swap in some whole wheat flour for up to half the white flour to get more fiber.
Ways To Enjoy
Have them plain for breakfast or fancy them up with extra topping and some fresh berries for dessert. Try them slightly warm with a scoop of coffee ice cream for something special.
Keeping Them Fresh
Leave them out under wax paper if eating the same day. Put layers of parchment between them in sealed containers overnight. Freeze them without topping if you want to save them longer.
Fixing Problems
If they're too heavy, you probably mixed too much. Make sure pans are super greased. Put the topping on when they're just the right warmth so it won't crack.
Changing With The Seasons
Try lemon or orange zest in spring, add berry flavors when summer hits, mix in cinnamon and nutmeg for fall, or toss in some mint and crushed candy canes during winter.
 Pin it
These cocoa buttermilk donuts always turn out amazing while staying simple enough for anyone to make. Their perfect blend of flavor and texture works for any time you need something sweet.
Frequently Asked Questions
- → Do I need a specific pan to bake these Soft Baked Buttermilk Donuts?
- You'll definitely need a donut pan for these! They come with round molds that have holes in the middle to create that classic donut shape. They're easy to find at cooking shops or online. In a pinch, you can use a muffin tin instead. Your treats won't have holes but they'll still taste amazing.
- → What if I don't have buttermilk? Can I still make these donuts?
- No problem! Make your own substitute by adding 2 teaspoons of lemon juice or white vinegar to regular milk. Let it stand for 5-10 minutes until it gets thicker, then use it in the recipe. Another quick fix is to water down some plain yogurt with a bit of milk to get that same tangy kick.
- → How do I store these donuts, and how long will they stay fresh?
- They're best eaten the same day you bake them, but you can keep them in an airtight container at room temperature for up to 2 days. For longer storage, stick them in the fridge for up to 4 days. When you want to eat them, warm them up for a few seconds in the microwave or put them in a 300°F oven briefly to get that just-baked feeling.
- → Can I freeze these Soft Baked Buttermilk Donuts?
- You sure can! For unglazed donuts, freeze them on a tray first until solid, then put them in a container or bag for up to 3 months. When you're ready to eat them, let them thaw at room temperature before adding the glaze. If they're already glazed, put some wax paper between them before freezing so they don't stick together.
- → What other toppings could I try with these donuts?
- You've got tons of options! Try a simple vanilla coating instead of chocolate, or go for maple, cinnamon-sugar, or fruit-flavored toppings. You can also add toppings like chopped nuts, shredded coconut, fun sprinkles, or crumbled cookies. Want something super simple? Just dust them with a little powdered sugar!