Mini Fruit Tarts Delight

Featured in: Sweet Desserts

These delightful mini tarts combine a crisp, buttery pastry base with smooth, creamy vanilla custard, topped with a medley of fresh fruits. Each tart is finished with a shimmering apricot glaze, creating a visually stunning and flavorful dessert. With make-ahead components like tart shells and custard, this recipe offers flexibility for preparing in stages. Whether for a special occasion or a culinary project, these elegant tarts bring the refinement of a French patisserie to your kitchen.

punchofyummy
Updated on Wed, 26 Mar 2025 22:51:07 GMT
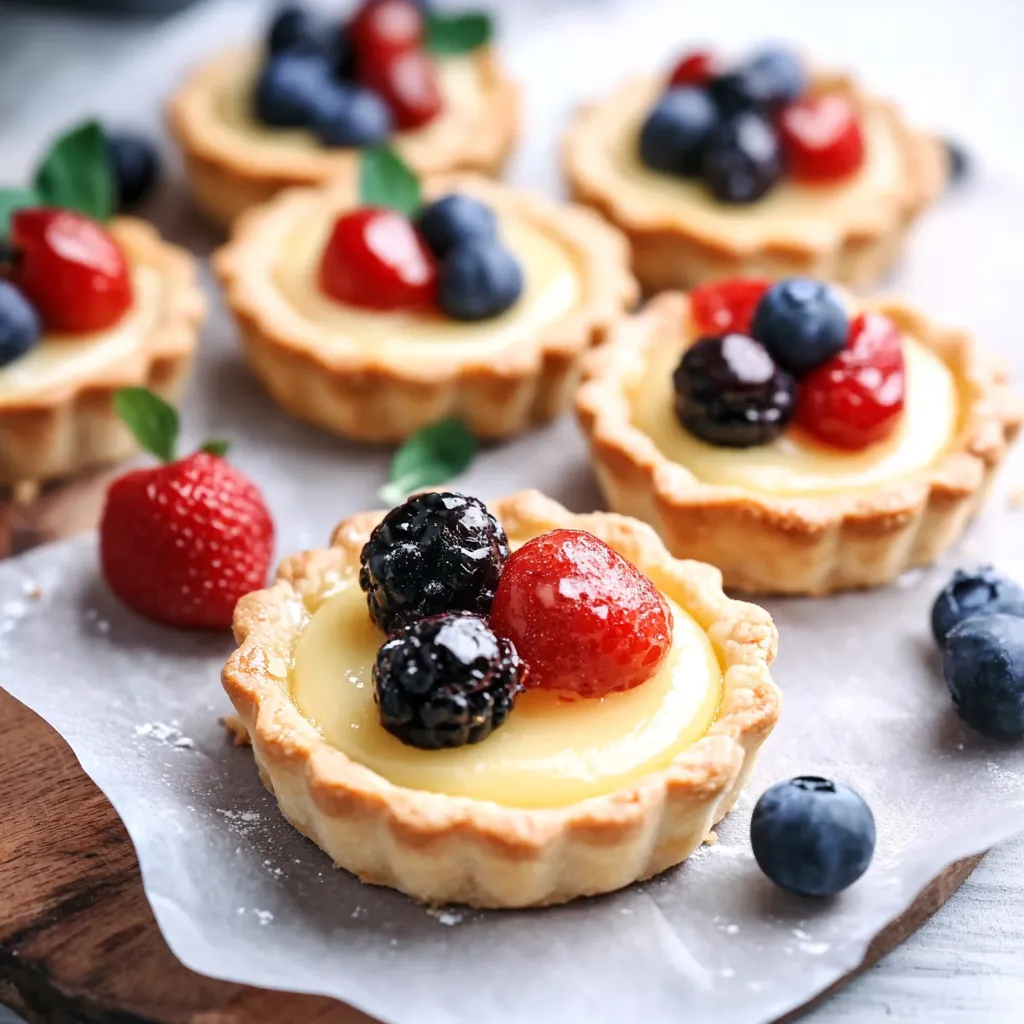
Adorable little tarts with crumbly crusts and fruity toppings you’ll love. Pin it
Adorable little tarts with crumbly crusts and fruity toppings you’ll love. | pinchofyummy.com

The magic happens when flaky buttery shells meet velvety vanilla filling and colorful seasonal fruit in these cute Mini Fruit Tarts. Every single bite gives you different textures to enjoy - from the crunchy base to the creamy middle and juicy fruit topping. Bringing fancy French bakery vibes straight to your home, these tiny treats look stunning and taste even better.

I've tweaked these tarts for so long, and I've figured out that watching your temperatures and not rushing is key. The first time I got that perfectly crisp shell with that smooth filling inside, I knew I'd cracked the code.

Must-Have Quality Components

  • Butter: Go for European types with extra fat
  • Fresh Eggs: Let them sit out to reach room temp
  • Whole Milk: Don't skimp with low-fat versions
  • Pure Vanilla Extract: The authentic stuff matters here
  • Fresh Seasonal Fruits: Pick ones that aren't too soft
  • Quality Apricot Jelly: Creates that beautiful shine on top

Step-By-Step Baking Guide

Step 1: Shell Success
Use cold stuff throughout. Don't overmix your dough. Let it rest properly. Roll it evenly. Press into tins without forcing.
Step 2: Creamy Filling Tricks
Add hot liquid to eggs slowly. Keep that whisk moving. Run through a strainer. Put plastic wrap right on the surface. Let it get completely cold.
Step 3: Getting Shells Ready
Poke holes in the bottoms. Stick them in the freezer first. Keep an eye on those edges. Let them cool fully. Add a thin glaze before filling.
Step 4: Putting It All Together
Add filling evenly. Place fruit with care. Brush glaze gently. Move fast. Keep everything cold.
Step 5: Making Them Look Amazing
Pick fruits that look good together. Try different patterns. Add final shiny coat. Add little extras for flair. Serve them soon.
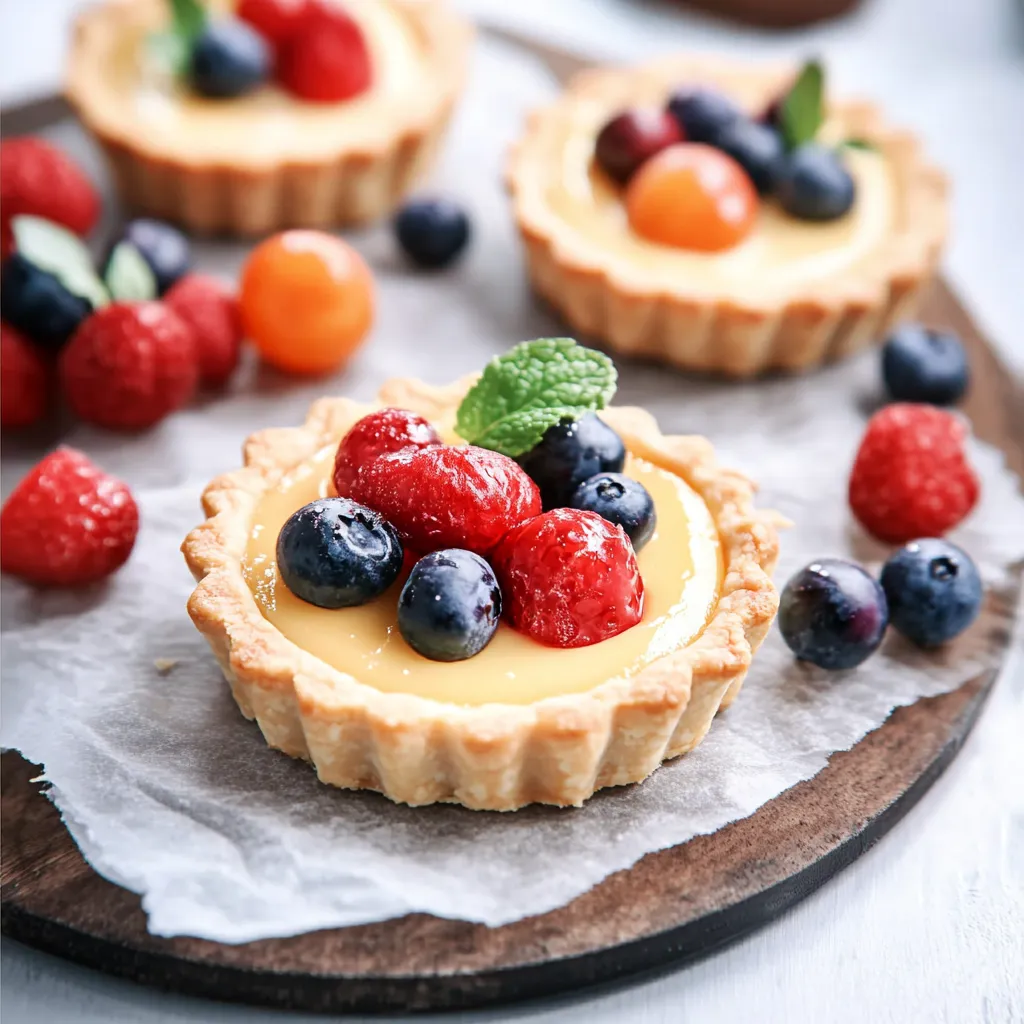
Simple tiny tarts you can whip up fast for snacks, party bites or sweet mini desserts. Pin it
Simple tiny tarts you can whip up fast for snacks, party bites or sweet mini desserts. | pinchofyummy.com

Decorating the tops with fruit is my favorite part of the whole process - it's basically edible artwork, and I love that each tart turns out unique.
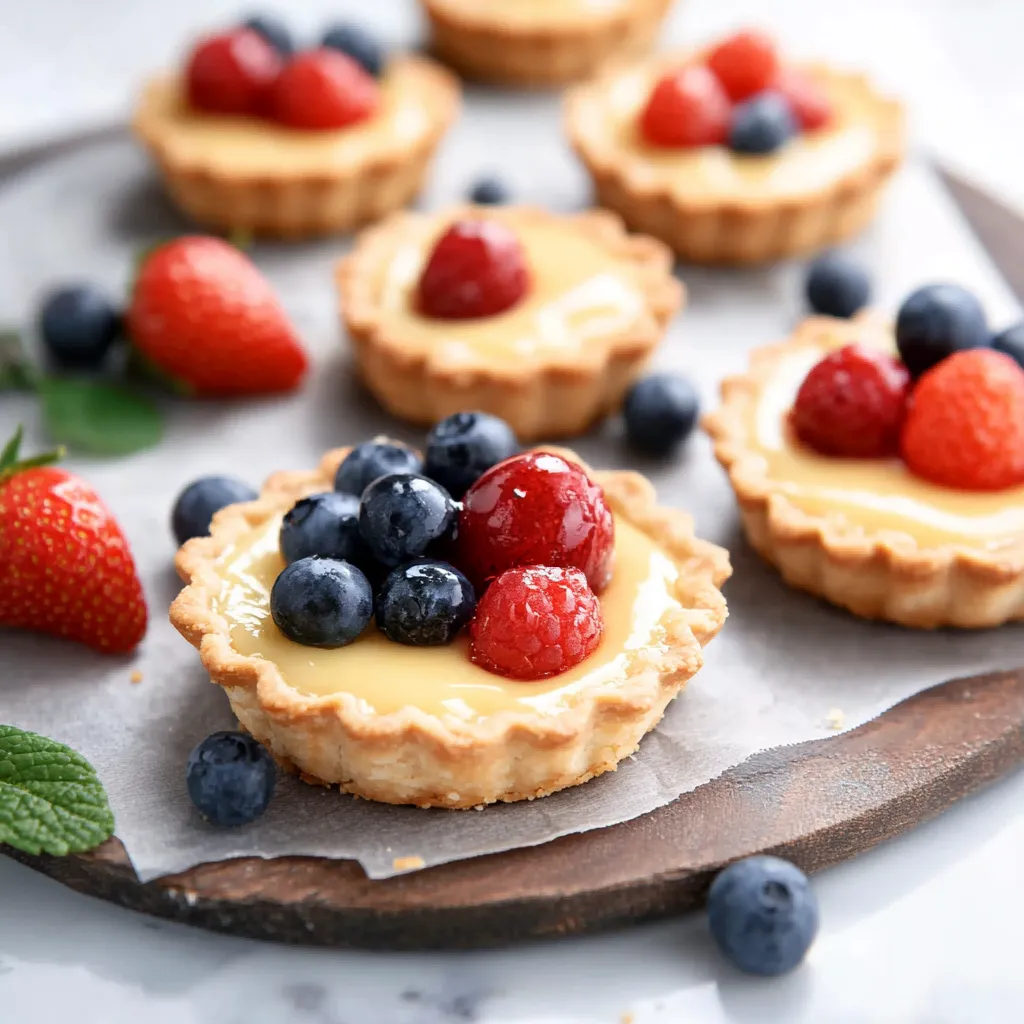
Easy mini tarts with crispy shells and fillings you can change up for any event. Pin it
Easy mini tarts with crispy shells and fillings you can change up for any event. | pinchofyummy.com

Timing and Storage Advice

Getting everything right means watching the clock: Keep dough in fridge up to 3 days. Empty baked shells last 3-4 days in containers that seal. Filling stays good 2 days in the fridge. Once put together, eat within 4 hours. Store everything separately until you're ready.

Frequently Asked Questions

→ How can I prevent the tart shells from shrinking?

Freezing the shells ahead of baking helps retain their shape by slowing the melting of butter in the dough during baking.

→ What fruits work best for this dessert?

Fresh fruits like berries, kiwi, peaches, nectarines, or citrus segments work wonderfully, but choose firm and ripe produce to ensure the best flavor and texture.

→ Can the custard be prepared in advance?

Yes, the custard can be made and refrigerated for up to one day. Cover its surface directly with plastic wrap to prevent a skin from forming.

→ Why is a glaze applied to the fruit topping?

A glaze not only enhances the appearance by providing a glossy finish but also helps preserve the freshness of the fruit.

→ Do I need special equipment to make the tarts?

While tart molds make shaping easier, you can use a standard muffin tin as an alternative. A stand mixer is helpful but not required.

Mini Fruit and Custard Tarts

Luxurious mini tarts with crisp crusts, creamy custard, and vibrant fresh fruits.

Prep Time
45 Minutes
Cook Time
15 Minutes
Total Time
60 Minutes
By: Amelia

Category: Sweet Desserts

Difficulty: Intermediate

Cuisine: French

Yield: 6 Servings (6 mini tarts)

Dietary: Vegetarian

Ingredients

→ Tart Dough

01 Unsalted butter, diced up (115g or 8 tablespoons)
02 Powdered sugar (80g or ½ cup + 1 tablespoon + 1 teaspoon)
03 Heavy cream (1 tablespoon)
04 Egg yolks (2)
05 Salt (½ teaspoon)
06 Vanilla extract (½ teaspoon)
07 All-purpose flour (225g or 1½ cups + 1 tablespoon)

→ Custard Filling

08 All-purpose flour (24g or 2 tablespoons + 2 teaspoons)
09 Cornstarch (24g or 2 tablespoons + 2 teaspoons)
10 White sugar (68g or 5½ tablespoons)
11 Vanilla extract (1 teaspoon)
12 Egg yolks (4)
13 Whole milk (376ml)

→ Assembly

14 Water (1½ tablespoons)
15 Apricot jelly (2 tablespoons)
16 A mix of fresh fruits, sliced

Instructions

Step 01

Blend the flour, sugar, butter, and salt in a stand mixer until the butter pieces are tiny. Toss in egg yolks, cream, and vanilla and keep mixing till it clumps together like wet sand.

Step 02

Take around 3 tablespoons (60g) of dough and press it snugly into individual tart pans. Poke the bottom with a fork and leave them in the freezer for at least 1 hour.

Step 03

Pop your frozen tart shells into a 375°F oven and bake 12-15 minutes until golden along the rims. At the 8-minute mark, check for puffing and flatten any bubbles. Let them cool completely on a rack afterward.

Step 04

Mix sugar into yolks, then add the sifted flour and cornstarch. Slowly whisk in the milk and vanilla. Cook this over medium heat, stirring non-stop until it thickens into a pudding-like consistency. Let it cool down for about 30 minutes.

Step 05

Stir together the water and apricot jelly, heat it briefly in the microwave until melted, and then strain out any clumps.

Step 06

Paint a thin layer of glaze inside each shell to avoid sogginess. Spoon in the custard up to about three-quarters full. Arrange the fruit however you'd like on top, then give it all a shine with some warmed apricot glaze. Serve it right away or stick it in the fridge!

Notes

  1. You can make the tart shells ahead of time and keep them chilled for a few days.
  2. The custard can be prepped up to a day early.
  3. Adding a glaze layer to the tart shell stops it from becoming too soft.

Tools You'll Need

  • Mixer with a paddle attachment
  • Small tart molds (around 4 inches each)
  • Cooling rack
  • Small pot for cooking custard

Allergy Information

Please check ingredients for potential allergens and consult a health professional if in doubt.
  • Includes milk, cream, and butter (dairy)
  • Contains eggs
  • Uses wheat flour (gluten)

Nutrition Facts (Per Serving)

It is important to consider this information as approximate and not to use it as definitive health advice.
  • Calories: 524
  • Total Fat: 24 g
  • Total Carbohydrate: 68 g
  • Protein: 9 g