
 Pin it
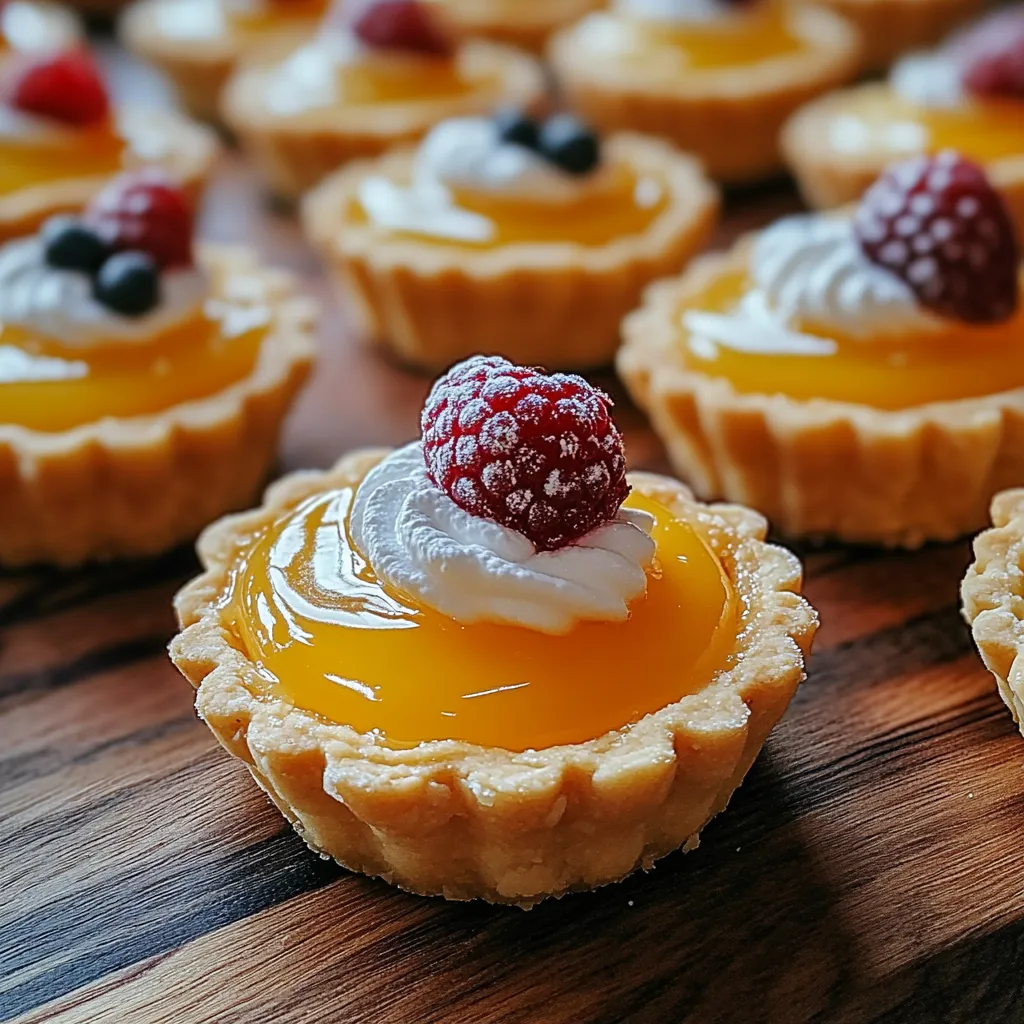
Cute mini lemon curd tarts are my secret to bringing a burst of sunshine to any dessert table. Every time I make these little treats, they vanish quickly; their buttery crust and tangy lemon filling are irresistible for brunch parties, holiday platters, or afternoon tea.
My grandmother always had lemon desserts on hand when I visited her, so making these tarts fills my whole kitchen with happy memories and the scent of fresh lemons.
Ingredients
- All-purpose flour: Gives structure and tenderness to the crust. Make sure to use fresh flour for the best flavor.
- Powdered sugar: Keeps the crust extra tender and adds a delicate sweetness. Choose a fine variety for smooth blending.
- Unsalted butter: Cold and cubed is essential for flakiness. Use the best quality butter you can afford for a richer taste.
- Egg yolk: Helps bind the crust and delivers richness. Choose fresh, pasture-raised eggs for color and flavor.
- Ice water: Helps bring the dough together while keeping the crust light. Only add just enough to hold the dough.
- Granulated sugar: Provides sweetness for the lemon curd. Opt for organic if possible.
- Large eggs: Thicken and smooth out the curd. Use room temperature eggs for easy blending.
- Freshly squeezed lemon juice: Gives vibrant tartness. Always use real lemons, not bottled juice, for the best flavor.
- Lemon zest: Packs extra citrus oil for aroma and depth. Use a microplane for the finest zest.
- Unsalted butter (curd): Adds silkiness. Cut it small so it melts in quickly.
- Whipped cream or meringue (for topping): Brings a creamy or fluffy finish. Pick whichever suits your mood.
- Fresh berries (for garnish): Add color and cut through the richness. Choose ripe, bright berries.
Step-by-Step Instructions
- Make the Tart Crust:
- Blend the flour and powdered sugar in a medium bowl. Then add the cold cubed butter and gently work it in with a pastry cutter or your fingertips. Continue mixing until you see fine crumbly bits that look like coarse sand.
- Form the Dough:
- Add the egg yolk and a little ice water to the flour mixture. Mix with a fork until it just starts to come together into a shaggy dough. Turn it out onto your work surface. Press into a disk. Wrap in plastic and chill for half an hour.
- Preheat the Oven:
- Set your oven to 350 degrees Fahrenheit (175 degrees Celsius). This way it is ready when your dough has chilled.
- Roll Out the Dough:
- Sprinkle your surface with a thin layer of flour. Roll the dough to 1/4 inch thick. Use a round cutter or glass rim to make circles. Press each into mini tart pans or a muffin tin. Trim the excess dough for neat edges.
- Blind Bake:
- Line each shell with parchment. Fill with pie weights or beans. Bake 15–18 minutes. The shells should be lightly golden. Remove the parchment and weights, and bake 5 minutes longer till dry and crisp. Fully cool before filling.
- Make the Lemon Curd:
- Whisk the granulated sugar, eggs, lemon juice, and zest in a saucepan over low heat. Stir constantly. Slow, gentle heat is key. Watch the mixture gradually thicken as you stir.
- Add the Butter:
- Once slightly thickened, add the cubed butter. Continue whisking over low heat. The curd should become creamy and coat the spoon in about 10 minutes.
- Strain the Curd:
- Pour the lemon curd through a sieve into a clean bowl. This catches any lumps or zest bits and makes a velvety texture.
- Fill the Tarts:
- Spoon or pour the finished lemon curd into your cooled tart shells. Fill each one to the top for maximum lemon impact.
- Chill:
- Cover the tarts with plastic wrap. Place them in the refrigerator for at least two hours to firm up.
- Serve:
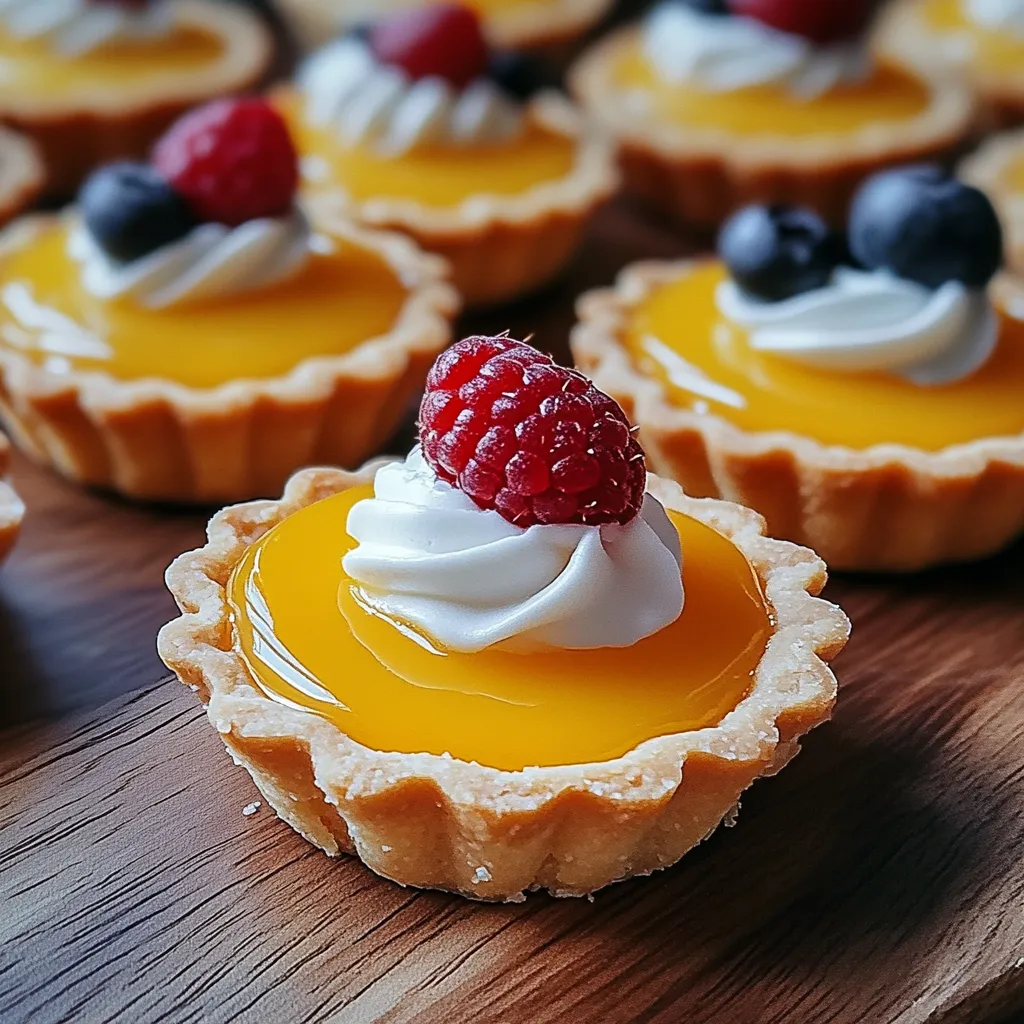
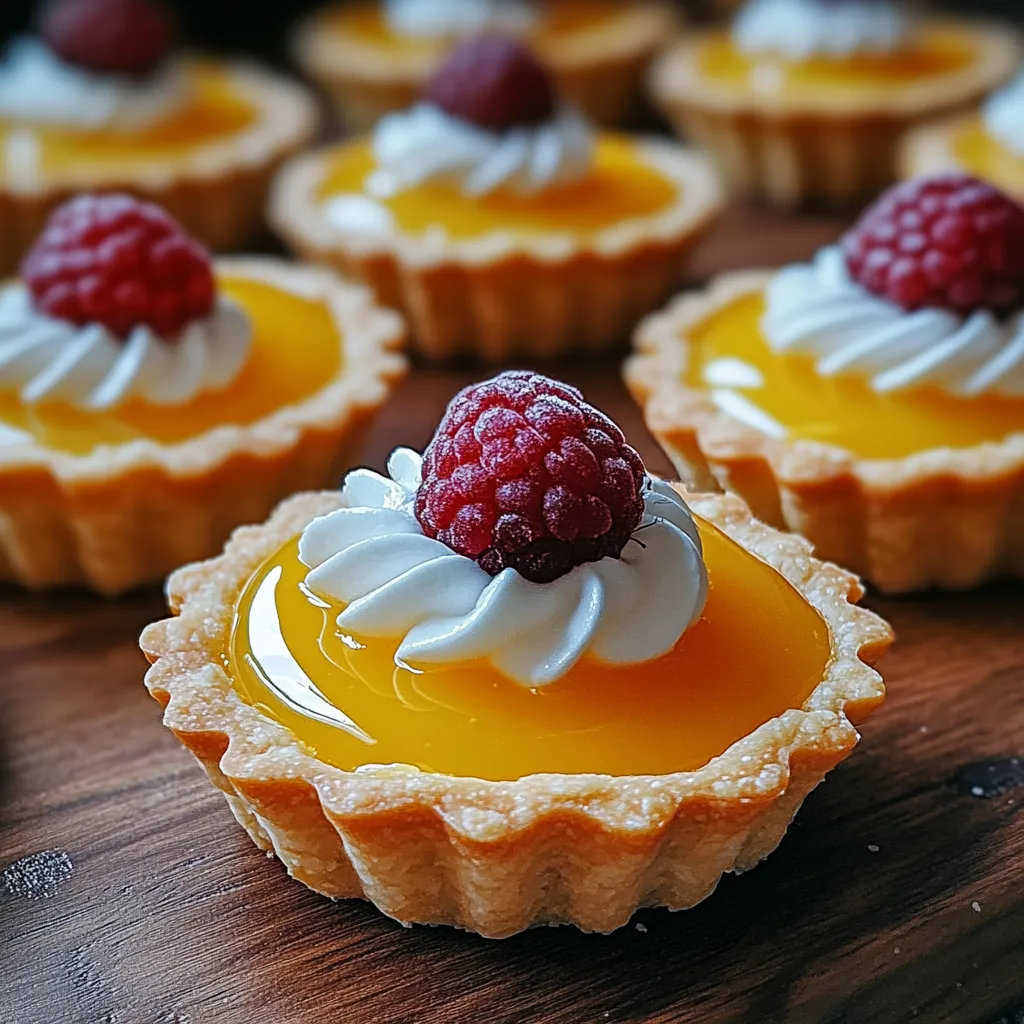
- Before serving, top each tart with whipped cream or a swirl of meringue. Add berries on top for color and tart contrast.
 Pin it
Lemon zest is always my favorite not just for bold flavor, but because zesting lemons reminds me of summer vacations picking fruit with my mom and feeling sun on my arms. Sometimes I use extra zest just for an extra pop of color and aroma.
How to Store These Tarts
Once the tarts are assembled, keep them covered in the refrigerator where they stay fresh for up to three days. Bring them to room temperature for about 20 minutes before serving for the best texture. The crust stays crisp as long as the tarts are not kept for too long.
Swaps for Ingredients
If you run out of fresh lemons, bottled juice is your backup, but the flavor will be a little less vibrant. You can substitute lime juice and zest for a fun twist. If you only have salted butter, reduce or skip extra salt in the recipe. Whole wheat flour works for the crust but makes a slightly denser base.
Serving Suggestions
Mini lemon tarts are lovely on their own or dressed up with fresh whipped cream, meringue, and berries. For parties, arrange on a long platter and garnish with sprigs of mint. They also pair beautifully with hot tea or a glass of bubbly for brunch.
Lemon Tarts in History
Lemon tarts have roots in classic British and French desserts. They have long been a staple at garden parties and afternoon teas. The balance of sweet crust and sharp citrus curd is a flavor profile enjoyed for generations. This version keeps the tradition alive while being designed for modern entertaining and sharing.
 Pin it
These sweet and tangy tarts have become my go-to treat whenever I want to impress without fuss. They brighten the table and always bring happiness to every bite.
Frequently Asked Questions
- → How do I prevent tart shells from shrinking while baking?
Chill the dough before baking and use pie weights during the initial blind bake to maintain the shell shape.
- → Can I use bottled lemon juice instead of fresh?
Freshly squeezed lemon juice adds the best flavor and brightness, but bottled can be used in a pinch.
- → How do I know when the lemon curd is ready?
The curd should thicken and coat the back of a spoon. Strain for perfect smoothness.
- → Can these tarts be made ahead?
Yes, prepare and chill both crust and curd in advance. Assemble and garnish just before serving.
- → What toppings work well besides whipped cream?
Try light meringue, a dusting of powdered sugar, or fresh berries for extra color and flavor.