Creamy Mint Chocolate Bliss

Featured in: Sweet Desserts

This Mint Chocolate Cheesecake combines silky cream cheese, refreshing peppermint, and rich chocolate in a decadent dessert. Featuring an Oreo crust, a smooth minty cheesecake layer, chunks of Oreo in the filling, and a drizzle of warm hot fudge, it’s a treat for every chocolate mint lover. Patience pays off with this dessert, as chilling it ensures the perfect texture. The water bath method guarantees a flawless, crack-free finish. Whether for holidays or celebrations, this dessert is sure to impress.

punchofyummy
Updated on Wed, 26 Mar 2025 22:50:56 GMT
Decadent cheesecake packed with cool mint flavor and a rich chocolate base. Pin it
Decadent cheesecake packed with cool mint flavor and a rich chocolate base. | pinchofyummy.com

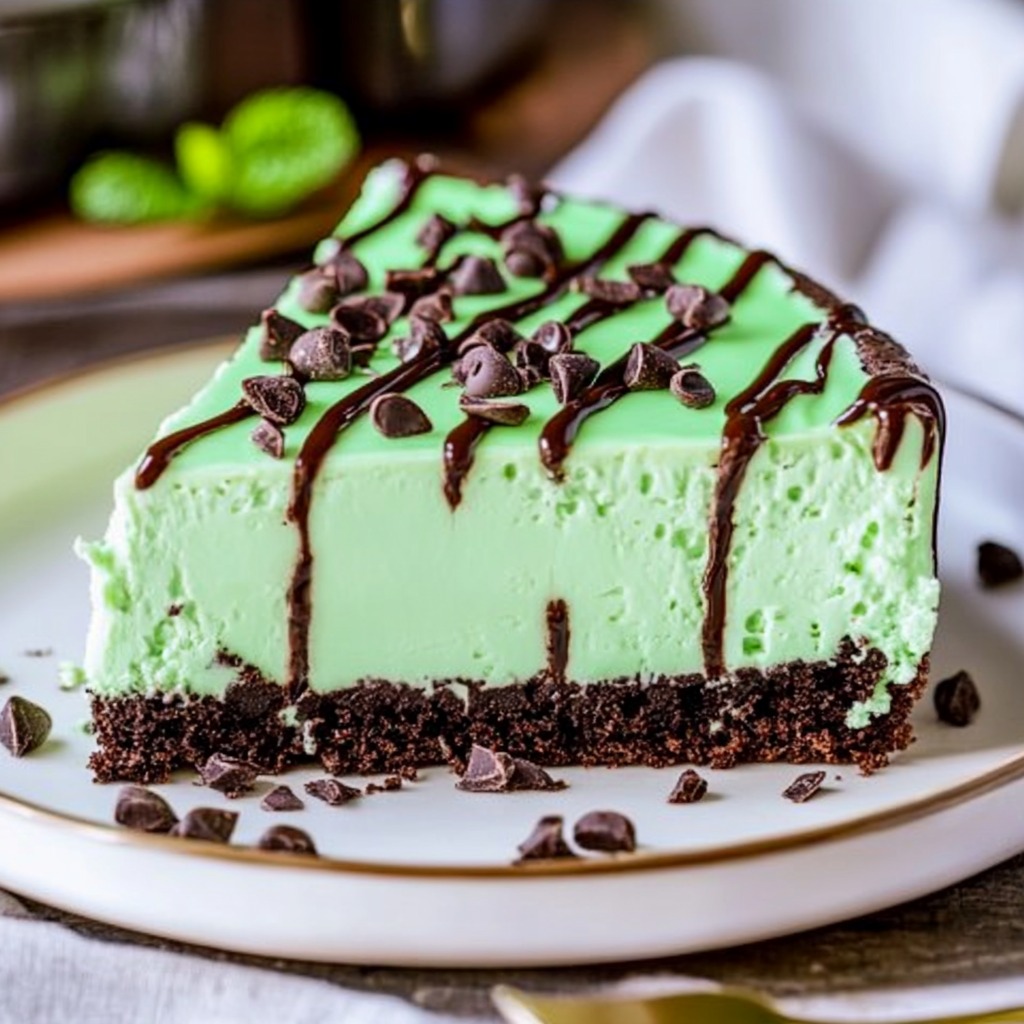
The velvety mix of decadent chocolate paired with refreshing mint makes this elegant Mint Chocolate Cheesecake a standout treat for your next gathering. Featuring a creamy cheesecake with mint flavor, crunchy chocolate Oreo base, and a luscious Oreo middle section, this dessert offers an amazing taste journey that'll thrill anyone who loves the chocolate-mint combo. When you cut into it, you'll see stunning layers that make this dessert look as good as it tastes.

I've tweaked this dessert many times, and I've found that getting the mint just right is crucial - you want to taste it but not feel like you're eating toothpaste. The moment I got that mint-chocolate balance just right, I knew I'd created something truly wonderful.

Top-quality Ingredient Guide

  • Cream Cheese: Use full-fat, let it sit out until soft
  • Heavy Cream: Pick one with at least 36% fat
  • Oreo Cookies: Stick with regular ones, not the mint version
  • Green Food Coloring: Go for gel type to control the shade better
  • Quality Hot Fudge: Don't skimp here, get a good brand
  • Pure Peppermint Extract: The real stuff works best

Step-by-Step Baking Guide

Step 1: Getting the Base Just Right
Turn Oreos into fine crumbs. Stir with butter until it's all wet. Push down firmly but carefully. Bake briefly until firm. Let it cool all the way.
Step 2: Creating the Middle Magic
Cut Oreos into same-sized pieces. Heat fudge sauce gently. Mix everything well. Spread it out evenly. Don't get the sauce too hot.
Step 3: Nailing the Cheesecake Part
Mix cream cheese until it's totally smooth. Put in eggs one by one. Mix in cream without overdoing it. Check if mint flavor is right. Strain if you need to.
Step 4: Putting It All Together
Stack everything with care. Keep the sides nice and tidy. Use a water bath. Watch it while it bakes. Let it cool slowly.
Step 5: Making It Look Amazing
Warm your knife for clean slices. Add fancy touches thoughtfully. Think about how tall your decorations are. Don't go overboard with garnishes. Serve when it's slightly cool.
Rich minty cheesecake with chocolate layers that'll satisfy anyone craving this flavor duo. Pin it
Rich minty cheesecake with chocolate layers that'll satisfy anyone craving this flavor duo. | pinchofyummy.com

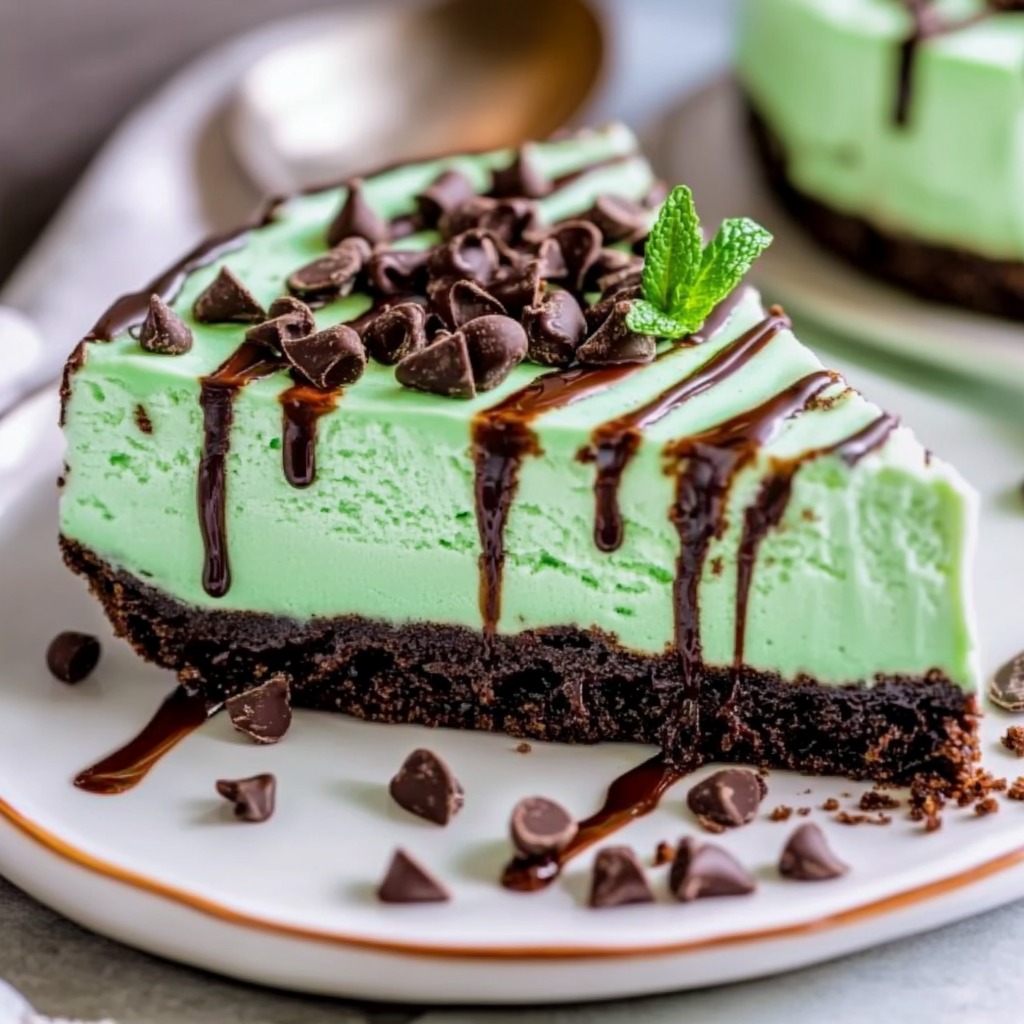
There's nothing better than when I've chilled the cheesecake completely and I pour that warm fudge sauce on top - it's such an amazing contrast when the hot meets the cold.

Creamy mint cheesecake covered with glossy chocolate for an irresistible dessert option. Pin it
Creamy mint cheesecake covered with glossy chocolate for an irresistible dessert option. | pinchofyummy.com

How to Store and Prepare Ahead

Get organized for best outcome: You can make the Oreo base 2 days early. The finished cheesecake stays good in the fridge for 5 days. Want to freeze it? The whole thing lasts up to 2 months frozen. Wait to add toppings until you're ready to serve. You can also freeze single slices.

Fun Twists and Celebration Ideas

  • Variations: White chocolate drizzle, mint chocolate chip version, crushed Andes mints layer, dark chocolate ganache topping, or chocolate mint cookie base.
  • Special Occasions: Winter gatherings - Crushed candy canes; Summer parties - Fresh mint leaves; Birthday - Chocolate curls; St. Patrick's Day - Deep green color; Christmas - Red and green garnish.

Frequently Asked Questions

→ How do I prevent cracks in the cheesecake?

Using a water bath and avoiding overmixing after adding eggs ensures a smooth, crack-free cheesecake.

→ Can I skip the hot fudge layer?

Yes, you can skip it or substitute it with another topping, such as ganache or whipped cream, if preferred.

→ How do I know when the cheesecake is ready to serve?

The cheesecake is ready after chilling for at least 6-8 hours to set its texture and enhance flavors.

→ Can I make this dessert ahead of time?

Absolutely! Prepare the cheesecake up to two days in advance and add the toppings just before serving.

→ What can I use instead of peppermint extract?

You can substitute peppermint extract with a natural mint extract or omit it for a plain chocolate variation.

Mint Chocolate Cheesecake

Silky mint chocolate cheesecake with Oreo crust and warm fudge topping for dessert perfection.

Prep Time
25 Minutes
Cook Time
80 Minutes
Total Time
105 Minutes
By: Amelia

Category: Sweet Desserts

Difficulty: Difficult

Cuisine: American

Yield: 10 Servings

Dietary: Vegetarian

Ingredients

→ Oreo Base

01 1/4 cup (57g) unsalted butter, melted
02 20 regular-sized Oreos

→ Cookie Layer

03 1/4 teaspoon peppermint flavoring
04 1/4 cup (72g) warm hot fudge
05 12 Oreos, roughly chopped

→ Cream Cheese Mix

06 4 large eggs, at room temperature
07 1-2 drops green food gel
08 2 teaspoons mint extract
09 1 tablespoon vanilla flavoring
10 8 ounces (226g) sour cream, softened
11 1 cup (200g) white sugar
12 32 ounces (900g) cream cheese, softened

→ Garnish

13 Optional homemade whipped cream
14 1 cup (288g) hot fudge, warmed

Instructions

Step 01

Heat oven to 325°F. Grind up the Oreos until crumbly, stir in the butter, and press it all into a 9-inch springform pan. Bake for about 8 minutes.

Step 02

Stir together the chunky Oreos, mint, and warm fudge. Put it to the side until needed.

Step 03

Whip the cream cheese until velvety, then sprinkle in sugar and mix. Add sour cream, extracts, then food gel dye. Stir in eggs one by one at a low pace.

Step 04

Pour about 1/3 of the cheese batter into the pan, scatter the cookie layer, then top with the rest of the batter. Use a water bath by nesting smaller pans into a bigger one.

Step 05

Bake at 325°F for 80 to 105 minutes, stopping when the thermometer hits 145°F in the center. Let the cake cool inside the oven for an hour, then take it out to cool for 2 hours before chilling overnight.

Step 06

Take cake out of the pan, drizzle with warm hot fudge, and serve right away. You can also leave it to chill and set. Add whipped cream on top if you'd like.

Notes

  1. Stick to regular Oreos. Doubling the filling might make them soggy in the oven.
  2. Ingredients at room temperature make blending much smoother.
  3. Skip the toppings and freeze for up to 3 months if needed.

Tools You'll Need

  • 9-inch springform baking pan
  • Pans for layering water bath (one 10-inch, one 12-inch)
  • Mixer, handheld or stand
  • Processor for crumbs
  • Food thermometer

Allergy Information

Please check ingredients for potential allergens and consult a health professional if in doubt.
  • Dairy
  • Eggs
  • Wheat
  • Soy (found in Oreos)

Nutrition Facts (Per Serving)

It is important to consider this information as approximate and not to use it as definitive health advice.
  • Calories: ~
  • Total Fat: ~
  • Total Carbohydrate: ~
  • Protein: ~