
 Pin it
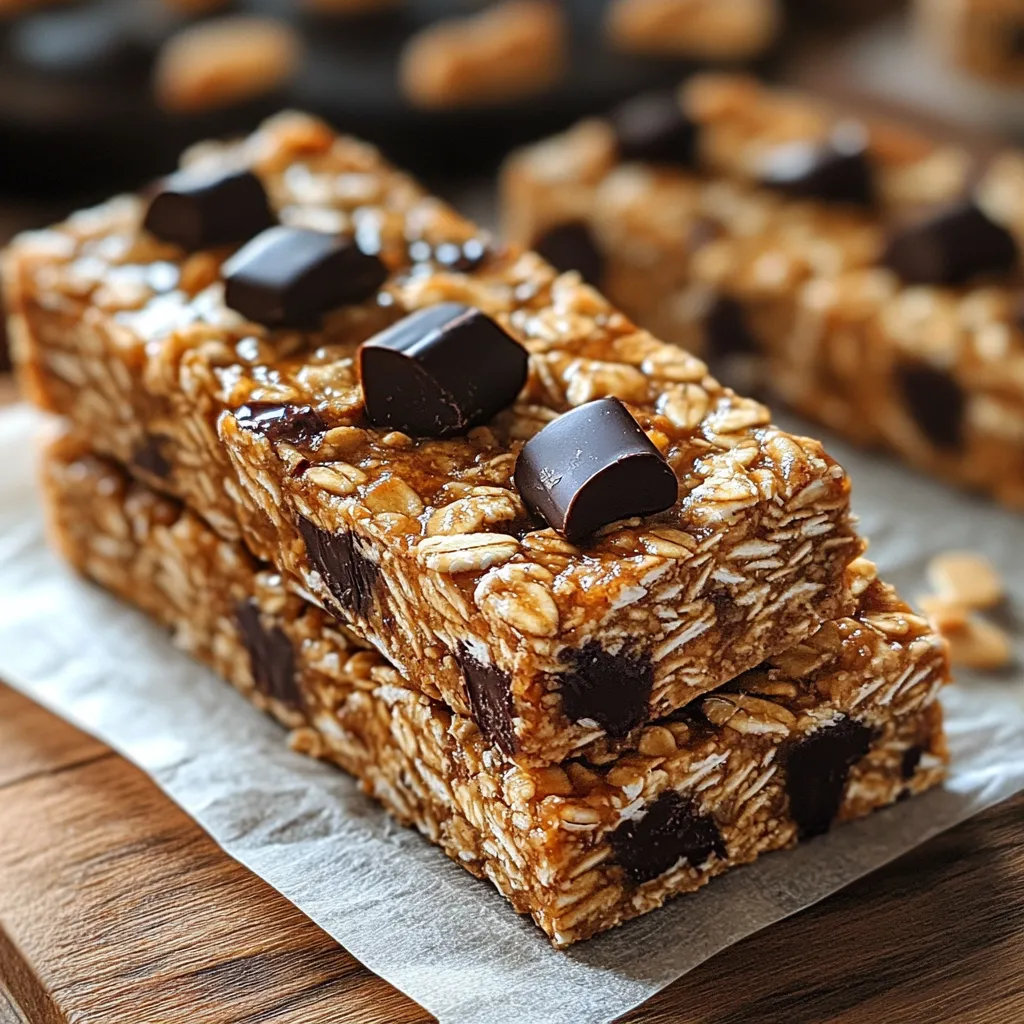
Nutty Delight Peanut Butter Chocolate Chunk Granola Bars have become my go to answer for everything from busy weekday snacks to a sweet treat after dinner. These bars marry that rich peanut butter flavor with melty chocolate chunks and the crunch of toasted nuts, making them a crowd pleaser whether you are packing lunches or fueling a long hike.
The first time I made these was on a rainy Saturday with my niece who insisted we double the chocolate. Now it is a family tradition to experiment with different nut and fruit combos every month.
Ingredients
- Rolled oats: form the hearty base and provide all the chew and structure
- Crunchy peanut butter: brings flavor richness and texture from the nut pieces Go for a brand that lists peanuts and salt as the only ingredients for the best taste
- Honey or maple syrup: acts as both natural sweetener and binder Choose pure options not blended syrups
- Vanilla extract: adds warmth to balance the nuts and chocolate
- Salt: brings all the sweet and nutty flavors into sharp focus Use a fine sea salt for easy blending
- Chocolate chunks: Dark or semi sweet options both work for deep chocolate pockets Seek high quality bars or chips
- Chopped nuts like almonds or walnuts: add crunch and nutty complexity Toast lightly in a dry skillet first for extra flavor
- Dried fruit such as cranberries or raisins: contribute pops of tartness and chewiness Use unsweetened fruit for a cleaner flavor
- Mini chocolate chips: If you want an extra chocolate layer these are perfect Stir in at the end to avoid melting
Step-by-Step Instructions
- Preheat the Oven:
- Set your oven to three hundred fifty degrees Fahrenheit one hundred seventy five degrees Celsius and line an eight inch square baking dish with parchment paper allowing extra on the sides as handles for later removal
- Mix the Wet Ingredients:
- In a medium saucepan on low heat combine peanut butter honey or maple syrup vanilla and salt Stir gently and constantly for about two to three minutes until everything has melted together and is smooth Take pan off the heat as soon as it is glossy and well mixed
- Combine the Dry Ingredients:
- Measure rolled oats chocolate chunks chopped nuts and any dried fruit into a big mixing bowl Stir with a wooden spoon making sure the mix ins are spread out evenly so every bite has something special
- Combine Wet and Dry Mixtures:
- Pour the warm peanut butter mixture over the oat mixture Using a spatula fold and toss until every oat looks shiny and all bits are coated If using mini chocolate chips hold off and fold those in once the mixture has cooled a minute If the mixture looks dry keep stirring until it comes together
- Press the Mixture:
- Transfer everything to your prepared pan Spread into the corners and press down firmly with a spatula or your hands covered with parchment The firmer you pack it the better the bars hold their shape later
- Bake:
- Set the pan in the preheated oven and bake fifteen to twenty minutes Watch for the edges to develop a soft golden color—that is your best sign to pull them out
- Cool and Slice:
- Remove the bars from the oven and cool in the pan completely on a wire rack Once fully cool grab the parchment handles and lift the whole slab onto a cutting board Slice into bars of your preferred size neatly with a sharp knife
- Store:
- Keep the bars in an airtight container at room temperature if you will finish them within a week For longer freshness they do well wrapped and chilled in the fridge
 Pin it
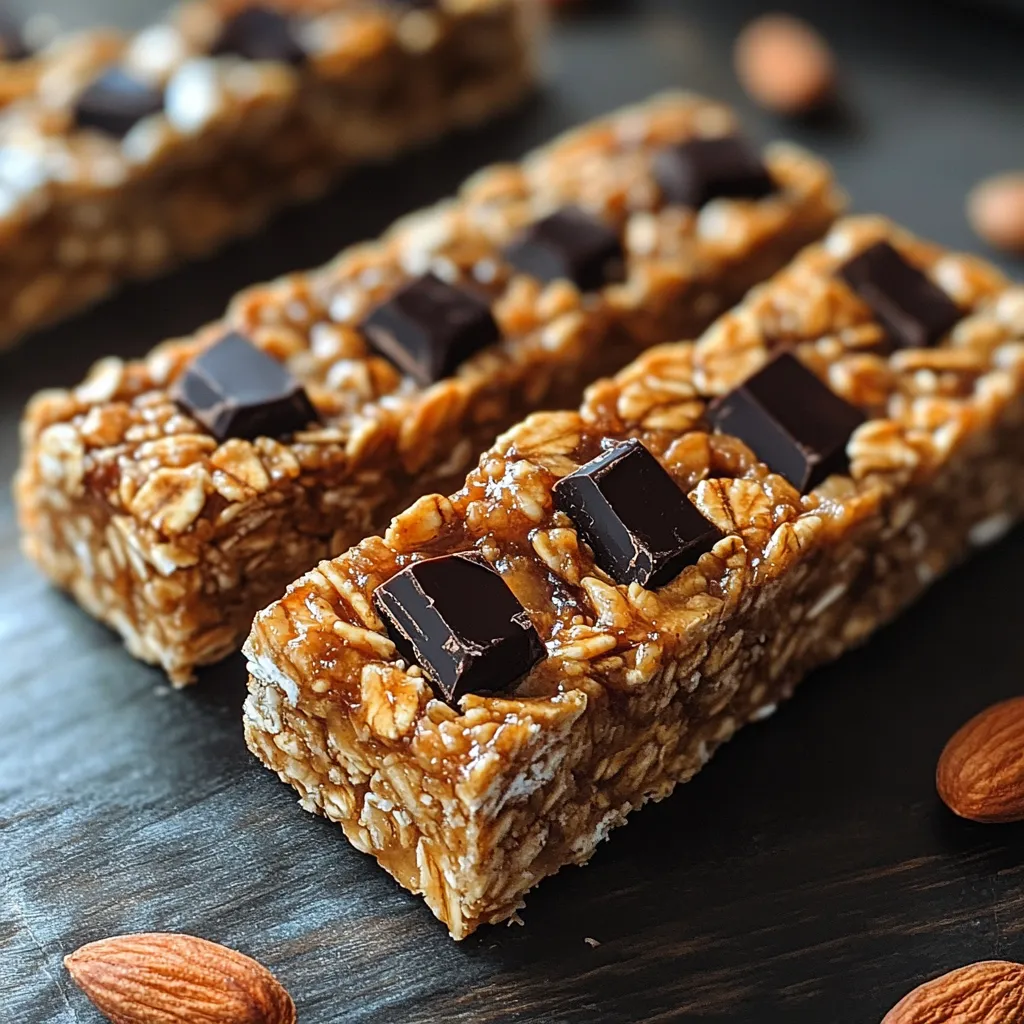
I remember my younger brother sneaking a corner of the slab before it was cool and leaving the best crumb trail proof these bars never last long in our house
Storage Tips
Let the bars cool completely before slicing and storing This step means you will have neat edges and less crumbling Use wax paper to layer between bars if stacking to keep them from sticking For grab and go snacks wrap each bar in parchment and toss into lunchboxes or your gym bag These freeze beautifully too—wrap tightly and thaw as needed
Ingredient Substitutions
You can easily switch almond butter for peanut butter or try sunflower seed butter if you need a nut free option Swap in gluten free certified oats to keep these bars gluten free Agave syrup also works as a sweetener Mix and match nuts and dried fruits according to what you have on hand Ribbon coconut or seeds like pumpkin are also great add ins
Serving Suggestions
Serve these bars with morning coffee for a wholesome breakfast or break them up over yogurt Parfaits become a real treat when topped with granola bar crumbles Kids love these as after school snacks and they are perfect for summer picnics I have stacked them into jars for holiday gifts tied with colorful string and a hand written note
Cultural and Historical Context
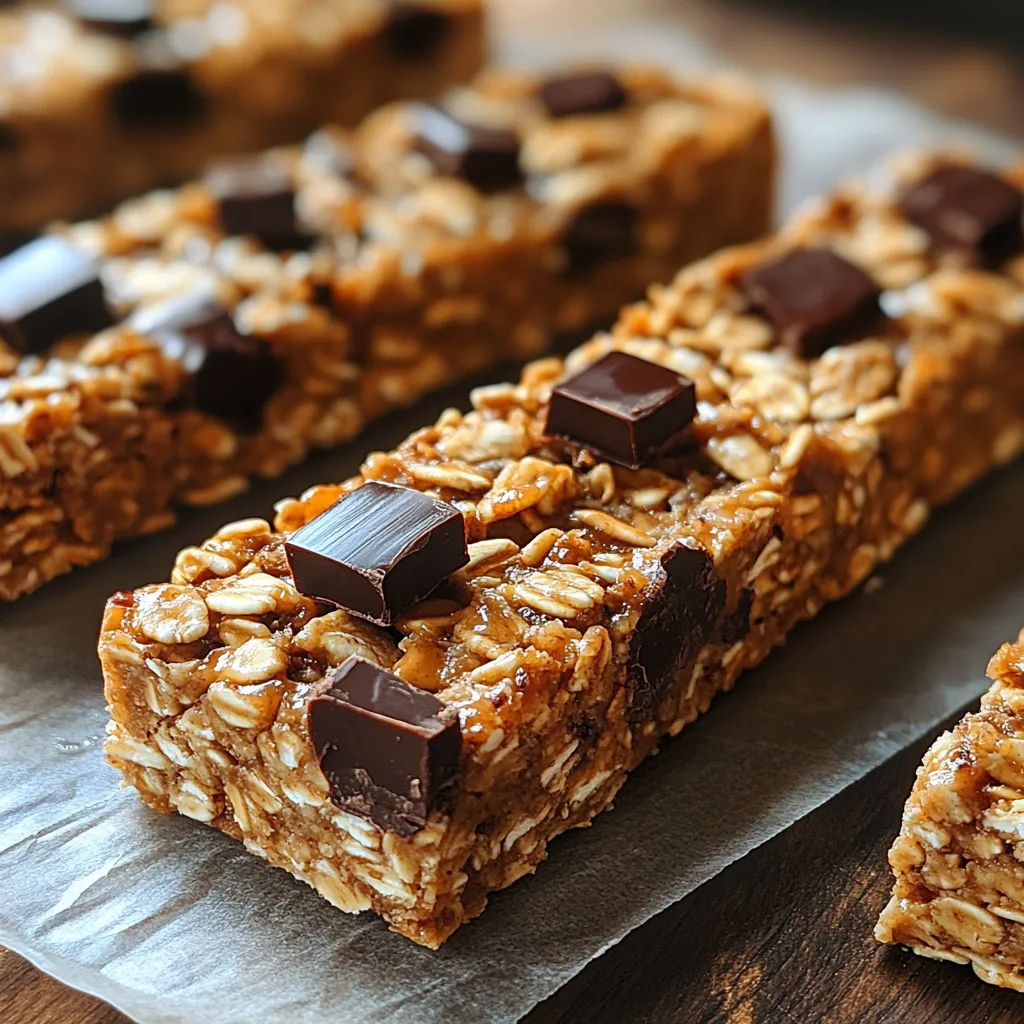
These homemade bars are inspired by classic American lunchbox snacks but made with heartier whole food ingredients Granola bars became popular in the United States in the late twentieth century when health trends promoted oats and nuts for active living This homemade version focuses on flavor and texture without the additives found in store bought brands My family always said nothing beats homemade and these bars prove it
 Pin it
Once you make a batch of these Nutty Delight bars the store bought kind just cannot compare and you will love being able to customize the mix for every craving
Frequently Asked Questions
- → Can I substitute almond butter for peanut butter?
Yes, almond butter works well and offers a different nutty flavor while maintaining the same texture.
- → What kind of oats should I use?
Old-fashioned rolled oats are recommended for the best texture and a hearty bite in each bar.
- → How can I make the bars less sweet?
Use less honey or maple syrup, and opt for dark chocolate with a higher cocoa percentage.
- → Are the bars gluten-free?
If using certified gluten-free oats, these granola bars are suitable for a gluten-free diet.
- → How do I keep the bars from crumbling?
Be sure to press the mixture firmly into the pan before baking and let it cool completely before slicing.
- → Can I freeze these granola bars?
Yes, wrap them well and store in the freezer for up to two months. Thaw before enjoying.