
 Pin it
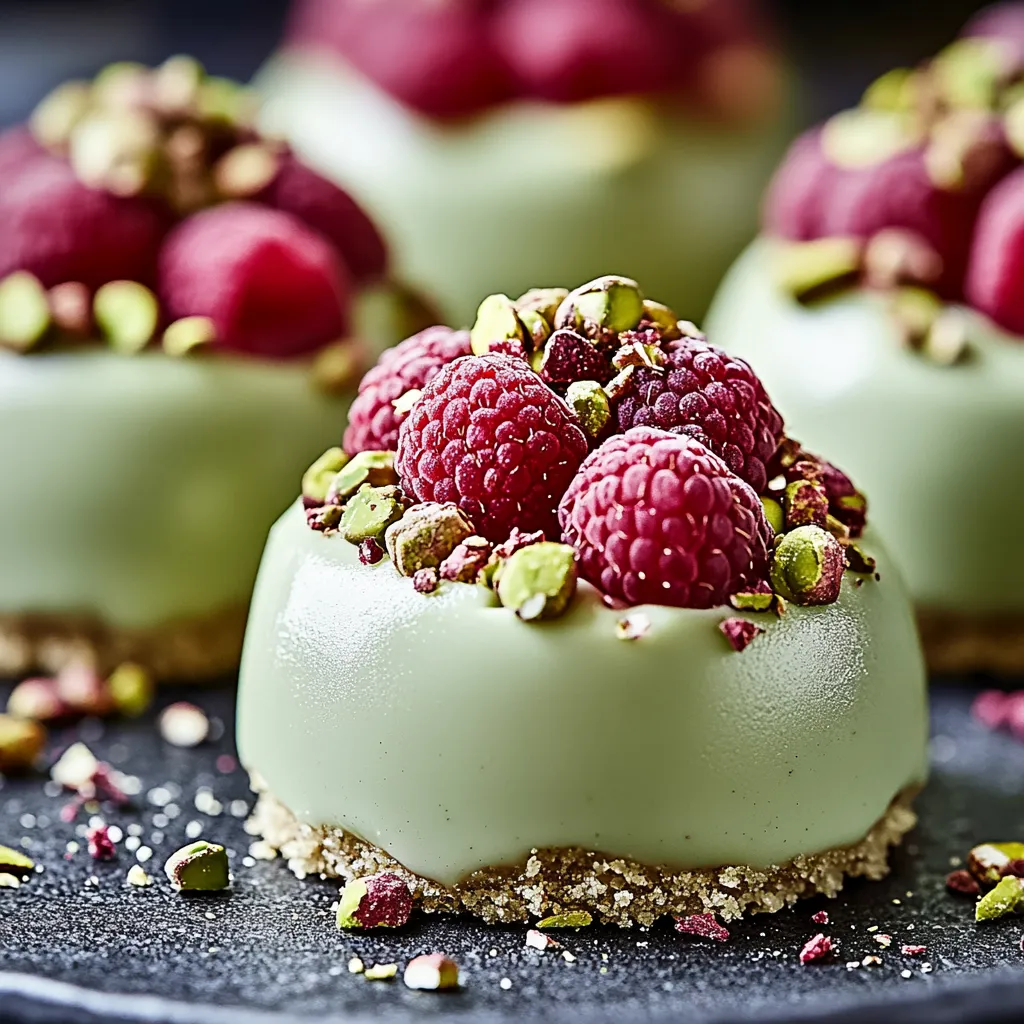
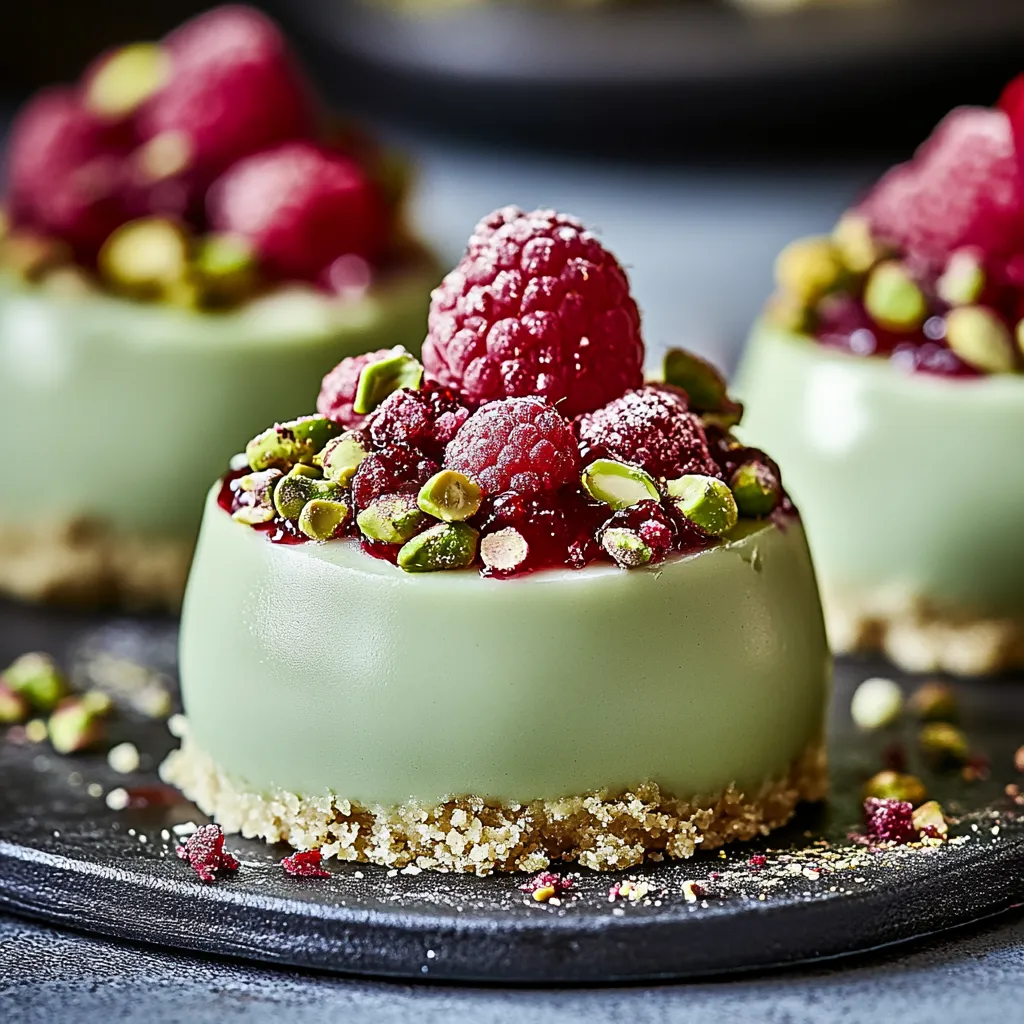
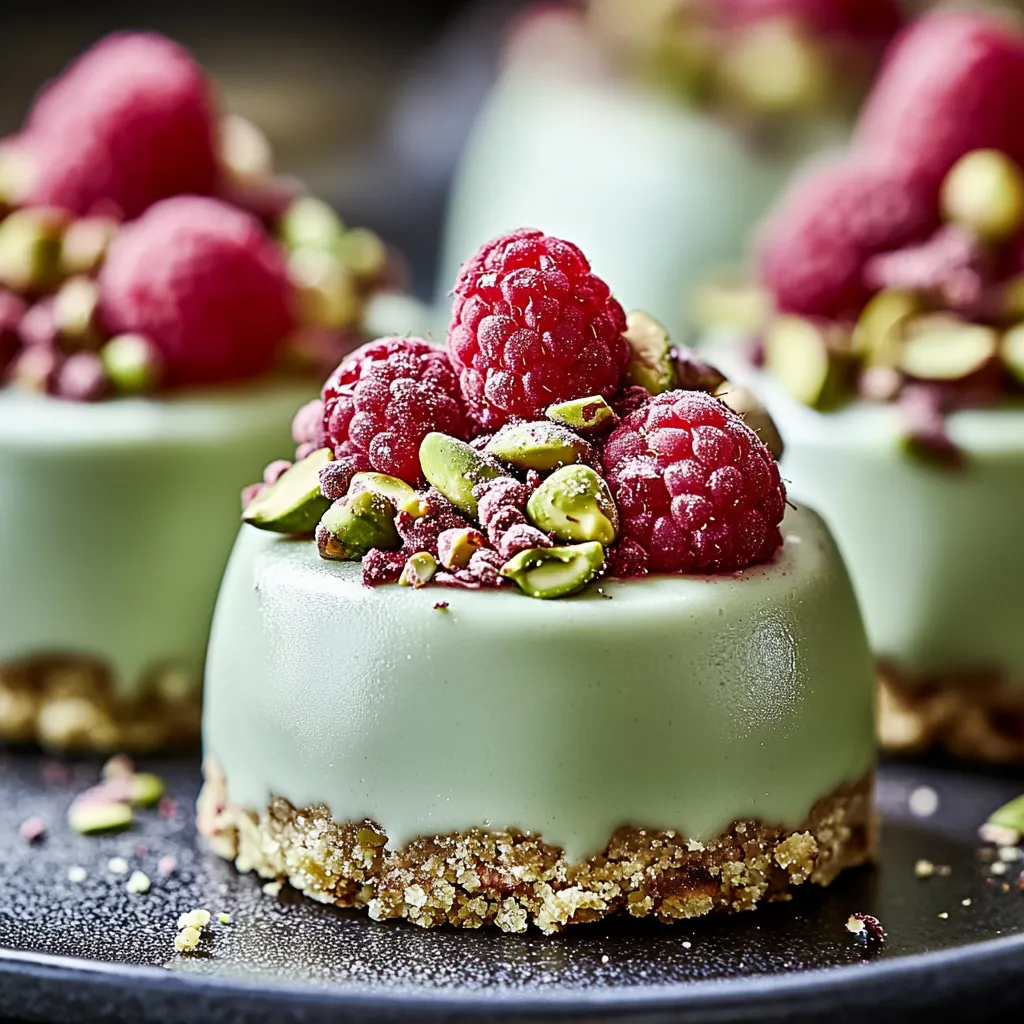
These fancy Raspberry & Pistachio Cheesecake Domes turn basic stuff into a knockout dessert that seems like it's from a fancy bakery. The mix of creamy pistachio cheesecake, tangy raspberry inside, and shiny glaze makes a wonderful blend of tastes and feels, making each dome a tiny bit of food art. The natural green pistachio plus bright raspberries gives you a gorgeous color combo that's just as nice to look at as it is to eat.
After trying this recipe many times, I've found that watching temperatures and taking your time really matters. The first time I popped out a perfectly glazed dome with that mirror finish, I felt just like a real pastry pro.
Key Ingredients Breakdown
- Cream Cheese: Full-fat and not cold for the smoothest mix
- Pistachios: Get them raw and unsalted to make your paste
- White Chocolate: Go for the good stuff that melts really well
- Raspberries: Pick ones that are fresh and plump for your puree
- Gelatin Sheets: The good kind gives you the clearest look
- Heavy Cream: Need the fat-rich kind for it to hold up well
Step-By-Step Making Guide
- Step 1: Getting The Base Right
- Crush graham crackers into tiny bits. Stir with melted butter just enough. Push down hard with a glass bottom. Cool it till it's firm. Make sure it's the same thickness everywhere.
- Step 2: Getting The Raspberry Center Ready
- Push puree through strainer to get rid of seeds. Warm it a bit then add the gelatin. Pour into little silicon molds. Freeze till solid. Keep them frozen till you need them.
- Step 3: Nailing The Cheesecake
- Mix cream cheese till it's super smooth. Slowly add the pistachio paste. Carefully fold in the whipped cream. Mix in gelatin when it's just the right warmth. Look for any bits that didn't mix in.
- Step 4: Putting Domes Together
- Put cheesecake mix halfway up the molds. Place frozen raspberry ball right in the middle. Cover with the rest of the mix. Make the top nice and flat. Freeze till hard.
- Step 5: Getting The Glaze Just Right
- Strain white chocolate mix twice. Keep it at the exact right temperature before pouring. Pour in one go. Let extra drip off completely. Wait for it to set before adding any extras.
 Pin it
The best part of making these domes is watching that mirror glaze create its magic shiny finish. The way it turns a simple cheesecake into something so fancy always wows everyone at the table.
 Pin it
Smart Prep And Storage Tricks
Good timing gets you good results: You can make the base up to 3 days early. Domes without glaze can stay frozen for a month. Add glaze no more than 2 hours before serving. Finished domes last in the fridge for 3 days. Move them in a cold container and try not to jostle them.
Frequently Asked Questions
- → Why freeze the domes before adding the glaze?
- Freezing keeps their shape intact and lets the glaze set evenly on the cold surface.
- → Can I skip the glaze step?
- Sure, you can leave them plain or coat with ganache for an easier option. Glaze just adds the signature shine.
- → How long will these stay fresh?
- You can freeze them for up to three days. Just let them soften a bit before serving.
- → Can I try other flavor options?
- Of course! Swap pistachio with other nut butters or try new fruit fillings.
- → Why is the glaze temperature so exact?
- 90°F is the sweet spot. Too warm or too cool and the glaze won't coat smoothly or shine properly.