
 Pin it
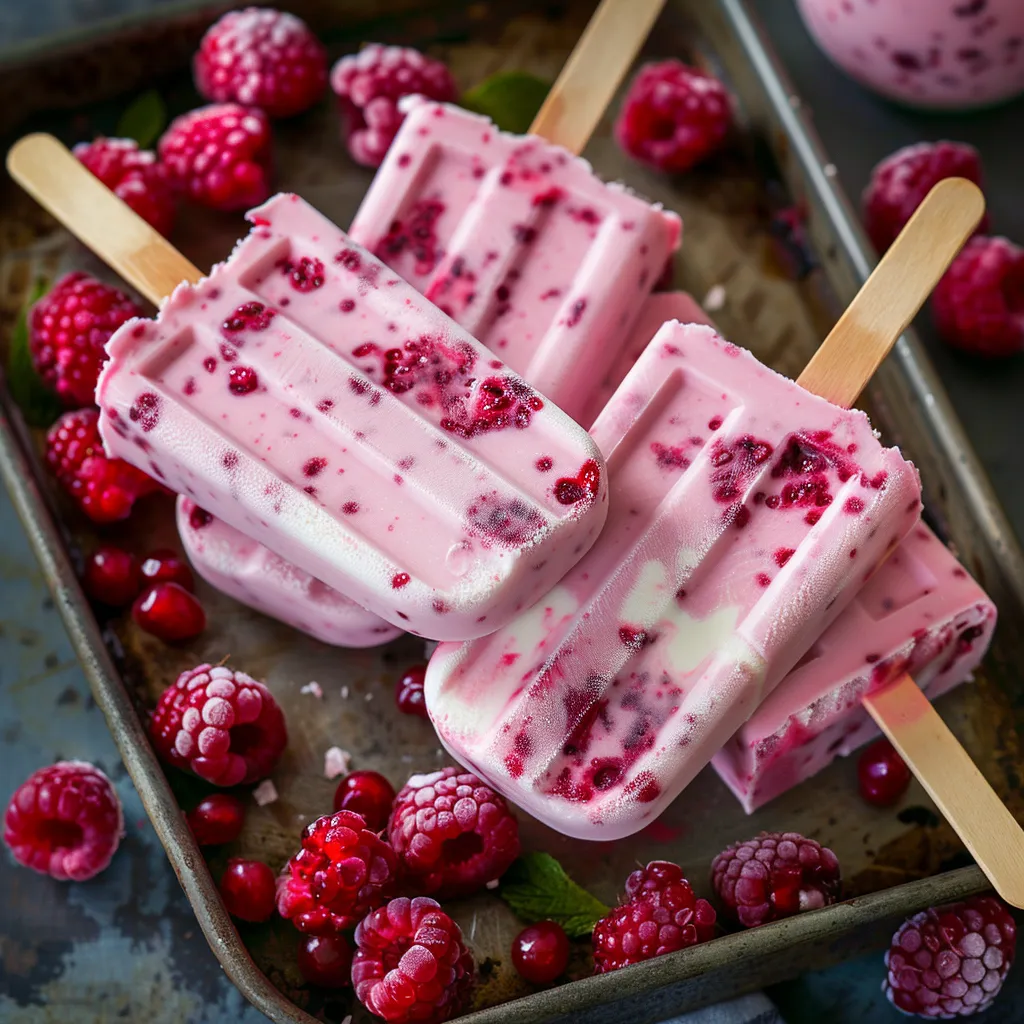
Raspberry and Greek yogurt freezer pops turn basic stuff into cool summer snacks that'll hit your sweet spot while actually being good for you. These bright frozen treats mix tangy Greek yogurt with sweet berries and a bit of cream for that oh-so-good texture. They're just the thing for hot days or when you want something sweet that won't weigh you down.
I whipped up these yogurt pops for the first time during a scorching summer when my kids kept begging for cold treats. I wanted something better than what I could grab at the store, so I played around with this mix and watched them vanish minutes after serving. They've now turned into our summer family thing, with everyone pitching in to make fresh batches every weekend.
Tasty Ingredients Breakdown
- Raspberries (fresh or frozen): Give these pops their stunning color and natural sweetness
- Sugar: Brings out the fruit's flavor and cuts through sourness
- Vanilla Greek yogurt: Delivers protein punch and smooth texture
- Heavy cream: Makes everything silky and luxurious
- Lemon juice: Wakes up all the flavors
- Lemon zest: Adds zingy citrus kick
- Vanilla extract: Gives depth and roundness
- Honey: Brings natural sweetness and slick mouthfeel
- Sea salt: Makes every flavor pop
- Mint leaves (if you want): Add cool, fresh notes
- White chocolate chips (if you want): Give little bursts of sweetness and fun texture
- Almond extract: Works magic with the raspberry taste
- Crushed freeze-dried raspberries: Pack a flavor punch and interesting crunch
Foolproof Steps
- Getting Berries Ready:
- Start with your raspberries in a bowl. If they're frozen, let them soften up a bit first. Toss in two tablespoons sugar, some lemon juice, and zest, then mix everything so the berries get coated. This step pulls out their juices and makes the flavor stronger while softening them up for mashing.
- Making It Chunky or Smooth:
- After the berries sit with sugar for about five minutes, grab a fork and mash them up however you like. Some folks love little berry chunks for texture, others want it super smooth. Both work great in the finished pops.
- Mixing the Creamy Stuff:
- In another bowl, mix your vanilla Greek yogurt with the rest of the sugar, heavy cream, vanilla, almond extract, honey, and a tiny bit of salt. Stir until all the sugar melts away. The cream makes the yogurt richer and stops it from getting icy, plus it balances out the tang from the Greek yogurt.
- Creating Pretty Swirls:
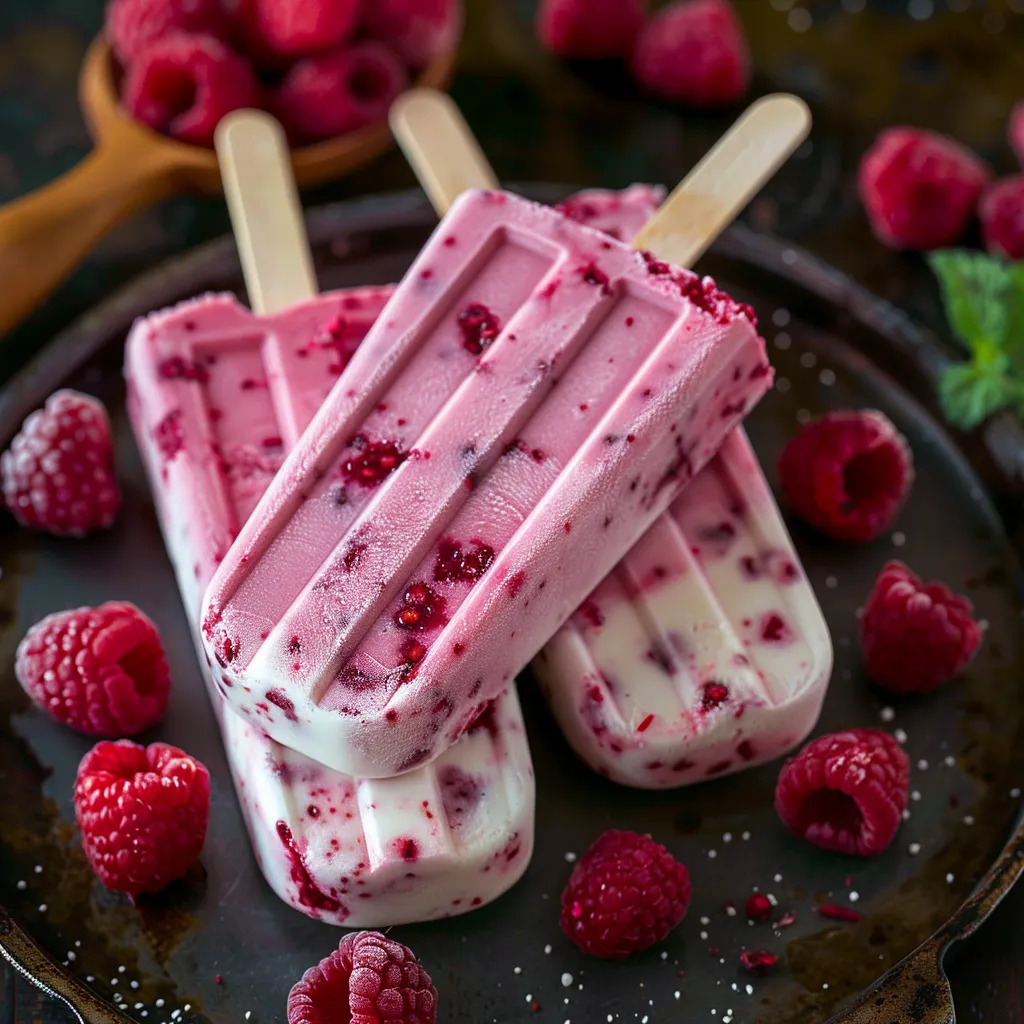
- For pops that look amazing with pockets of color, gently fold the raspberry mush into the yogurt mix using a spatula. If you're using them, now's when to add the mint leaves and white chocolate chips. Just a few gentle stirs will make gorgeous raspberry swirls throughout. If you want the same taste in every bite, keep folding until it's all mixed up.
- Freezing Them Properly:
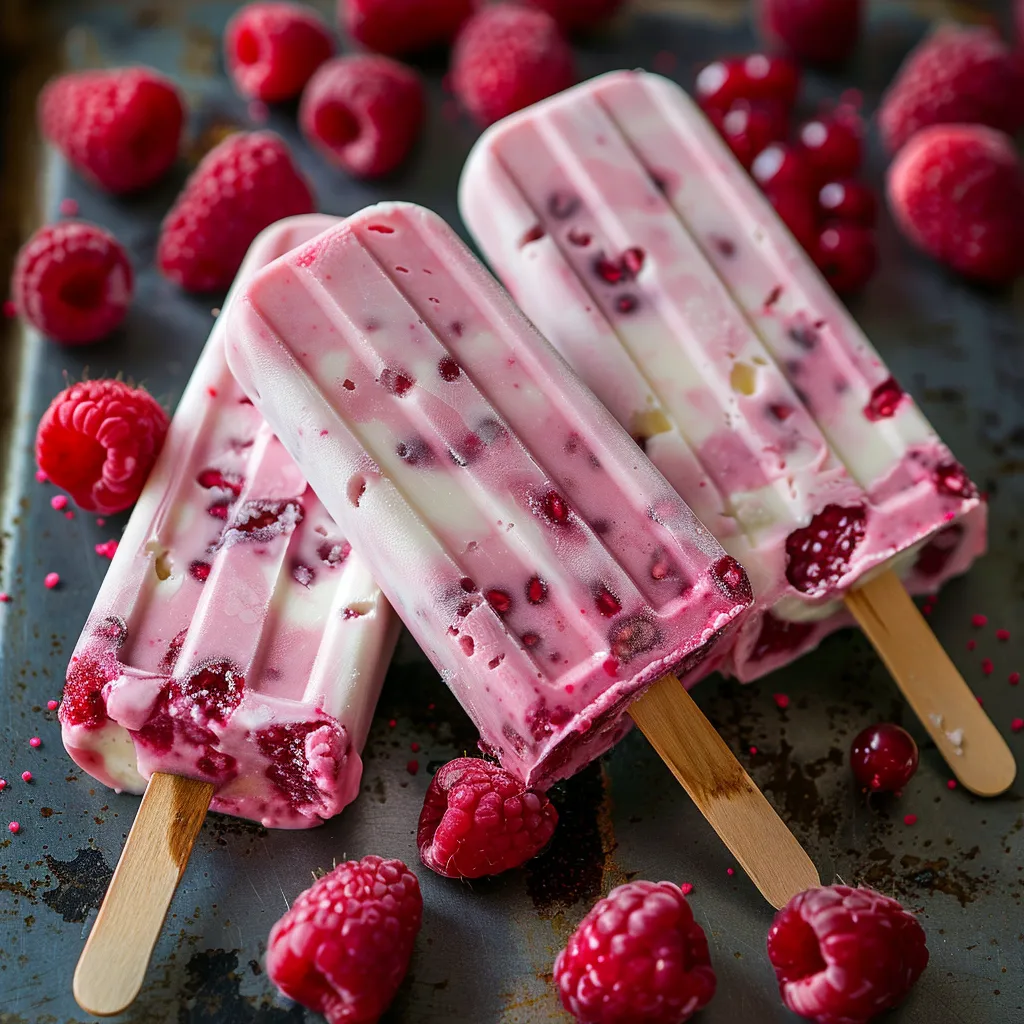
- Pour everything into your popsicle molds, but leave a little room at the top since they'll expand while freezing. Sprinkle some of those crushed freeze-dried raspberries into each mold for extra zing and crunch. Put in the sticks and make sure they stand up straight. If your molds don't have stick holders, cover with foil, poke sticks through small cuts, then freeze at least four hours until they're solid.
- Getting Them Out Easily:
- When it's snack time, run the outside of the molds under warm water for about 15-20 seconds. This melts just the outer layer so the pops slide out without breaking. Pull gently on the stick instead of yanking, which can snap your pop in half.
 Pin it
These pops are my go-to when friends drop by in summer. They look gorgeous with their pink swirls, and nobody feels guilty enjoying them since they're actually pretty wholesome. My neighbor has a daughter who usually stays away from dairy stuff, but she makes an exception for these treats, saying they're 'just too yummy to pass up' despite her normal food rules.
Fun Presentation Tricks
Arrange these bright pops on a big plate with fresh berries scattered around for laid-back summer hangouts. For kids' birthday parties, stick unwrapped pops in bright plastic cups filled with extra berries or sprinkles to catch drips and look extra fun. Want something fancy? Try placing half-sized pops in champagne glasses and pour bubbly over them for grown-up gatherings. Or make it interactive by setting up bowls of melted white chocolate, chopped nuts, and coconut flakes for dipping.
Mix It Up Options
Switch things up by using other berries like blueberries, blackberries, or strawberries for totally different colors and tastes. Go tropical with mango and pineapple mixed with coconut yogurt for vacation vibes in a pop. Chocolate fans can toss mini chocolate chips into the yogurt mix or drizzle the frozen pops with melted dark chocolate that hardens right away. For something more grown-up, try adding cardamom, cinnamon and real vanilla bean seeds to create complex flavor layers.
Smart Storage Tricks
Once your pops are unmolded, wrap each one in parchment paper before putting them in freezer bags to keep ice crystals away. This way, you can grab just one without exposing all of them to warm air. For best results, stand the wrapped pops upright in a tall container that protects their shape. If stored right, they'll stay tasty for up to two months, though in my house they never stick around that long!
 Pin it
What makes these raspberry cream Greek yogurt pops so great is how simple yet flexible they are. They turn regular ingredients into something special while being so much better for you than store-bought frozen stuff. There's something really satisfying about opening the freezer on a hot day and finding these homemade goodies waiting, knowing exactly what's in them and that they were made with a little extra care.
Frequently Asked Questions
- → Can I swap raspberries for other fruits?
- Sure thing! You can switch to strawberries, blueberries, blackberries, or even a mix of your favorites. Just keep the same amounts and steps. For strawberries, slice them smaller before mashing.
- → How can I make this dairy-free?
- It’s easy! Replace the yogurt with a dairy-free option like coconut, almond, or soy yogurt. For the cream, swap in full-fat coconut milk or coconut cream.
- → How long can these last in the freezer?
- You can store them for up to 2 months if kept airtight or wrapped individually. For best flavor and texture, try to enjoy them within the first month.
- → Can I use honey instead of sugar?
- Definitely! Replace the sugar with about 3 tablespoons of honey or maple syrup in your yogurt and 1-2 tablespoons for the berries. Adjust for taste.
- → What if I don’t own popsicle molds?
- No molds? No worries! Use paper cups instead. Fill them, cover with foil, and poke a stick through the foil to hold it up while they freeze.