
 Pin it
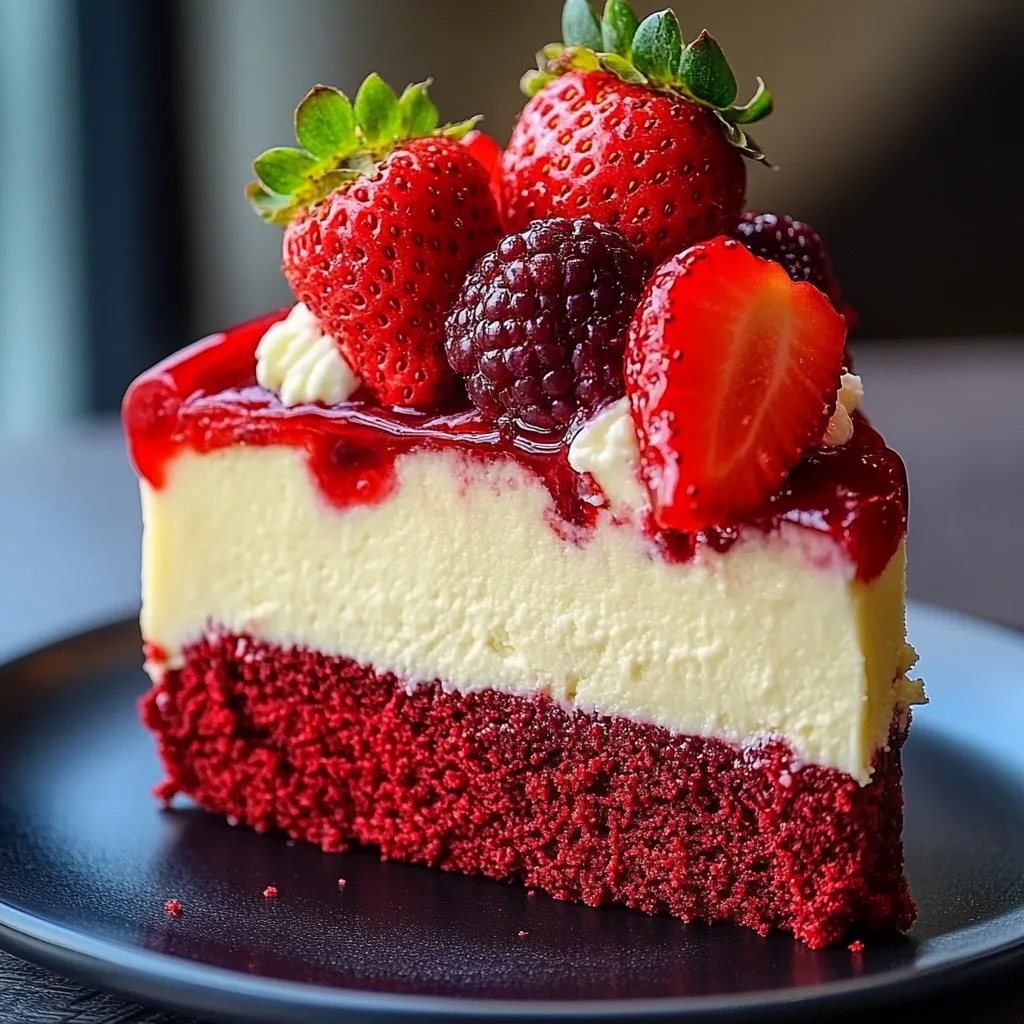
This spectacular blend of traditional red velvet cake and smooth strawberry cheesecake delivers a treat that's eye-catching and utterly tasty. The Red Velvet Strawberry Cheesecake mixes deep cocoa flavors with zesty cream cheese and juicy strawberries, making a jaw-dropping dessert that's great for any celebration. The stunning difference between the bold red base and pinkish cheesecake top creates a look your guests won't forget.
From my time working on this dish, I've found that watching your temps and mixing things the right way makes all the difference. There's nothing like that first cut, seeing those gorgeous layers stack up—it's really something special.
Must-Have Quality Components
- Cream Cheese: Use the full-fat kind at room temp for the creamiest results
- Fresh Strawberries: Pick ones that smell sweet and look bright
- Quality Cocoa Powder: Go for Dutch-processed for a richer red
- Buttermilk: Stick with the real stuff, not DIY versions
- Red Food Coloring: Grab gel type for that wow-factor color
- Pure Vanilla Extract: The authentic kind brings out everything else
Step-By-Step Cooking Guide
- Step 1: Nailing Your Red Velvet Layer
- Mix dry stuff really well. Stir wet things in another bowl. Fold them together gently. Watch baking time closely. Let it cool fully before moving on.
- Step 2: Getting Your Cheesecake Just Right
- Whip cream cheese till it's super smooth. Mix in eggs one by one. Swirl strawberry puree in carefully. Strain if you see lumps. Pour slowly onto your cake base.
- Step 3: Smart Baking Tricks
- Always use a water bath. Wrap your pan with foil really well. Keep an eye on the temp. Look for a slight wobble in the middle. Cool it down slowly to avoid cracks.
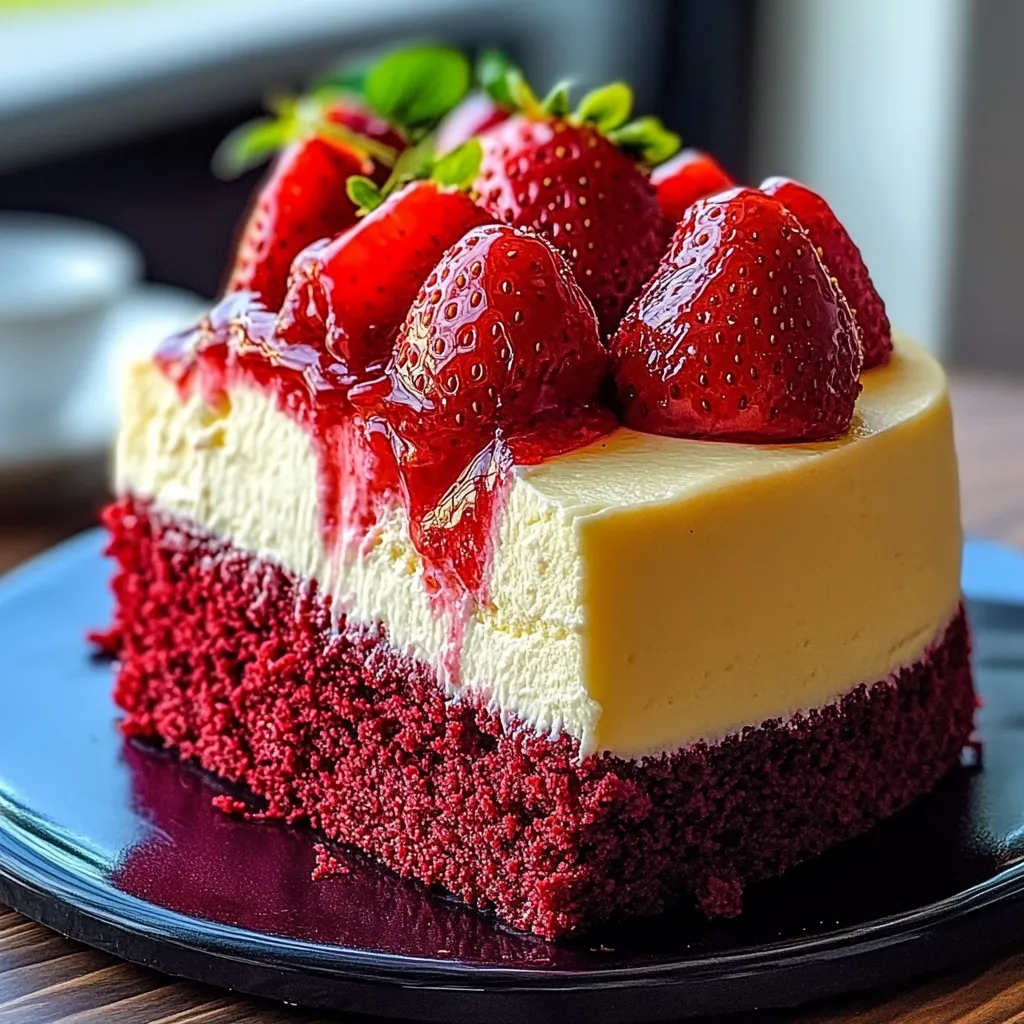
- Step 4: Making It Look Amazing
- Cut strawberries the same size. Let them sit with sugar for extra flavor. Lay them out nicely. Wait till serving time to add them. Try a pattern that catches the eye.
- Step 5: Putting It All Together
- Take it from the pan super carefully. Wipe the knife with warm water for clean edges. Put garnishes where they look best. Chill it thoroughly before cutting. Use a warm knife for perfect slices.
 Pin it
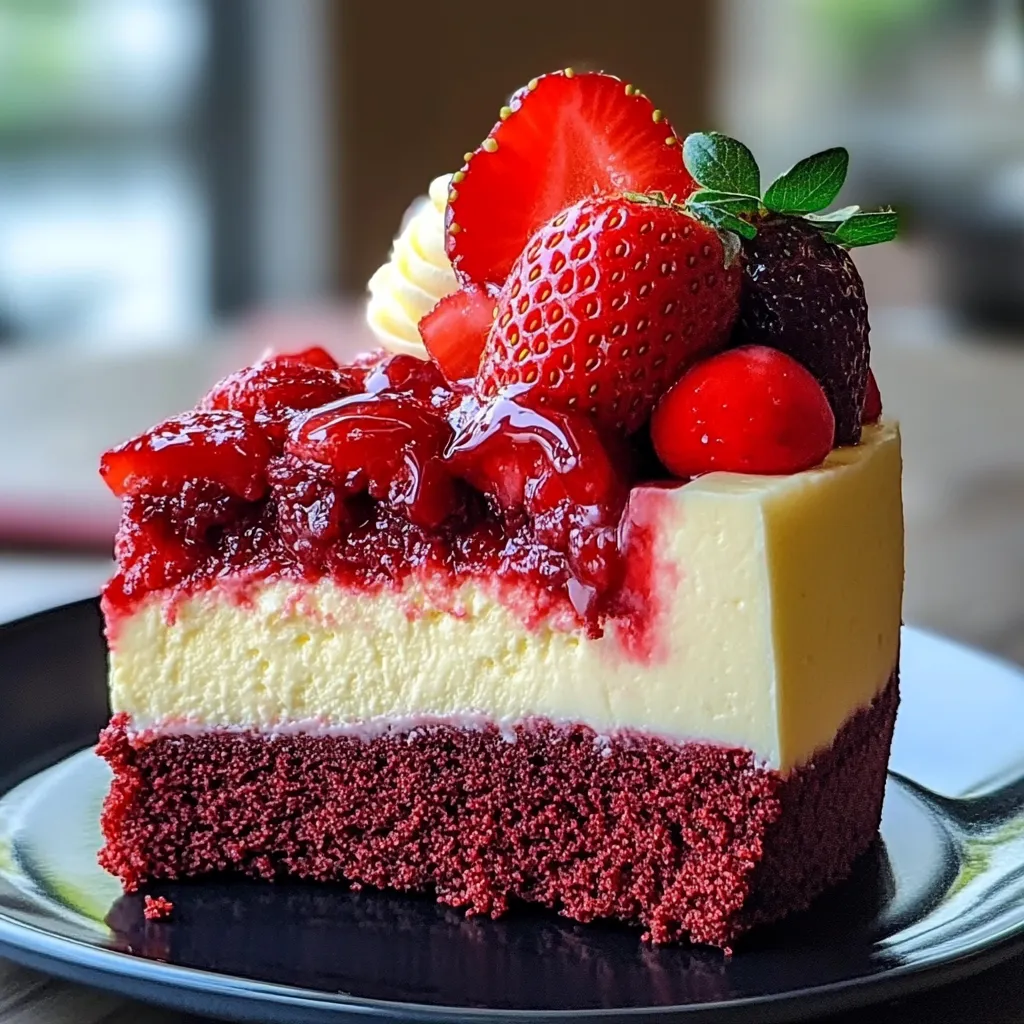
I just love when the cheesecake has fully set in the fridge and I can put those sweet, juicy strawberries on top - the way the colors and textures come together is simply magical.
 Pin it
Smart Prep and Keeping It Fresh
Getting the timing right makes all the difference: You can make the red velvet part 2 days early. The whole cheesecake stays good in the fridge for 5 days. Want to plan way ahead? Freeze it for up to 2 months. Add the strawberry topping just before you serve. If frozen, put it in the fridge overnight to thaw.
Frequently Asked Questions
- → How do I prevent cracks in the cheesecake?
To prevent cracks, avoid overbaking and ensure slow cooling. Baking in a water bath also helps evenly distribute heat, reducing the chance of cracks.
- → Can this dessert be made in advance?
Yes, you can prepare the red velvet layer 1-2 days in advance and assemble the entire cheesecake a day prior. Add fresh strawberries right before serving.
- → Can I substitute buttermilk?
If buttermilk is unavailable, combine 1/2 tablespoon white vinegar or lemon juice with 1/2 cup milk. Let it sit for 5-10 minutes, then use as a substitute.
- → What is the best way to slice this cheesecake?
Use a hot knife for clean slices. Dip the knife in hot water, wipe dry, and cut. Repeat this between each slice for a neat presentation.
- → Can I freeze this cheesecake?
Yes, this cheesecake can be frozen without the topping for up to 2 months. Wrap it tightly in plastic wrap and foil. Thaw overnight in the refrigerator before serving.