
 Pin it
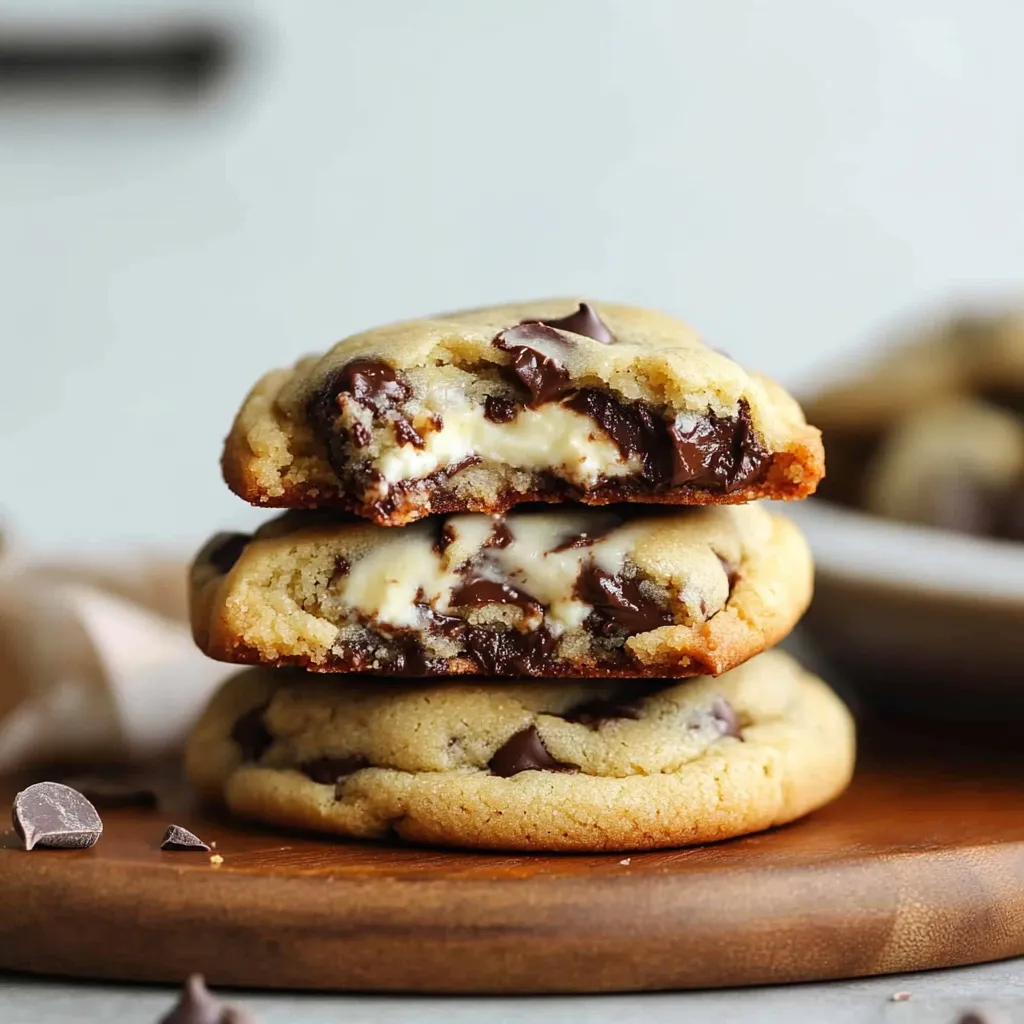
Take a bite of what looks like an ordinary chocolate chip cookie and you'll be shocked to find a velvety cheesecake center tucked inside. These Cheesecake Stuffed Chocolate Chip Cookies have turned into my go-to crowd favorite, blending two classic desserts into one unforgettable snack. Since nailing this recipe in my home kitchen, I can tell you there's nothing better than watching someone's face light up when they hit that creamy surprise.
I whipped these up for my kid's school fundraiser, and they vanished in seconds. Now my family asks for them at every get-together, and I always keep some frozen for when friends drop by unexpectedly.
Key Ingredients and Smart Selection Advice
- Cream Cheese: Go for cold, cubed Philadelphia full-fat for the best filling consistency. It makes all the difference.
- Butter: Pick a good unsalted butter that's softened. I've noticed fancy European butter gives these cookies an extra rich flavor.
- Chocolate Chips: Grab high-quality semi-sweet ones that won't melt away while cooking. Ghirardelli works great because of their ideal size.
- All-Purpose Flour: Always spoon it into your measuring cup then level it off - don't dig straight in with the cup.
- Brown Sugar: Push it down firmly when measuring. Using fresh brown sugar really changes how your cookies turn out.
Clear Step-by-Step Cooking Guide
- Getting the Filling Ready (15 minutes):
- Dice cold cream cheese into tiny squares for smoother mixing. Whip with powdered sugar until totally smooth and lump-free! Stick it in the fridge for at least 30 minutes to firm up. Then scoop into little balls with a melon baller or spoon.
- Whipping Up Cookie Dough (20 minutes):
- Mix softened butter until smooth (around 2 minutes). Throw in both sugars and beat until fluffy and light (3-4 minutes). Add vanilla, egg, and that extra yolk just until mixed. Slowly add your dry stuff, scraping the bowl often. Gently fold in your chocolate chips.
- Putting It All Together (30 minutes):
- Use a medium cookie scoop for dough. Make a dent in each ball. Drop a chilled cream cheese ball right in the middle. Carefully wrap the dough around it, making sure it's totally covered. Roll between your hands until smooth. Stick extra chocolate chips on top.
- Cooking Time (12-15 minutes per batch):
- Set them on parchment-lined trays 2 inches from each other. Cook at exactly 350°F until you see light golden edges. Let them sit on the tray for 5 minutes. Move to cooling racks to finish cooling.
 Pin it
My little girl loves to help make these, though we found out the hard way that small fingers need to be extra careful when sealing the cream cheese inside. We still laugh about our early 'cream cheese explosions' during family baking sessions!
Mastering Your Cookie Skills
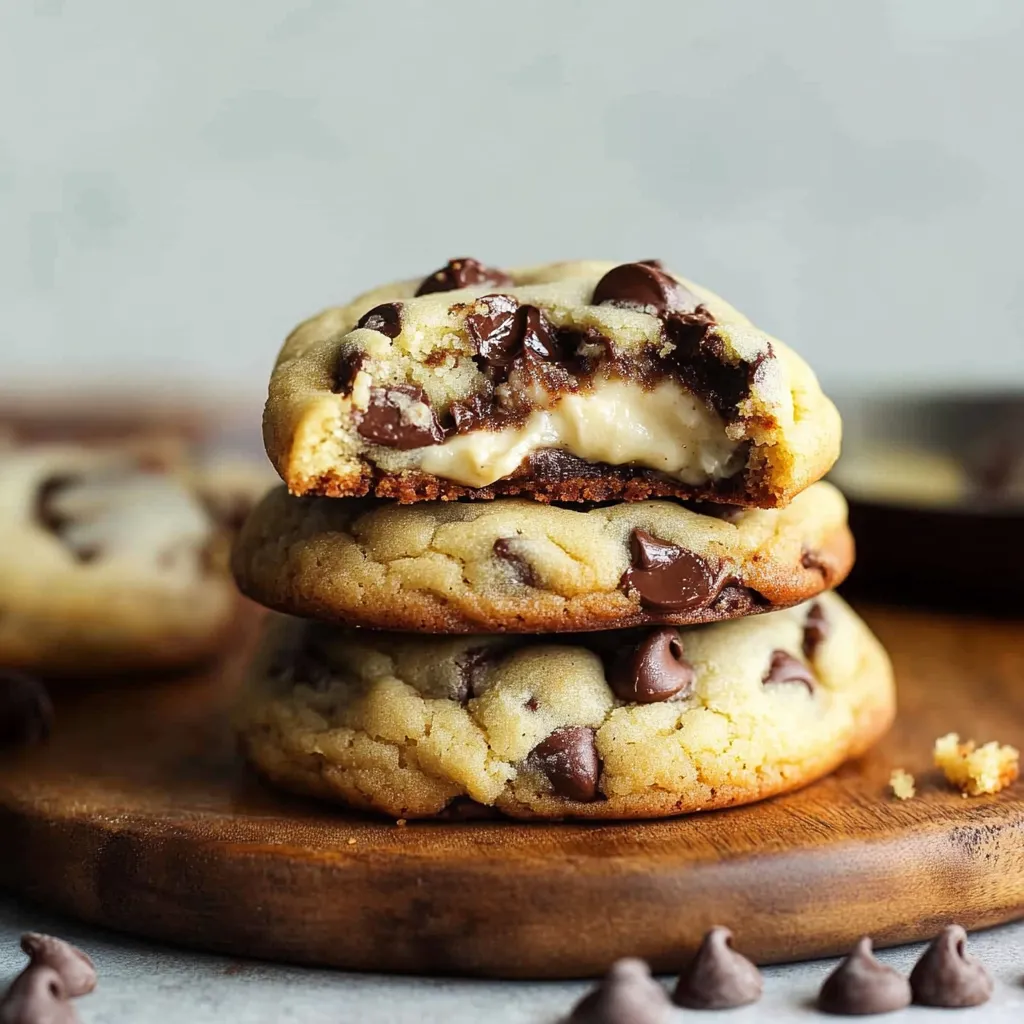
I've learned that cooling the filled cookies for just 15 minutes before baking really helps them keep their shape. After tons of practice, I've also found that gently flattening the tops before they go in the oven gives them that professional bakery look with natural cracks across the surface.
Keeping Them Fresh
These special treats need proper storage because of their creamy middles. Pop them in airtight containers with wax paper between each layer in your fridge. Let them warm up for about 10 minutes before eating - the center gets perfectly creamy while the cookie stays delightfully chewy.
 Pin it
Fixing Common Problems
The filling sometimes escapes during baking if it's not well sealed. After countless batches, I've gotten into the habit of double-checking each seal and keeping the cream cheese balls on the smaller side. When I teach folks how to make these in my cooking classes, we spend extra time practicing this crucial step.
Fun Flavor Twists
The original version is fantastic, but I can't stop playing with different flavors. During Christmas, I mix in some peppermint extract with the filling. For summer gatherings, I've added fresh lemon zest, and my chocolate-obsessed friends go crazy when I mix cocoa powder into the cookie dough.
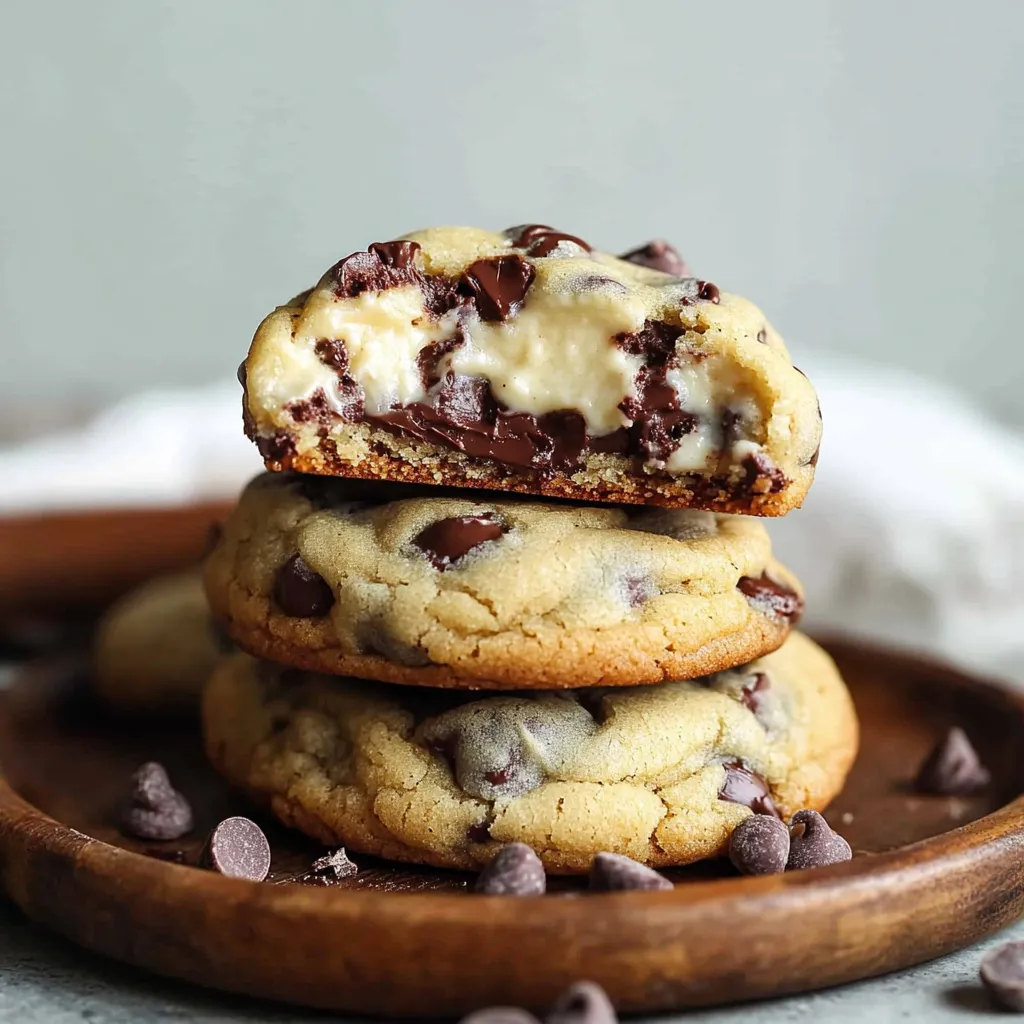
After making these cookies too many times to count, they've become more than just a treat - they're woven into our family traditions. Whether we're making after-school snacks, holiday treats, or just something sweet to brighten a regular Tuesday, these cheesecake-stuffed cookies always bring joy. That mix of crispy edges, soft middles, and surprising cream cheese center makes every bite something to talk about.
Don't forget, the secret to amazing cookies is taking your time and paying attention to the little things. Don't rush when putting them together. My grandma always told me 'The best treats come from kitchens filled with patience and love!' These cookies prove she was right all along.
Frequently Asked Questions
- → What's the best way to store them?
- Keep them in an airtight container, refrigerated for up to 5 days. You can leave them at room temperature for a few hours if needed.
- → Can I freeze these treats?
- Absolutely, store the baked cookies in a sealed container in the freezer for up to 3 months. Let them thaw overnight in the fridge when ready.
- → Why do they go in the fridge?
- Because of the cream cheese filling, chilling is the best way to keep them tasty and safe to eat.
- → Can I prep the dough early?
- Sure, make the dough and filling ahead, store them separately in the fridge, and put the cookies together to bake within a day.
- → When are they fully baked?
- Check for golden edges and a soft top after around 9 minutes. They might look slightly underdone, but they'll be perfect as they cool.