
 Pin it
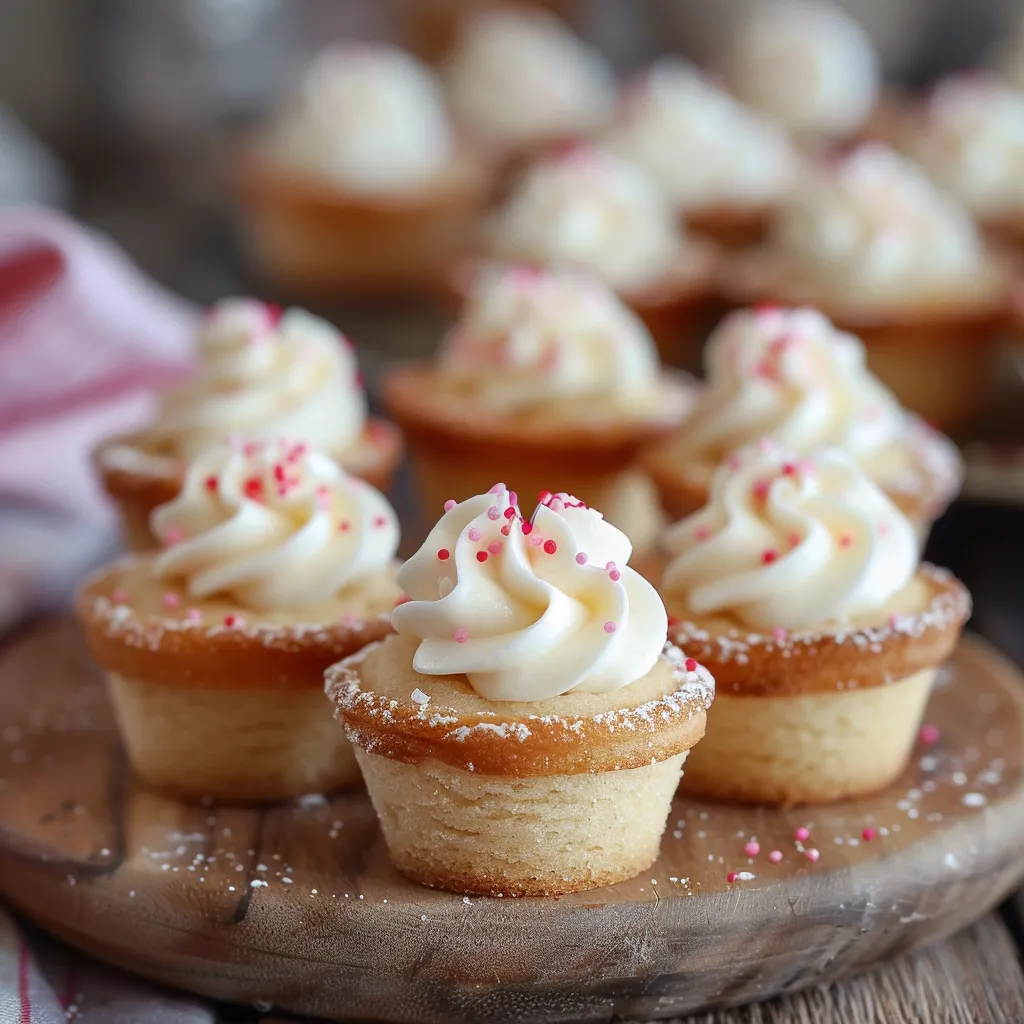
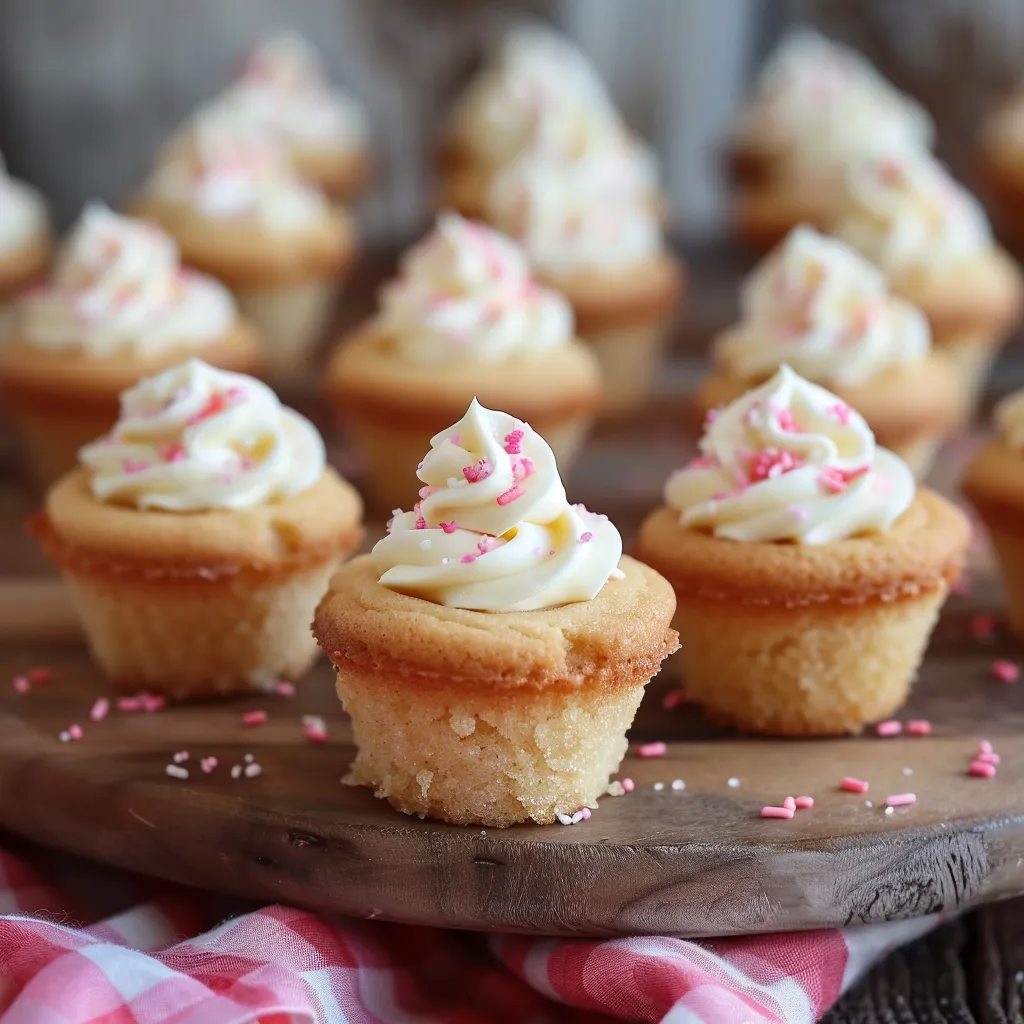
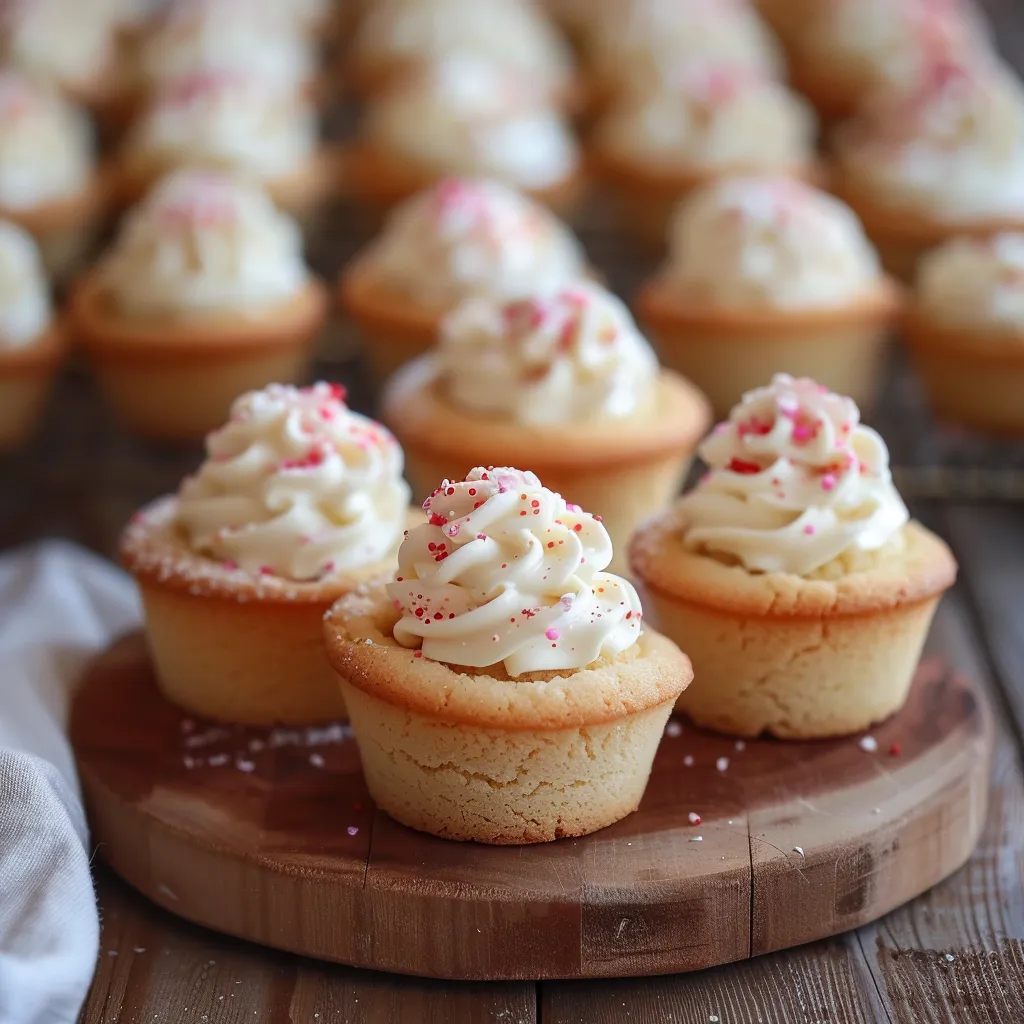
Picture yourself taking a bite of these tiny cookie cups that perfectly match soft buttery cookie bottoms with fluffy buttercream on top. These cute little treats give you the best of both worlds - a soft, chewy cookie base holding velvety frosting, finished with fun sprinkles. Every cup makes a perfect two-bite sweet that'll make you happy with both its cute look and amazing taste.
The first batch I ever made for my niece's party had all the kids wide-eyed with excitement when they spotted these colorful little cups. They've now become our family's favorite treat whenever we celebrate anything, and everyone asks for their own special frosting colors.
Key Ingredients Breakdown
- Salted butter: Needs to be completely softened at room temp for the right creamy consistency - it should dent slightly when you poke it
- Pure vanilla extract: Go for the good stuff for better flavor; you might want to try adding a bit of almond extract too for extra richness
- All-purpose flour: Make sure to spoon it into your measuring cup and level it off for cookies that are tender, not tough
- Heavy cream: Makes the smoothest buttercream that pipes beautifully into your cups
- Fresh baking powder: Check if it's still good by dropping some in hot water - it should bubble up right away
Crafting Flawless Cookie Cups
- Getting The Dough Right:
- Start with completely softened butter and mix it with sugar until it's really light and fluffy. This key step helps create soft, chewy cookie cups that won't fall apart.
- Mixing In Wet Stuff:
- Slowly add your egg and flavors, beating until everything looks smooth and shiny. This makes sure all the yummy flavors spread evenly through the dough.
- Adding Dry Ingredients:
- Carefully fold in your flour mixture just until it's mixed. Don't overdo it or you'll end up with tough cookies that won't have that perfect soft bite.
- Shaping The Cups:
- Put even amounts of dough into really well-greased mini muffin tins. Be gentle when pressing the centers so they make the perfect little bowl for frosting.
- Making The Dents:
- Push down the centers right after baking while they're still hot. A measuring spoon works great for making nice even holes.
- Finishing With Frosting:
- After they've completely cooled down, pipe swirls of buttercream into each cup, making them look so pretty everyone will want to grab one.
 Pin it
My favorite memory with these cups was showing my daughter how to pipe the frosting. Her first tries were adorably uneven, but seeing her face glow with pride when she finally got that perfect swirl made all the messy practice sessions worthwhile.
Getting The Heat Just Right
Finding the perfect baking temperature really matters. Too hot and the edges get too brown before the middle sets; too cool and the cups won't get that slight golden edge that gives them structure. I've found that 350°F works just right.
Prep Them In Advance
These cookie cups are great for making ahead of time. You can make the cups and frosting separately, keeping the plain cups at room temp and the frosting in the fridge. Just let the frosting warm up before piping so it goes on smooth.
Switch Up Your Frosting
You can change these cups for different occasions by playing with frosting colors and flavors. Try mint extract for Christmas, orange zest in summer, or split the frosting into different colors for birthday parties.
Keeping Them Fresh
Keep filled cups in one layer in an airtight container. If you need to stack them, put parchment paper between layers and don't press down on the frosting. They'll stay good at room temperature for about 3 days.
 Pin it
After making these sweet treats for years, I've found their magic comes from both how good they taste and how many ways you can use them. Whether dressed up with gold sprinkles for a bridal shower or topped with heart candies for Valentine's Day, these sugar cookie cups always make people smile. They show us that sometimes the tastiest things come in little packages.
Frequently Asked Questions
- → Can I make these ahead of time?
- For sure, you can bake the cups up to 3 days early and keep them in a sealed container. Just add the frosting right before serving for the best taste.
- → Why do my cookie cups crack when making the indentation?
- You need to push the bottle top in while the cookies are still hot. If they cool down too much first, they might crack when you shape them.
- → Can I freeze these cookie cups?
- You can totally freeze empty cookie cups for up to 3 months. Just let them thaw completely before you add fresh buttercream.
- → What can I use instead of a bottle cap to make the indentations?
- Any round thing about 1-inch wide will do the job - try using a wooden spoon handle or the bottom of a measuring spoon.
- → How long do filled cookie cups last?
- After you've filled them, the cookie cups taste best if eaten within 2 days. Keep them in a sealed container at room temp.