Tangy Citrus Mini Cheesecake

Featured in: Sweet Desserts

These Tiny Lemon Cheesecakes deliver sharp citrus taste in handy single servings. Every mouthful combines a crumbly graham base with a velvety lemon-filled center. The handcrafted lemon topping adds an extra kick of tanginess, while the soft whipped cream brings a gentle, airy finish. The key to their smooth consistency comes from the slow baking and cooling steps, stopping cracks and making sure they stay creamy throughout. These small bites work great for warm weather gatherings, can be made days before, and their ready-to-serve size makes party hosting way easier.
punchofyummy
Updated on Sun, 30 Mar 2025 21:30:17 GMT
Silky mini lemon cheesecakes with bright citrus flavor and buttery base. Pin it
Silky mini lemon cheesecakes with bright citrus flavor and buttery base. | pinchofyummy.com

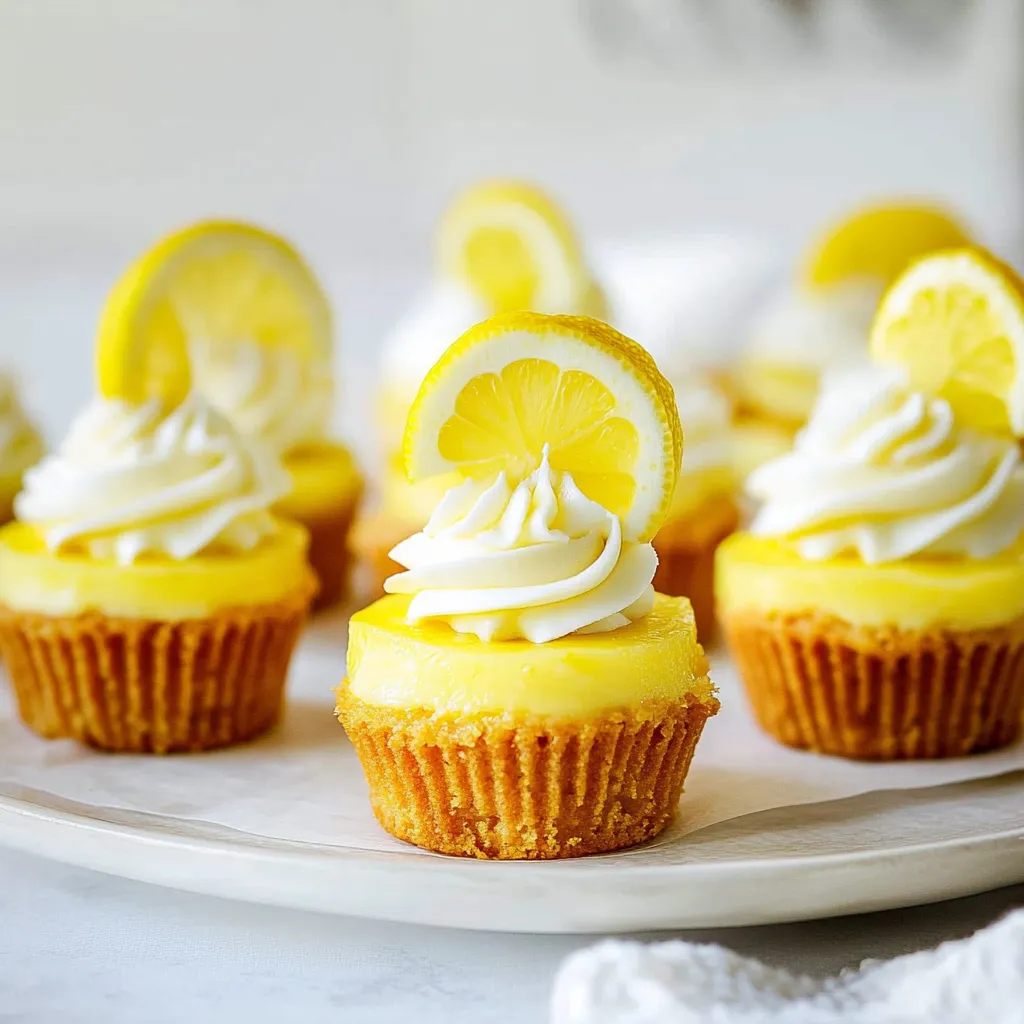
These tiny lemon cheesecakes hit the sweet spot between zesty citrus and smooth creaminess in a perfectly sized dessert. They bring together a crisp graham cracker bottom, velvety cheesecake middle, and a bright lemon topping finished with fluffy whipped cream - making a fancy little treat that's both refreshing and decadent.

These have turned into my go-to spring dessert. I've noticed that leaving them in the fridge overnight really brings out the lemon flavor, giving you a stronger citrus kick that works beautifully with the rich, creamy filling.

Key Components

  • Cream Cheese: Go for full-fat Philadelphia-type cream cheese for the creamiest results and best structure.
  • Fresh Lemons: You'll need both juice and zest; don't use the bottled stuff as it won't give you that same zingy freshness.
  • Graham Crackers: Crush your own instead of buying pre-made crumbs for much better flavor.
  • Sour Cream: This adds a nice tang and helps make everything extra smooth.

Directions

Step 1: Setting Up The Base
Make sure everything's at room temperature - this really matters for getting that silky filling. While you gather what you need, smash those graham crackers into tiny, uniform bits. Your melted butter should be warm but not hot, or your mixture might get too oily.
Step 2: Getting The Filling Right
Mix your cream cheese blend on low just until it comes together - too much mixing traps air bubbles that can cause cracks later. Don't forget to scrape the bowl often, especially at the bottom where cream cheese likes to hide.
Step 3: Baking Them Up
Cooling them slowly is really important to avoid cracks. Think of it as easing them down to room temperature instead of shocking them with a sudden cold blast.
Step 4: Whipping Up The Topping
When you're making your lemon curd, don't rush it. Keep stirring non-stop and look for the moment it gets thick enough to stick to the back of your spoon - that's when it's ready to come off the heat.
Tasty mini lemon cheesecakes, great for a light and tangy sweet treat. Pin it
Tasty mini lemon cheesecakes, great for a light and tangy sweet treat. | pinchofyummy.com

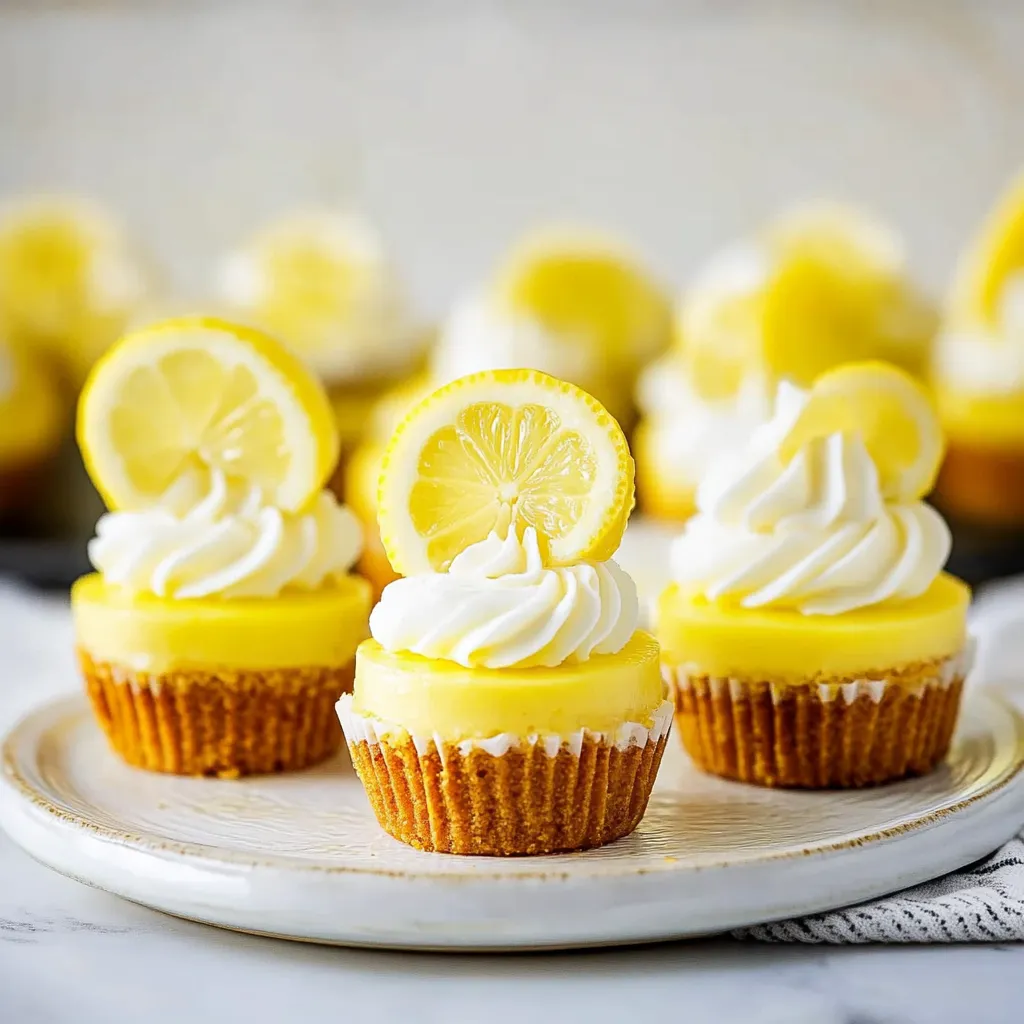
The lemon curd on top is always a hit with my family - I've learned that using Meyer lemons in season makes an incredibly fragrant version.

Little lemon cheesecakes with creamy texture and bright citrus flavor in each mouthful. Pin it
Little lemon cheesecakes with creamy texture and bright citrus flavor in each mouthful. | pinchofyummy.com

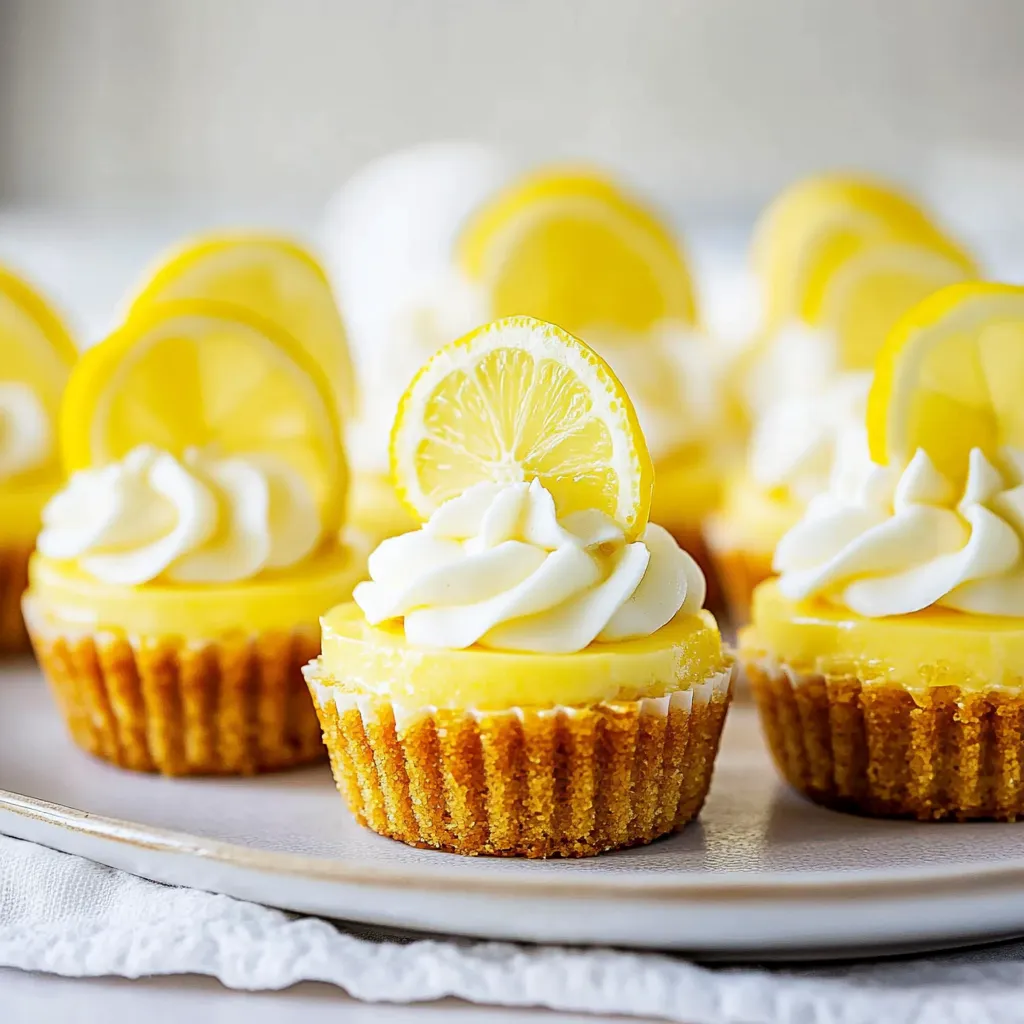
I've spent ages tweaking this recipe, and I've found that taking your time and paying attention to the small stuff really pays off. They do take several steps to make, but you'll end up with treats that look like they came from a fancy bakery while tasting freshly homemade through and through.

Frequently Asked Questions

→ Can I fix these cheesecakes before my event?
Absolutely, you can make them two days early and keep them wrapped in the fridge. Just add the whipped cream right when you'll serve them.
→ Why does my cream cheese need to sit out first?
Soft cream cheese at room temp mixes up without lumps and gives you a smooth filling.
→ Is it okay to use lemon curd from the store?
You bet, grab store lemon curd instead of making your own to save loads of time.
→ How do I stop the tops from splitting?
Keep your mixer on low and don't rush the cooling steps afterward.
→ Can I freeze these little treats?
Sure thing, freeze them without any toppings for up to 2 months. Let them thaw in the fridge overnight and add your toppings before you serve.

Tiny Zesty Lemon Treats

Zesty and light mini treats with a crunchy graham base, smooth lemony center, and tangy homemade citrus topping.

Prep Time
45 Minutes
Cook Time
30 Minutes
Total Time
75 Minutes
By: Amelia

Category: Sweet Desserts

Difficulty: Intermediate

Cuisine: American

Yield: 12 Servings (12 tiny cheesecakes)

Dietary: Vegetarian

Ingredients

→ Crust

01 1 cup (134g) crushed graham crackers
02 2 tablespoons (26g) granulated sugar
03 4 tablespoons (56g) butter, completely melted

→ Lemon Filling

04 12 ounces (339g) softened cream cheese
05 1/2 cup (104g) white sugar
06 2 tablespoons (16g) all-purpose flour
07 6 tablespoons (86g) room temperature sour cream
08 3 tablespoons (45ml) freshly squeezed lemon juice
09 1 tablespoon freshly grated lemon peel
10 1 large egg, taken out of fridge early
11 2 large egg yolks, not cold

→ Lemon Curd

12 1/4 cup (60ml) squeezed lemon juice (grab 1-2 fresh lemons)
13 2 teaspoons finely shredded lemon skin
14 1/3 cup (69g) regular sugar
15 4 egg yolks
16 3 tablespoons (42g) salted butter

→ Whipped Cream

17 1/2 cup cold heavy cream
18 1/4 cup confectioners sugar
19 3/4 teaspoon pure vanilla extract

Instructions

Step 01

Heat your oven to 325°F. Put paper liners in your cupcake tin. Stir together the crushed graham bits, sugar and melted butter. Push roughly 2 tablespoons into the bottom of each liner. Pop in oven for 5 minutes, then let them cool down.

Step 02

Turn oven down to 300°F. Mix the cream cheese, sugar, and flour until it's completely smooth. Throw in sour cream, lemon juice and zest. Add each egg and yolk one by one. Pour this mix into your cups.

Step 03

Stick them in the oven for 15 minutes, then switch off heat but keep the door shut for another 10 minutes. After that, open the door a tiny bit and let them sit for 15-20 minutes before putting them in the fridge.

Step 04

Mix all your curd stuff in a double boiler, keep stirring until it gets thick and hits 160°F. When cool, spread about a spoonful onto each chilled mini cake.

Step 05

Beat the cream with sugar and vanilla until it forms stiff peaks. Pipe this on top of your mini cakes and add some lemon slices if you want. Keep them cold until you're ready to eat.

Notes

  1. Hit those liners with cooking spray so nothing sticks
  2. Mix everything slowly to avoid getting cracks
  3. Don't forget to warm up your ingredients before mixing

Tools You'll Need

  • Muffin tin
  • Paper baking cups
  • Mixing machine
  • Pot with bowl on top

Allergy Information

Please check ingredients for potential allergens and consult a health professional if in doubt.
  • Dairy products including milk
  • Egg products
  • Graham crackers (contain wheat)

Nutrition Facts (Per Serving)

It is important to consider this information as approximate and not to use it as definitive health advice.
  • Calories: 311
  • Total Fat: 22 g
  • Total Carbohydrate: 25 g
  • Protein: 4.6 g