
 Pin it
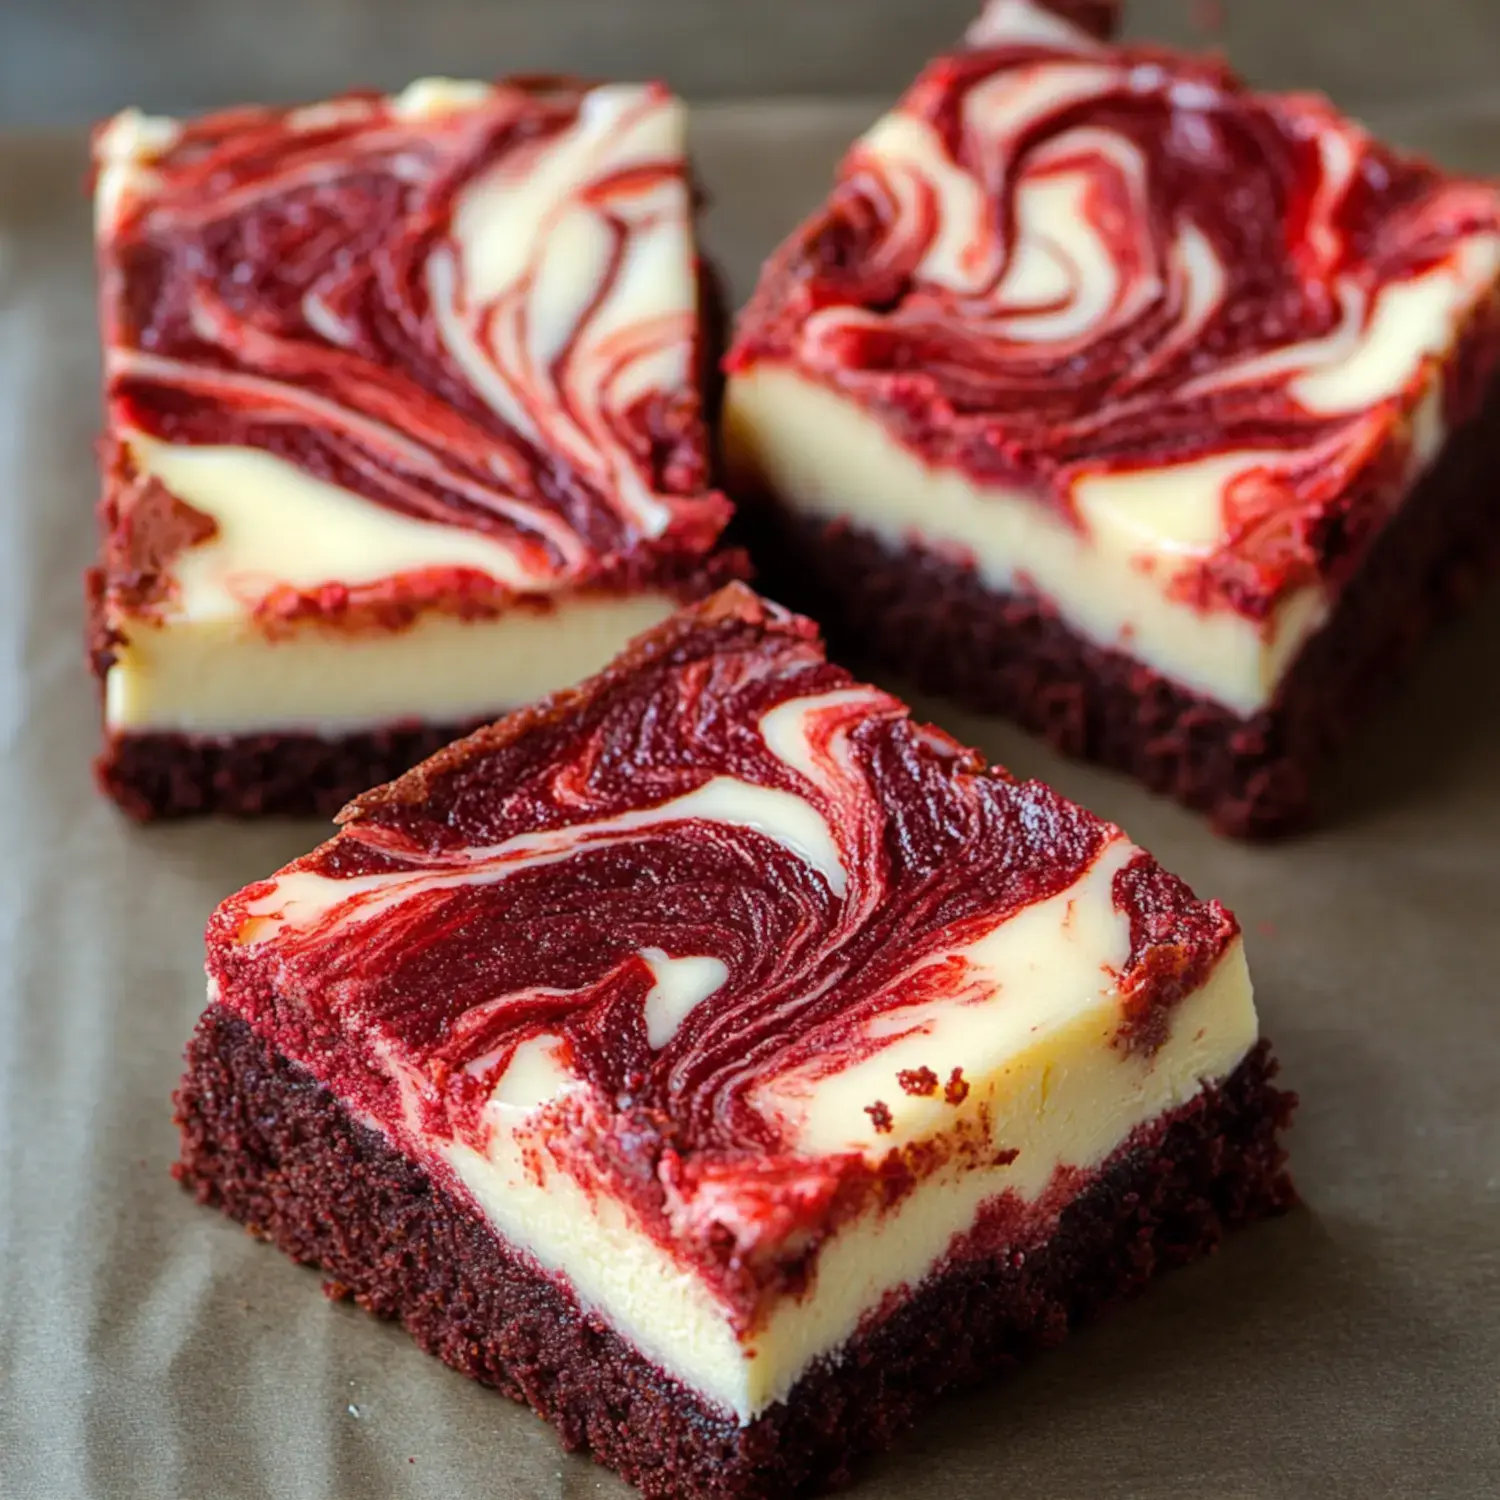
I stumbled upon these Red Velvet Cheesecake Brownies by complete chance in my kitchen. After mixing cream cheese into my go-to red velvet brownie recipe, they've become the treat everyone asks me for. The rich crimson brownie layer swirled with velvety cheesecake doesn't just look amazing – it tastes incredible too.
What Makes These Treats Special
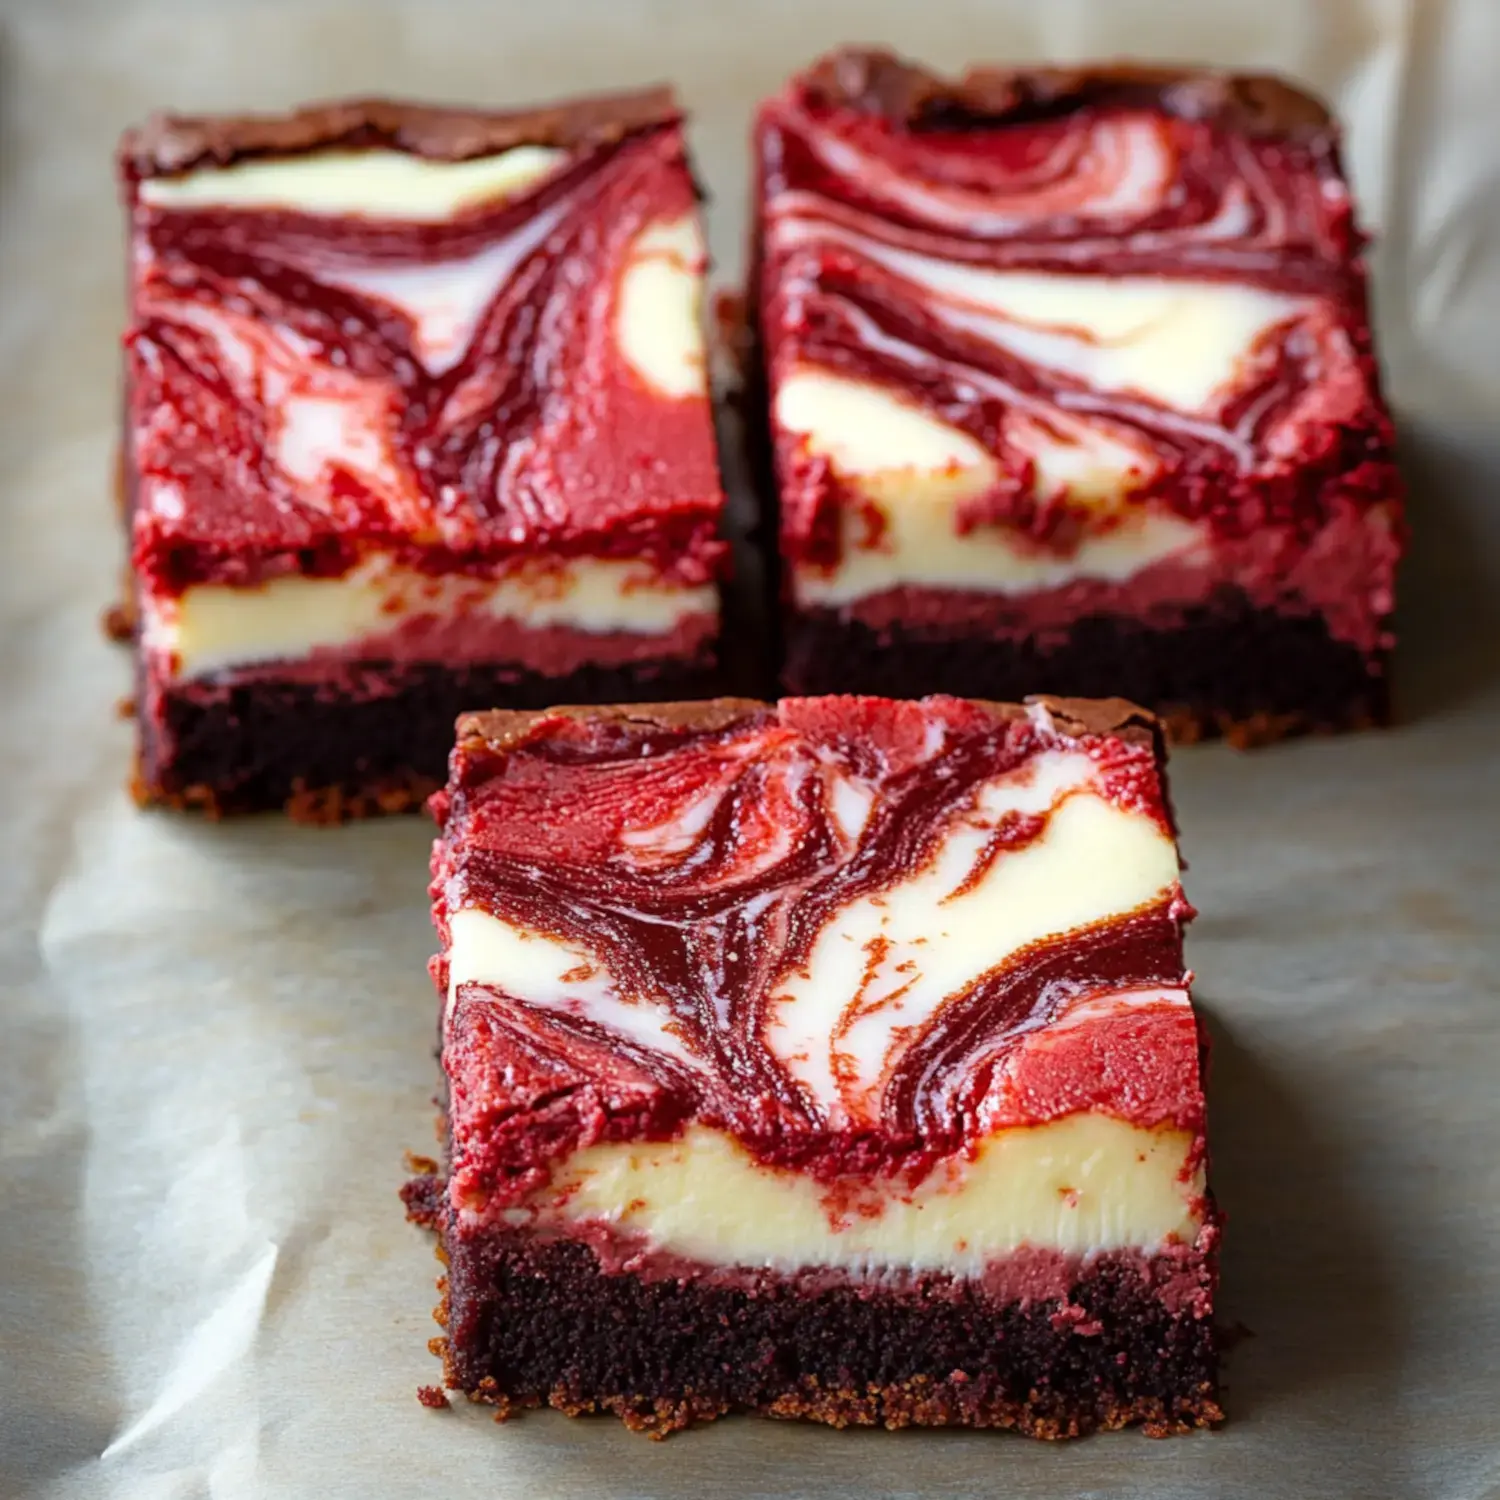
The real wonder happens when the two mixtures combine. A chocolatey red brownie base gets cozy with a zesty cream cheese blend. Their interaction in the baking pan creates something truly spectacular.
Nailing That Beautiful Marble Look
First lay down most of your crimson brownie mix then drop spoonfuls of the tangy cheesecake batter on top. Scatter tiny bits of leftover brownie mix around and get a toothpick ready. Here comes the enjoyable bit – swirl with a light touch and don't overdo it. You'll want those beautiful streaks clearly visible.
Smart Baking Tips
Look for that sweet spot when the sides appear firm but the middle jiggles slightly. Let them cool all the way before slicing – I'm serious about this part. Want clean-cut squares? Stick them in the refrigerator beforehand.
Serving Suggestions
These treats stand out at any gathering. Take them to shared meals and watch them get snatched up immediately. Feeling fancy? Top with a scoop of vanilla ice cream or pour warm chocolate sauce over them.
 Pin it
Storage Advice
They'll stay good for 3 days in a box on your kitchen counter. Need to store longer? Put them in the fridge for up to a week. Wrap individual pieces tightly and freeze for up to 2 months just make sure to let them come to room temp before eating.
Fast Solutions
Running late? Grab a boxed mix and add red dye. Remember light swirling creates pretty patterns. Want natural coloring? Beet powder does the trick wonderfully.
The Appeal Factor
You get two treats in one – dense brownie meets smooth cheesecake. The swirled design always impresses guests. And those flavors – rich chocolate with tangy cream cheese just naturally complement each other.
Customize Your Creation
Throw in some tiny chocolate chips if you're feeling indulgent. I sometimes mix peanut butter into the cream cheese portion. Can't have gluten? Your favorite substitute flour blend works just fine.
Great For Celebrations
For Valentine's Day those red swirls feel so loving. At Christmas parties they blend right in with festive snacks. Putting together gift packages? These always catch everyone's eye.
Insider Baking Tips
Using ingredients at room temperature makes blending so much simpler. Test early with a toothpick as a few crumbs mean they'll be perfectly fudgy. Cool them totally – waiting creates distinct layers.
Basic Ingredients Needed
For those stunning brownies you'll need butter sugar cocoa powder eggs vanilla flour and red coloring. The cheesecake swirl calls for cream cheese sugar egg and vanilla. Stop by again for specific measurements when you're set to start baking.
Completely Satisfying
These brownies always bring joy to people's faces. That ideal combo of chocolate and cream cheese wins them over every time. Whether you're making them for yourself or to share with others they're always a smart choice.
 Pin it
Frequently Asked Questions
- → Can these be made early?
- Definitely! They’re even tastier the next day. Just cool completely and store in an airtight container.
- → What's the purpose of adding vinegar?
- It boosts the red color and makes the texture fluffier by reacting with the cocoa.
- → Tips for neat brownie slices?
- Let them cool fully first. Slice using a sharp knife and wipe the blade clean after each cut.
- → Is it okay to freeze them?
- Absolutely! Wrap them tightly and freeze for up to 3 months. Thaw in the fridge when ready.
- → How can I tell they’re ready to take out of the oven?
- The edges will look firm, but the center will jiggle slightly. Don’t worry—they’ll set as they cool.