
 Pin it
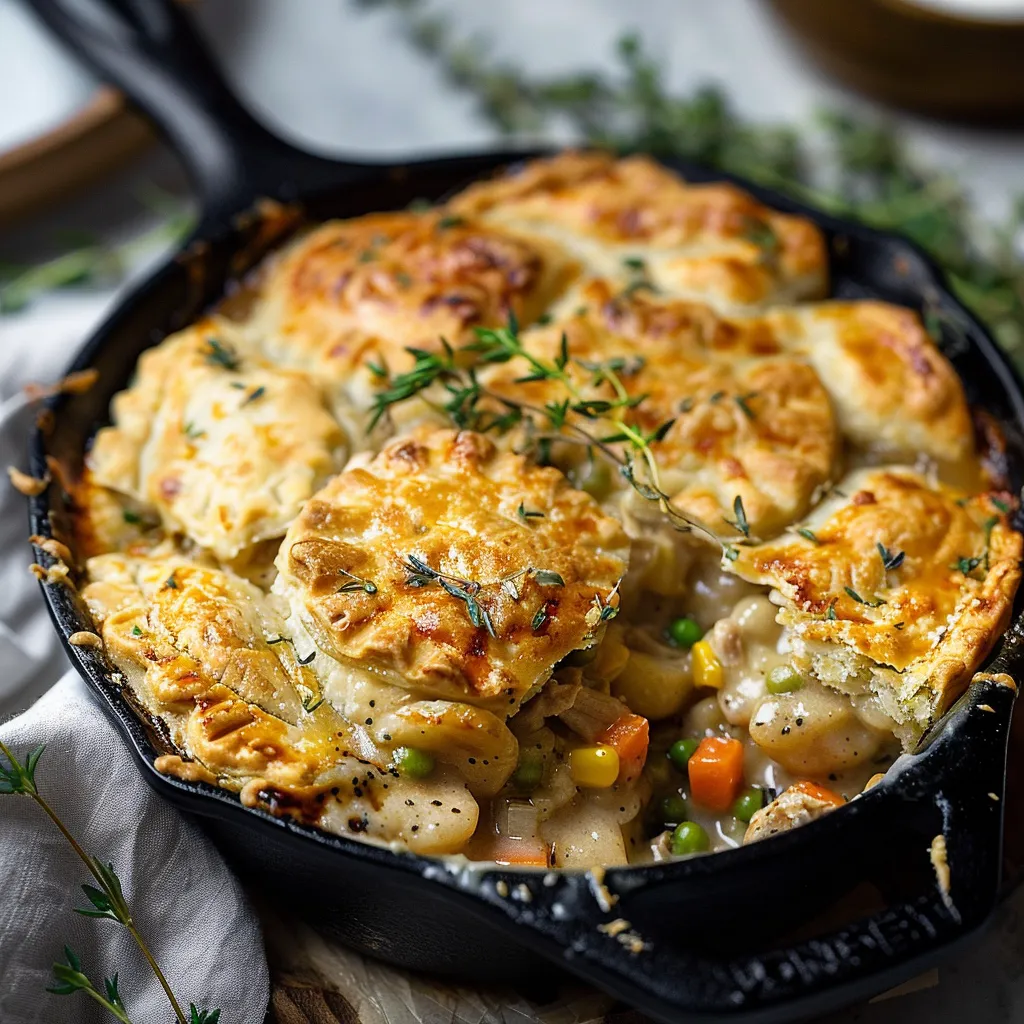
This snug chicken pot pie blends shredded rotisserie chicken, veggies, and a smooth sauce all crowned with airy scratch-made biscuits. It's our family's favorite comfort meal that seems like it simmered forever but actually fits right into hectic weeknight cooking.
I whipped this up during a super busy week when I wanted something cozy but couldn't spend hours cooking. The way my kids' faces lit up seeing those golden biscuits and simmering filling told me this quick version needed to stay in our regular dinner lineup.
Ingredients
- Unsalted butter: Creates the foundation for the filling and biscuits adding wonderful richness
- All purpose flour: Thickens the sauce perfectly and makes soft, fluffy biscuits
- Chicken broth: Brings flavor to the sauce without making it too heavy
- Evaporated milk: Adds richness without needing to buy heavy cream
- Frozen mixed vegetables: Cuts down prep time while boosting color and nutrients
- Rotisserie chicken: Offers moist pre-cooked meat that stays tender
- Buttermilk: Makes incredibly soft biscuits with just a hint of tang
- Baking powder and baking soda: Team up for perfectly puffy biscuits
- Sugar: Helps with browning and rounds out the savory elements
Step-by-Step Instructions
- Get your pan ready:
- Heat your oven to 375°F. A 10 inch cast iron pan works best since it moves easily from stove to oven. Don't worry if you don't have one though, any oven-safe skillet or deep pie pan will do fine.
- Make your base:
- Let 6 tablespoons butter melt over medium heat until it bubbles. Toss in diced onions and cook them about 5 minutes until they're soft but not brown. They should smell good and turn clear. Stir in 6 tablespoons flour and keep whisking for just one minute. This gets rid of that raw flour taste without burning it.
- Whip up the sauce:
- Pour chicken broth into your flour mix bit by bit, whisking the whole time so you don't get lumps. After all the broth is in, do the same with evaporated milk. Let it bubble gently for 2-3 minutes until it's thick enough to coat your spoon. Add some salt and pepper to taste.
- Mix in your fillings:
- Take the pan off the heat. Gently stir in your chicken chunks and frozen veggies. Don't stir too hard or you'll break up the chicken. The warm sauce will start to thaw the veggies just right.
- Put together the biscuit mix:
- In a bowl, mix your dry biscuit stuff. Drop in cold butter chunks and rub them into the flour with your fingers until it looks like rough crumbs with some small butter bits still showing. Pour in buttermilk and stir just enough to make the dough come together. It should look a bit rough not smooth.
- Add your biscuit topping:
- Using an ice cream scoop or cup, drop clumps of biscuit dough across your filling. Try for about 9 biscuits that mostly cover the top but leave some gaps so they can grow.
- Bake until it looks amazing:
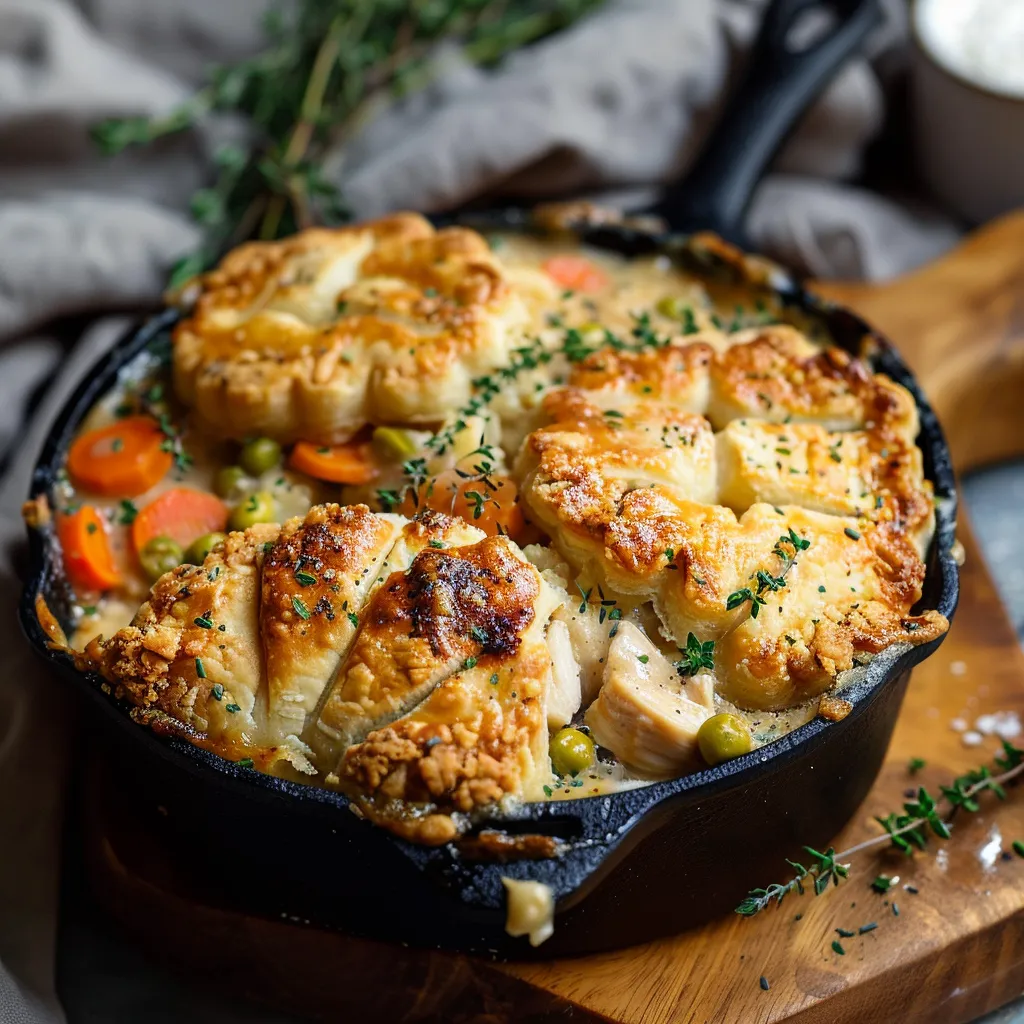
- Stick the pan in your hot oven with a baking sheet underneath to catch drips. Bake for 20-25 minutes until biscuits puff up and turn golden and you see bubbling around the edges. Let it sit for 5 minutes before you dig in so the filling can settle a bit.
 Pin it
What I love most about this dish is how the biscuits get crunchy on top but stay soft inside where they soak up some of that yummy filling. It takes me back to my grandma's Sunday meals where she'd make something like this but cook it much longer. My quick version brings those same homey flavors to our table any weeknight.
Make-Ahead Options
This pot pie is perfect for planning ahead. You can cook the filling up to two days early and keep it in the fridge. When you're ready to eat, just warm up the filling in your skillet, then make fresh biscuit dough and finish the recipe. To save even more time, mix all your dry biscuit ingredients beforehand and store them, then just add the cold butter and buttermilk right before baking.
Ingredient Swaps
Feel free to switch things up based on what's in your kitchen. Any leftover cooked chicken or turkey works instead of rotisserie. Fresh veggies can jump in for frozen if you cook them briefly first. No buttermilk around? Make some by adding a spoonful of lemon juice to regular milk and waiting five minutes. Going dairy-free? Try plant butter, your favorite unsweetened milk alternative, and bump up the seasonings a bit to keep the flavor rich.
Serving Suggestions
This meal stands on its own just fine, but a basic green salad with tangy dressing makes a nice fresh contrast to the rich pot pie. For special gatherings, add some cranberry sauce on the side for a sweet-tart kick that works really well with the savory flavors. When company's coming, try making individual servings in little ramekins or tiny cast iron pans for a fancy look that also helps with portion control.
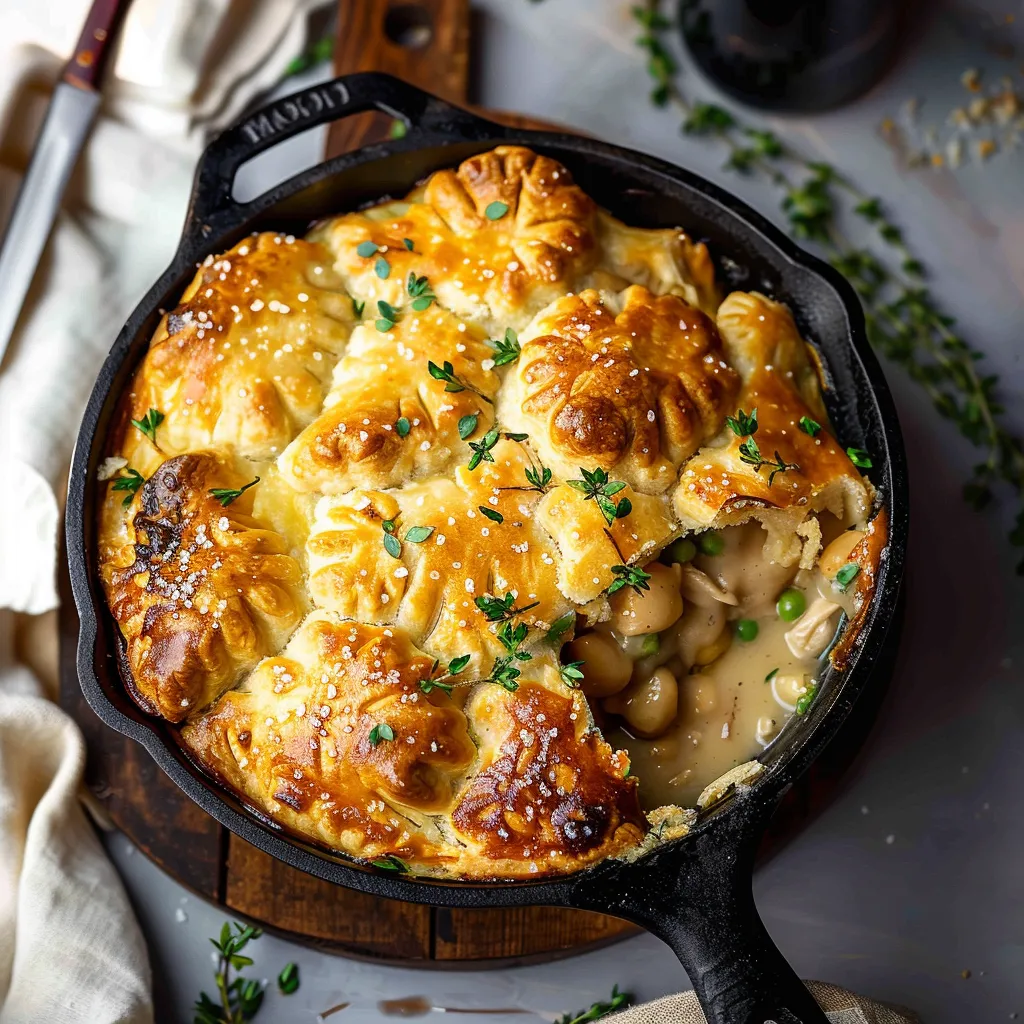
The Cast Iron Advantage
Using cast iron for this dish does more than just look good. The pan spreads heat evenly so your filling cooks the same throughout, and it stays hot longer when you bring it to the table. Going straight from stove to oven means fewer dishes to wash, and a well-used cast iron pan adds a hint of flavor that gets better each time you use it. If you're just starting with cast iron cooking, this forgiving dish is a great way to begin building up your pan's seasoning.
 Pin it
Frequently Asked Questions
- → Can I use a different pan if I don’t own cast iron?
Of course! Just grab any oven-safe skillet or baking dish. Make sure it can fit your filling and biscuit topping without spilling.
- → What can replace buttermilk in the biscuit recipe?
No buttermilk? No problem. Combine regular milk with a splash of vinegar or lemon juice. Let it sit for a few minutes before using.
- → Can I add fresh veggies instead of frozen ones?
Yes! Swap in fresh veggies but cook them a bit first to make sure they soften up nicely in the mix.
- → How should I store leftovers after eating?
Pop the leftovers in a container with a lid and keep them in the fridge for 3-4 days. Rewarm in the oven or microwave when you're ready to eat.
- → Is it possible to prep the filling or biscuits early?
Sure thing! The filling can be made a day ahead and refrigerated. For the biscuits, mix the dry ingredients in advance, but bake fresh for the best results.