
 Pin it
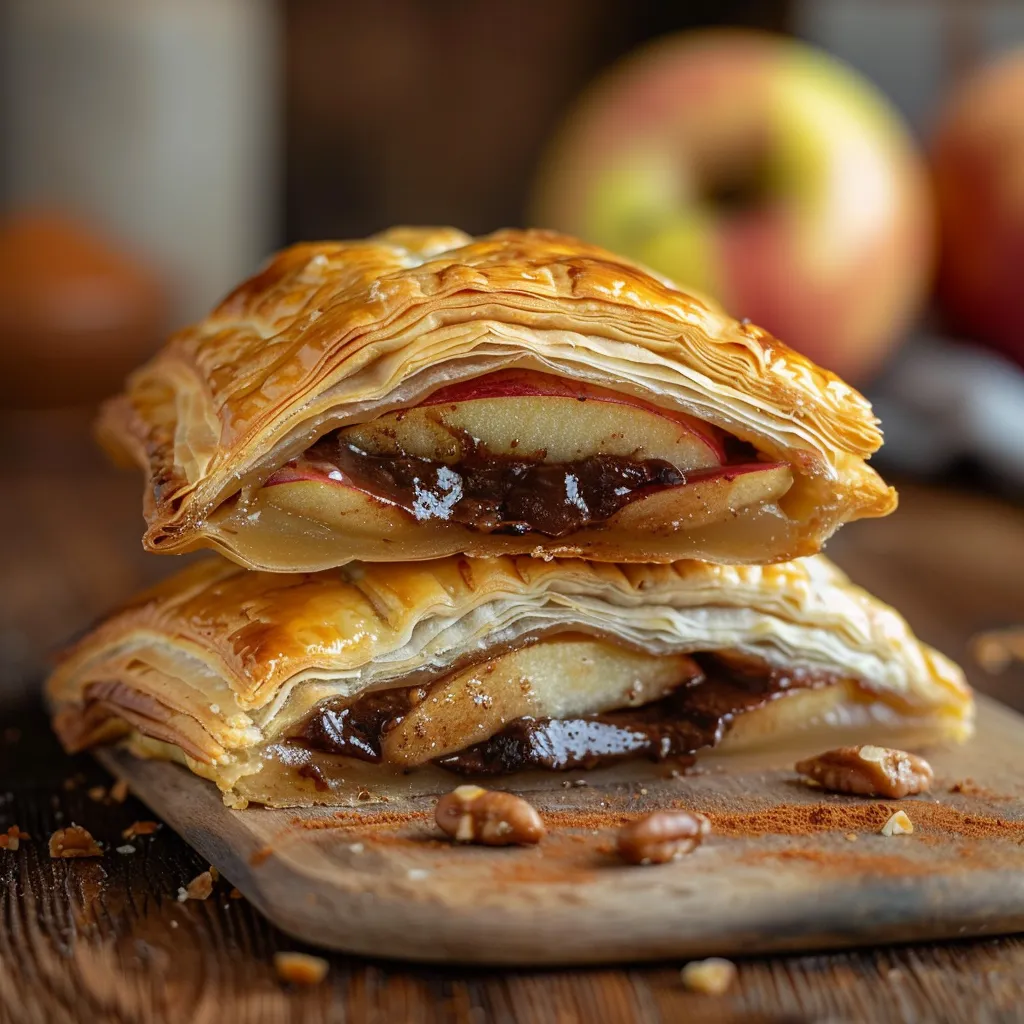
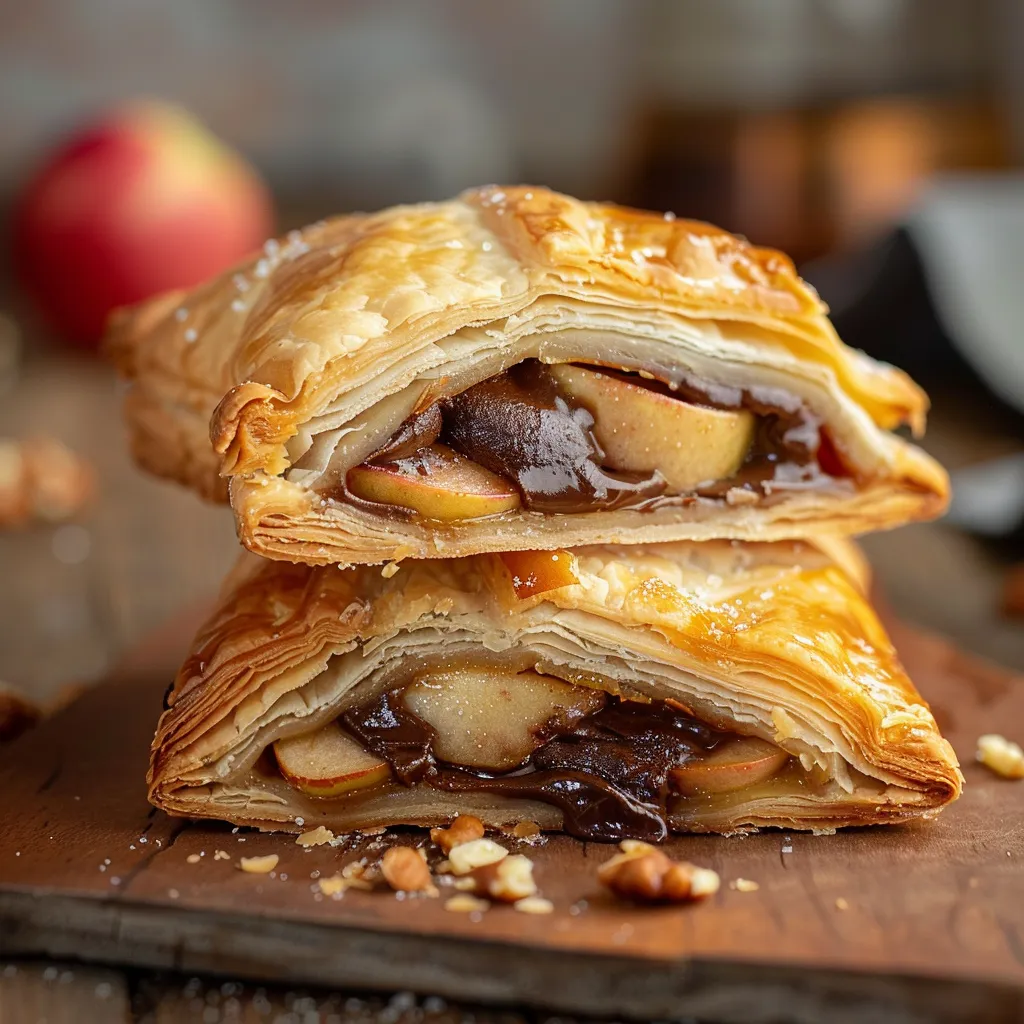
This indulgent apple treat turns regular fruit into something truly special. Every soft apple comes stuffed with creamy chocolate hazelnut spread and crunchy walnuts, all tucked inside flaky puff pastry and baked till it's golden brown. You'll love how the crispy outer shell, tender apple, and melty chocolate middle work together to make a fancy-looking treat that's actually pretty easy to pull off.
I whipped these up for a small get-together at my place and couldn't believe how such a simple dessert got everyone so excited. My friends clapped when I brought them out, and now it's become my go-to sweet treat whenever I want to make someone feel extra special.
Ingredients
- Puff pastry sheet: go for all-butter kind if you can find it for the tastiest, flakiest results
- Small apples: pick ones that stay firm when they cook
- Chocolate hazelnut spread: makes that gooey, wonderful center
- Chopped walnuts: bring a nice crunch and nutty flavor
- Cinnamon: adds that warm spiciness that works with both the apple and chocolate
- Egg wash: gives you that shiny golden finish
- Powdered sugar: for that pretty dusting on top
- Whipped cream: adds a light, fluffy element when serving
Step-by-Step Instructions
- Get the oven ready:
- Warm your oven to 375°F and put parchment paper on a baking sheet. This temp works best for golden pastry while making sure the apples cook all the way through.
- Fix up the pastry:
- Slice your cold puff pastry into six squares about 5x5 inches each. Keep them in the fridge while working on the apples since warm pastry gets sticky and hard to handle. You might want to save a little strip for making decorative leaves.
- Get the apples ready:
- Take off all the peel, then carefully hollow out each apple from the top, leaving about ¼ inch at the bottom intact. This makes a perfect pocket for filling without letting stuff leak out. A small knife and teaspoon work great for this job.
- Stuff the apples:
- Set each hollow apple on your counter and start with a layer of chopped walnuts, then spoon in plenty of chocolate hazelnut spread. Top with more walnuts, pressing down gently to pack everything in without breaking the apple.
- Cover with pastry:
- Put each filled apple in the middle of a pastry square and sprinkle with cinnamon. Pull the corners up and over the apple, pinching them together firmly at the top. Don't worry about small gaps on the sides, but make sure the top is sealed well.
- Add some pretty touches:
- If you want, cut little leaf shapes from leftover pastry and stick them on top. Brush egg wash all over the pastry surface to get that beautiful color and shine.
- Bake them up:
- Cook for 45 minutes until the pastry puffs up big and turns deep golden brown. The apples should feel soft when you stick a knife in them.
- Dress them up:
- Let them cool for 5 minutes, then dust generously with powdered sugar. Serve each warm apple with a big dollop of fresh whipped cream for a lovely contrast.
 Pin it
The chocolate hazelnut spread is really what makes this dessert shine. While the stuff from the store works great, sometimes I make my own using toasted hazelnuts, good chocolate, and a splash of vanilla. When I first made these for my grandma, she said they were better than what her favorite European bakery sells – that's still my biggest cooking achievement to date.
Storage Tips
These apple goodies taste best right after baking when the outside is super crispy and the filling is all warm and gooey. If you have any leftover, just pop them in an airtight container in the fridge for up to 2 days. When you want to eat them, warm them up in a 300°F oven for about 10 minutes to crisp up the pastry again. You can use the microwave if you're in a hurry, but the outside won't be as crispy.
Seasonal Variations
You can switch up this treat depending on the time of year. In autumn, try adding some caramel sauce to the filling or swap walnuts for pecans. During Christmas time, mix in some dried cranberries and orange zest for festive flavors and colors. Spring versions taste great with a bit of lemon zest mixed in, and in summer, you can tuck a few fresh berries into the chocolate center before you bake it.
Serving Suggestions
These wrapped apples taste amazing on their own, but you can jazz them up for special occasions. Serve them on warm plates with a swirl of caramel sauce or raspberry sauce making a pretty pattern. For a grown-up dinner party, pour a little amaretto or spiced rum beside each one. During the holidays, place each pastry on a pool of vanilla custard and garnish with mint leaves for a beautiful red and green presentation.
The History Behind The Dish
This sweet treat comes from the old French dessert called Pommes en Chemise or "apples in a shirt." People have been wrapping whole fruits in pastry for hundreds of years across Europe. You'll find similar desserts in Austrian, German, and English cookbooks, showing how fruit, pastry, and sweet fillings work well together no matter where you're from. This updated version with chocolate and nuts brings together old-school techniques with flavors people love today.
 Pin it
Frequently Asked Questions
- → Can I swap out the chocolate filling?
Absolutely! Use whatever chocolate you like—dark, white, or even chips work well. Pick your favorite.
- → Which apple type is ideal for this?
Go for firm, tart varieties like Granny Smith. They hold up during baking and balance the sweetness perfectly.
- → Is butter-based puff pastry necessary?
If you can, use butter puff pastry for the best taste. If not, regular options work too, just keep it chilled before using.
- → How can I stop the pastry from tearing open?
Make sure to firmly seal the edges at the top. A few small cracks on the sides are no big deal and won’t ruin it.
- → Can this dessert be made ahead of time?
It’s best baked fresh for maximum crispiness, but you can prep the parcels and chill them until baking time.
- → What’s the best way to serve these apples?
Warm them up, sprinkle powdered sugar on top and pair with whipped cream or ice cream for a truly memorable dessert.