
 Pin it
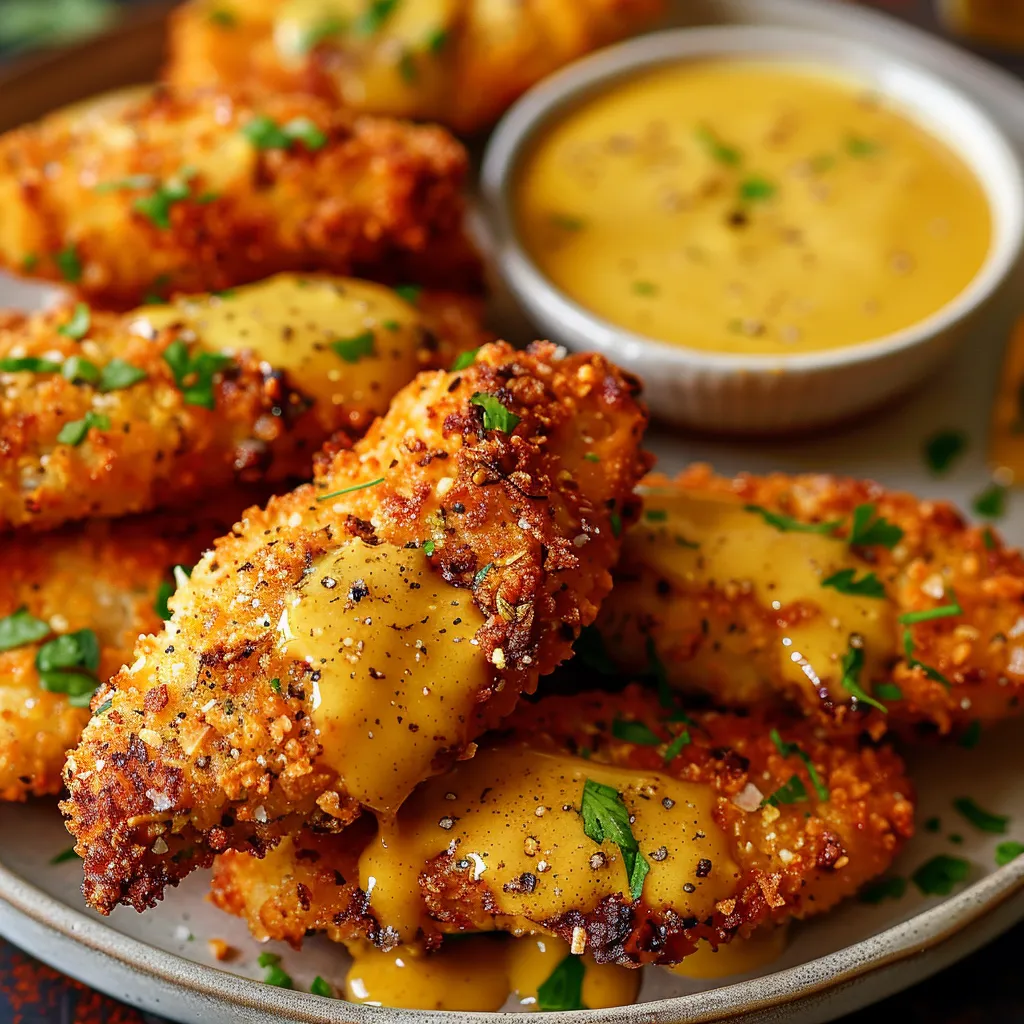
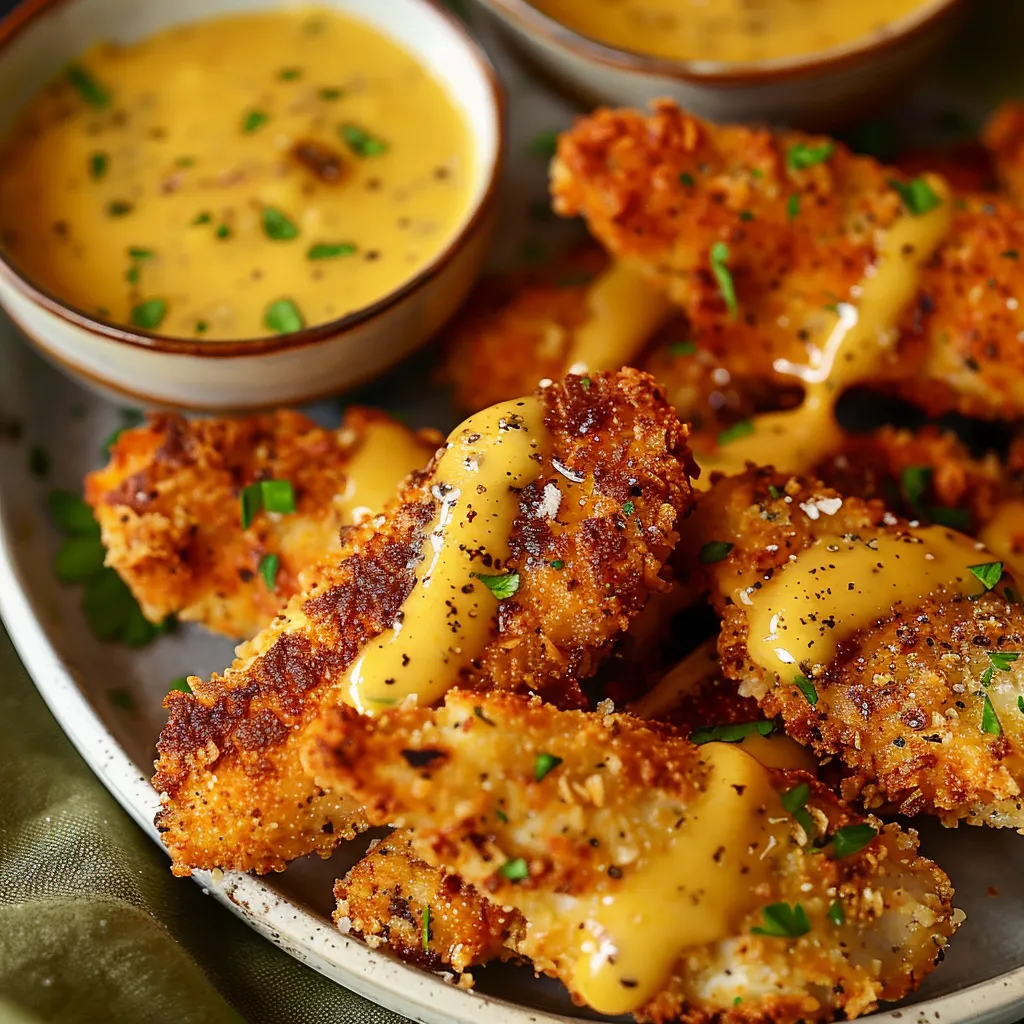
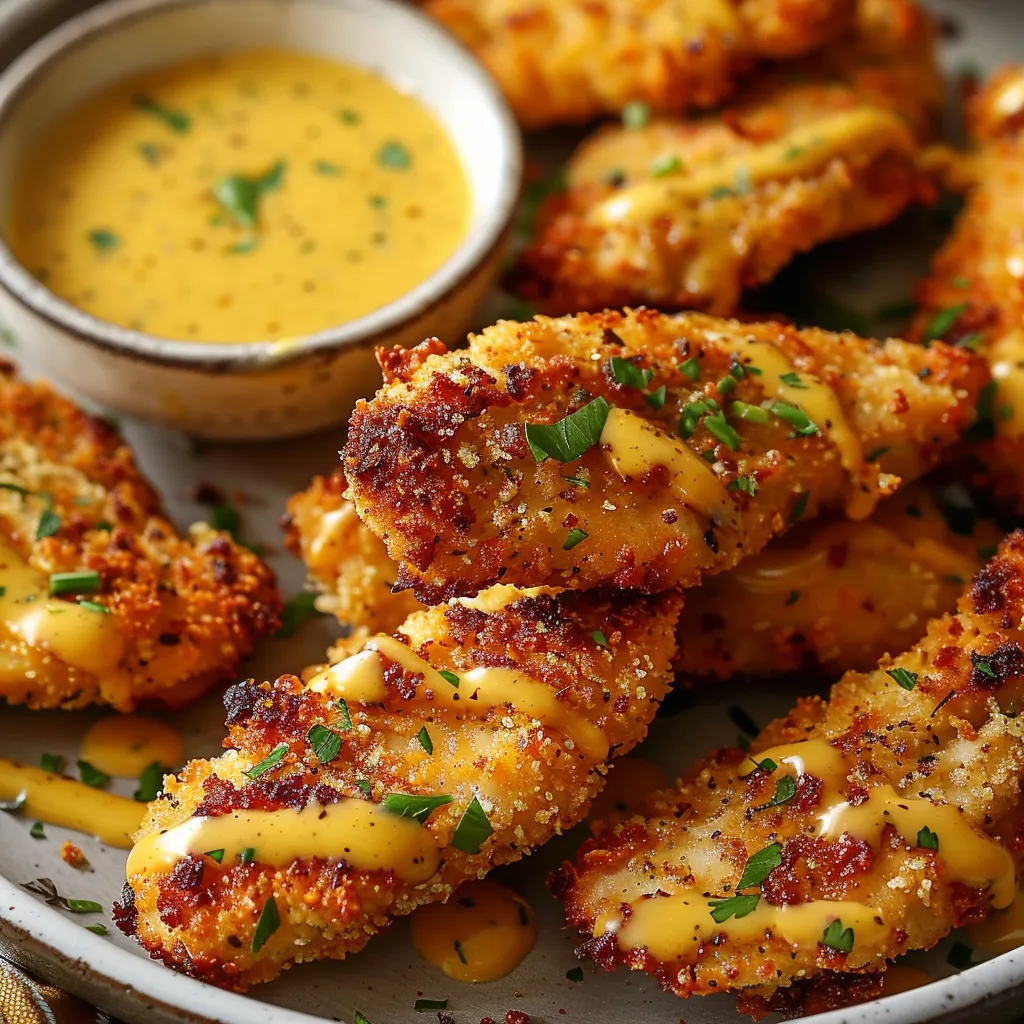
Hot from the oven, these golden chicken strips with their crunchy parmesan coating practically beg you to dunk them in zesty sauce. They're baked, not fried, giving you that delicious crunch without all the grease and fat. Thanks to their buttermilk bath, the chicken stays super juicy inside while the panko parmesan exterior gets amazingly crisp – exactly what we all want from chicken fingers.
I came up with this during that crazy time when my kids wouldn't eat anything but chicken fingers. The first time I swapped these for store-bought frozen ones, my youngest kid actually clapped after tasting them. My husband, who usually turns his nose up at 'kid food,' grabbed a bunch before they even made it to the dinner table. Now they ask for them every week, and I'm happy to make them since I know they're made with good stuff.
Key Ingredients
- Chicken breasts: Cut your boneless skinless breasts into same-sized strips so they cook evenly
- Buttermilk: It makes the meat tender and adds a nice tangy flavor
- Whole wheat flour: Helps the other coatings stick while adding some good nutrition
- Panko breadcrumbs: These Japanese breadcrumbs make things crunchier than regular ones
- Parmesan cheese: Grate it fresh for better taste and texture than the stuff in shakers
- Spice blend: Smoked paprika, chili powder and garlic powder work together for amazing flavor
- Eggs: They're the glue that makes everything stick to the chicken
When I got this recipe just right, our garden was going crazy with fresh herbs. I threw a spoonful of chopped rosemary into the panko mix and everyone went wild for the flavor. These days I just toss in whatever herbs look good, depending on what's in season.
Can't-Miss Steps
- Mix the marinade:
- Stir a bit of salt into your buttermilk in a shallow dish until it dissolves.
- Cut your chicken right:
- Make strips about an inch wide so they'll all cook at the same time.
- Let it soak:
- Put the chicken fully into the buttermilk, cover it, and stick it in the fridge for at least 30 minutes.
- Set up your stations:
- Get three shallow dishes ready for your flour mix, beaten eggs, and panko parmesan combo.
- Add plenty of spices:
- Mix smoked paprika, chili powder, garlic powder, salt and pepper into your flour.
- Make your crunchy mix:
- Stir fresh grated parmesan into the panko until it's all mixed up.
- Use the right hands:
- Keep one hand for wet stuff and one for dry so your fingers don't get all gunked up.
- Coat in order:
- Roll each piece in the spiced flour, dip it in egg and let it drip, then push it into the panko mix.
- Space them out:
- Put the coated strips on a parchment-lined baking sheet with space between them.
- Give them a spritz:
- Spray the strips with cooking spray so they'll turn golden and get extra crispy.
- Bake at the right heat:
- Cook them in a 400°F oven for ten minutes, flip them over, then keep baking until they're done.
- Let them cool a bit:
- Wait five minutes before serving so they stay nice and crunchy.
 Pin it
My grandma taught me to add a splash of buttermilk to the egg mixture to help it stick better to the soaked chicken. This tiny trick really made the coating grab onto the chicken better. It's these little cooking secrets handed down in families that often make food taste so much better.
Amazing Dipping Sauce
Start with honey mustard for that perfect base. The sweet honey and zingy mustard create that flavor everyone loves, but with a few twists. Add mayo for creaminess, a bit of BBQ sauce for smokiness, and a dash of Sriracha for a gentle kick that balances everything out.
Perfect Pairings
Enjoy these with some roasted veggies and herby quinoa for a full dinner, stuff them in sandwiches with avocado and lettuce, or set them out with honey mustard dip when you're having friends over.
Mix It Up
Can't do gluten? Use almond flour instead of wheat and grab some gluten-free panko. Want an Italian twist? Throw in some Italian herbs and romano cheese. Love spicy food? Toss them in buffalo sauce after cooking.
Keep 'Em Fresh
They'll stay good in the fridge for three days in sealed containers. To freeze them, let them cool completely, freeze on a baking sheet, then put them in a freezer container. When you want them crispy again, heat them on a wire rack in a 375°F oven.
 Pin it
I started making these chicken fingers because I had to, but now I love doing it. There's something really special about making healthier versions of favorite foods that actually taste better than the original. Seeing everyone's happy faces when I bring these crispy golden tenders to the table makes the extra work totally worth it. When food brings both good nutrition and happiness, that's what home cooking is all about.
Frequently Asked Questions
- → Can I skip soaking in buttermilk when I'm in a hurry?
- While soaking does make the chicken more tender and flavorful, you can definitely skip this step when you're rushed. No buttermilk at home? Just mix a cup of regular milk with a tablespoon of lemon juice or vinegar, let it sit for 5 minutes, and you've got a quick substitute.
- → How do I make sure my chicken fingers turn out crunchy?
- Don't forget to spray your breaded chicken with cooking spray before they go in the oven - this really helps them crisp up nicely. Also, leave some room between each piece on the baking sheet, and use the middle rack in your oven so heat hits them evenly.
- → Can I make these chicken fingers without gluten?
- You sure can! Just swap the whole wheat flour for any gluten-free flour blend and grab some gluten-free panko breadcrumbs. Everything else in the recipe doesn't have gluten anyway.
- → What foods go great with these chicken fingers?
- These chicken fingers taste amazing with oven-baked sweet potato fries, a basic green salad, some coleslaw, or any steamed veggies. If you want something more filling, try them with mac and cheese or potato wedges.
- → Can I make extra and freeze them?
- You bet! After they're done baking, let them cool all the way, then lay them out on a baking sheet and freeze them solid. Pop them in a freezer bag after that and they'll keep for up to 3 months. When you want them, heat from frozen in a 375°F oven for about 15-20 minutes until they're hot throughout.
- → What if I don't want spicy dipping sauce?
- If you're not into spicy food, just leave out the sriracha completely. Other great dips include ranch dressing, plain honey mustard, BBQ sauce, or even a simple tomato sauce.