
 Pin it
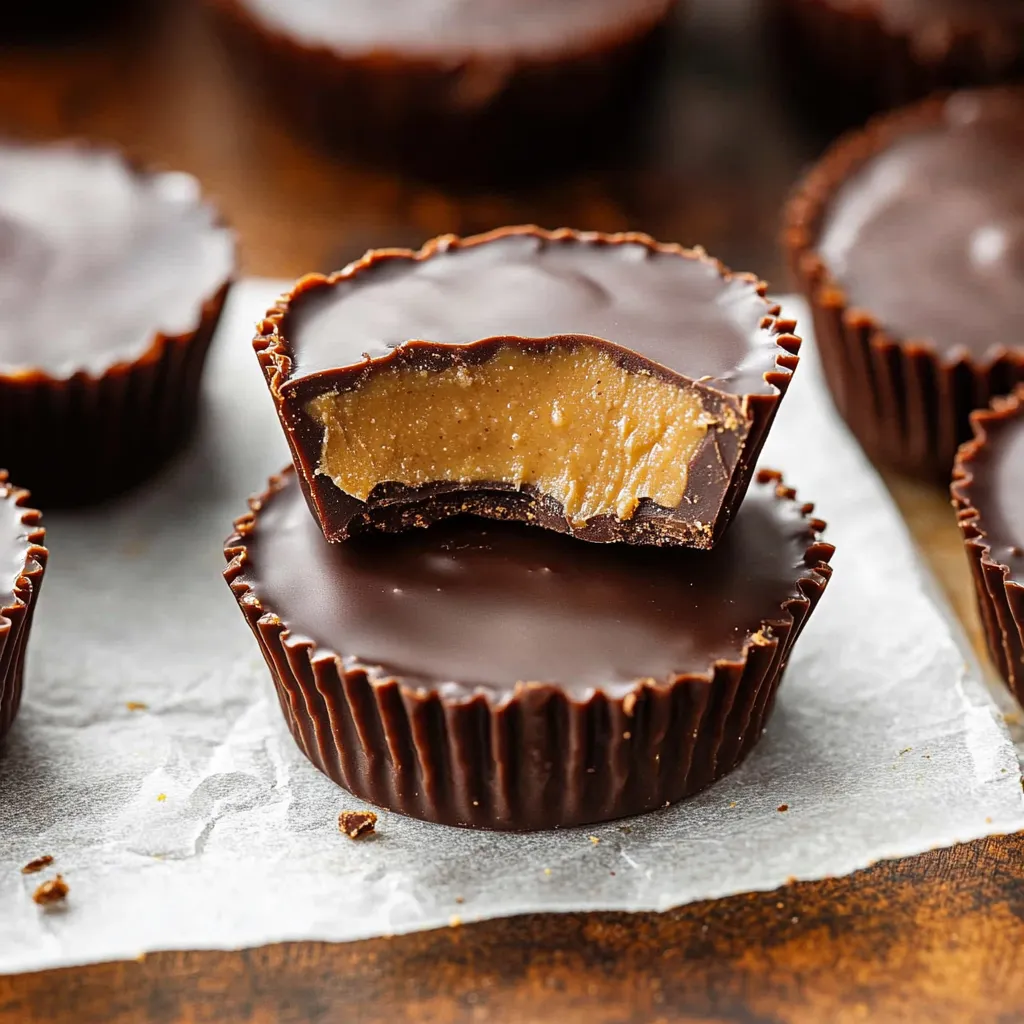
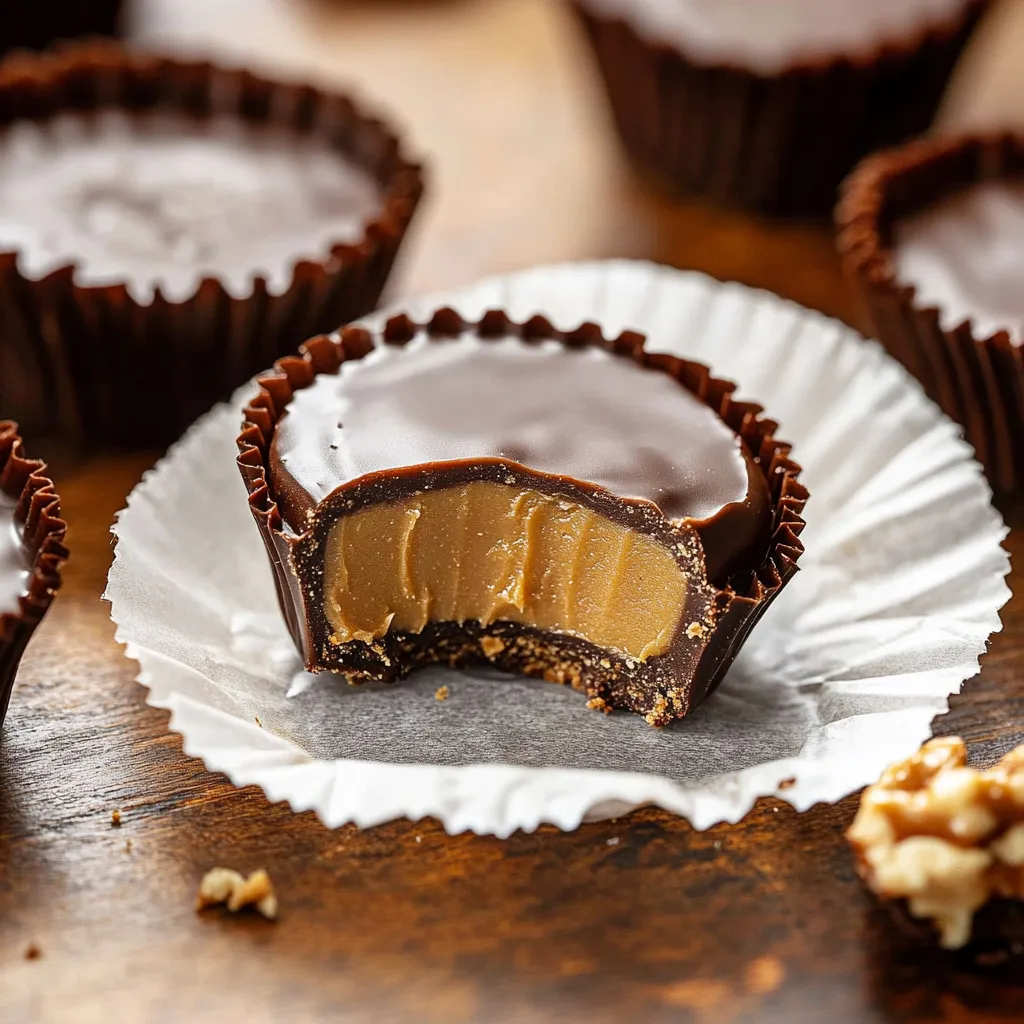
DIY peanut butter cups transform the standard candy into a fancy delight, giving you just the right mix of smooth chocolate exterior and velvety peanut butter inside. This method creates mouthwatering sweets that beat anything from the store thanks to their freshness, top-notch components, and adjustable sweetness.
I first whipped these up when my little girl couldn't handle certain food additives. What started out as something we needed to do turned into a family favorite activity, with everyone pitching in to mix the chocolate and check if the filling tasted good.
Key Components
- Dark Chocolate: Go for premium couverture chocolate that's at least 60% cocoa for better melting and a nice shine.
- Peanut Butter: Freshly ground natural peanut butter gives the most authentic taste. Skip the kinds with extra oils as they'll mess with the texture.
- Honey: Unprocessed honey brings depth to your filling while making it just the right thickness.
- Powdered Sugar: Grab sift-ready powdered sugar for a bump-free filling. You'll need different amounts depending on how sweet your peanut butter already is.
Preparation Guide
- Step 1: Pick Your Chocolate
- First off, temper your chocolate properly. Snap it into tiny, similar-sized bits for even melting. When using your microwave, go with half power so it doesn't burn. The chocolate should only feel slightly warm to touch, around 88-90°F (31-32°C).
- Step 2: Create The Bottom
- As you coat the paper cups, use small circles to spread an even layer. Make sure the sides aren't forgotten - they should be sturdy enough to hold everything but still easy to bite. Look for a glossy, flat finish on the chocolate.
- Step 3: Make Your Filling
- Combine your filling stuff bit by bit, starting with the peanut butter and honey mixture. Drop in powdered sugar by the spoonful until everything sticks together but stays creamy. It needs to be firm enough to roll into little balls without getting all over your fingers.
- Step 4: Put It All Together
- For the top chocolate coating, begin in the middle and move outward to keep air bubbles away. Give the muffin tin a few light taps on your counter to help the chocolate settle down and look nice on top.
 Pin it
We found out that if you let the cups sit out for about 5 minutes before taking a bite, they're at their best - the filling gets a bit softer while the chocolate still breaks with a snap.
 Pin it
Through many years of making these peanut butter cups, I've learned that taking your time and watching the little things makes all the difference. They're pretty easy to put together, but spending extra minutes on each part gives you treats that look store-bought from a fancy chocolate place. There's something special about making them yourself and sharing them with friends and family that makes them taste even better.
Frequently Asked Questions
- → Can I use milk chocolate instead of dark chocolate?
- Sure thing, any type of coating or baking chocolate works great for this recipe.
- → Why do you need to add oil to the chocolate?
- The oil makes chocolate thinner so it spreads better and gives your cups a nicer finish.
- → Can I make these without paper liners?
- You can try with silicone molds, but paper liners make taking out and handling the cups so much easier.
- → Why do they need to be stored in the fridge?
- Chocolate gets soft when it's warm. Keeping them cold helps them stay firm and fresh for longer.
- → Can I use natural peanut butter?
- Absolutely, just mix it really well first so all the oil blends in completely.