
 Pin it
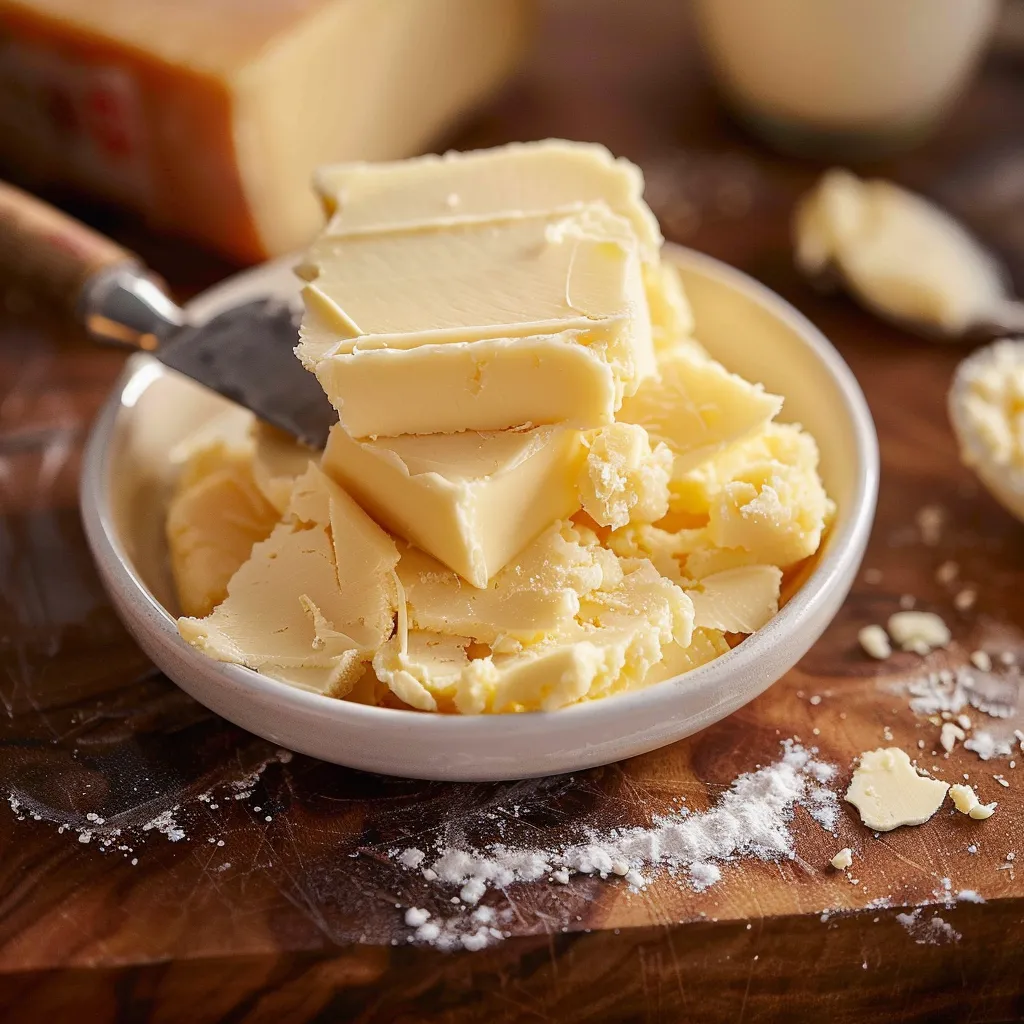
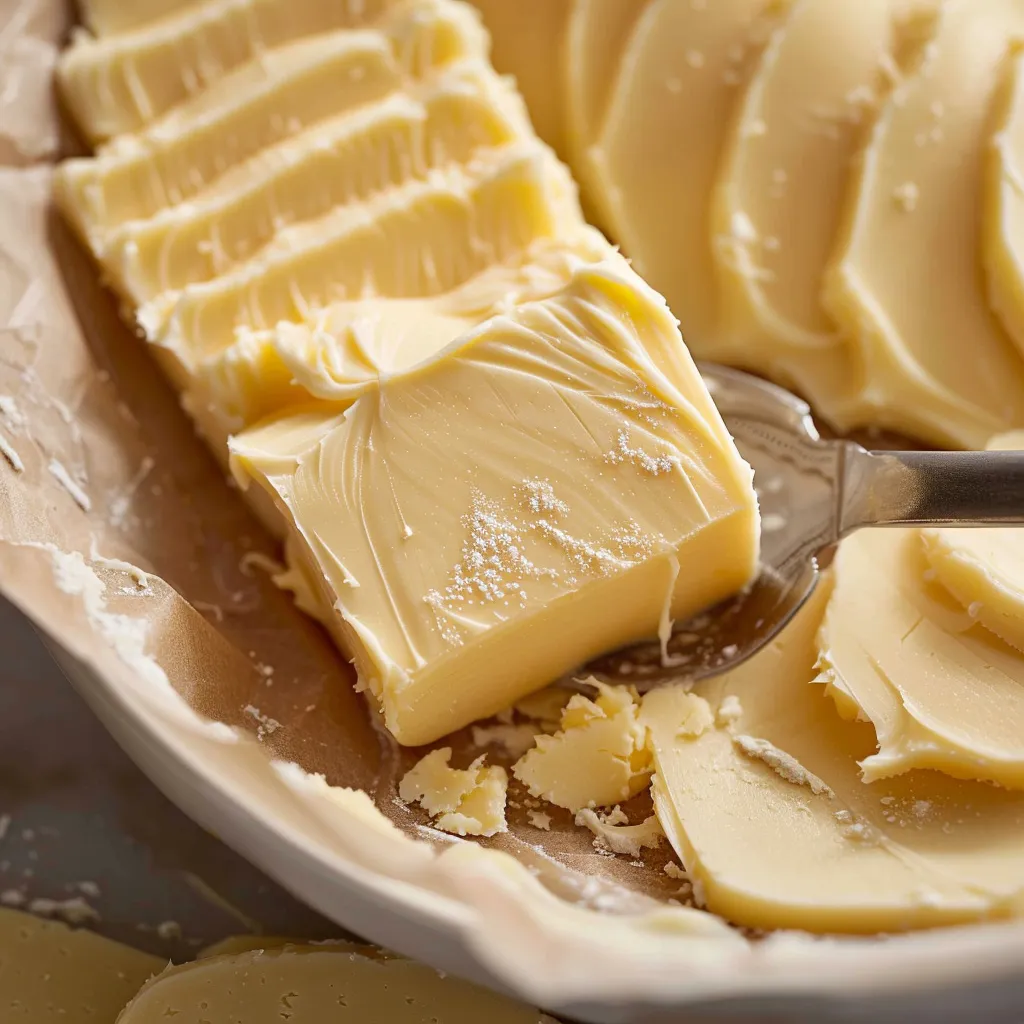
Turn your kitchen into a mini creamery with this smooth, rich homemade butter that takes just minutes to make. You'll notice a world of difference from store-bought versions—the bright yellow color, silky texture, and pure, sweet dairy taste will make even a simple piece of toast feel like a real treat.
I started making butter at home during a blackout when my cream was going to go bad. What began as a way to save food has turned into our weekend tradition. Now the sound of cream changing in my mixer means it's time for our lazy weekend breakfast gatherings.
Ingredients
- Heavy cream: Go for the best quality you can get with at least 36% fat to get more butter with better taste
- Sea salt (optional): Boosts flavor, helps your butter last longer, and brings out its natural sweetness
Easy Steps to Follow
- Get the cream ready:
- Put 16 ounces of heavy cream in whatever mixing container you'll use. Let it sit for about 10 minutes to warm up a bit—this makes churning faster and separation better.
- Start the churning process:
- For a stand mixer, use the paddle (not the whisk) and run at medium speed. If you're using a hand mixer or food processor, go with medium-high speed. The cream will first look like whipped cream, then form stiff peaks.
- Look for the split:
- Keep beating until everything suddenly breaks apart. This magic happens around 5 minutes with a stand mixer or food processor, or about 10 minutes with a hand mixer. The yellow butter solids will pull away from the thin white buttermilk. Throw a kitchen towel over your work area to avoid splashes.
- Drain and keep both parts:
- Pour everything through a fine strainer to catch the solids and let the buttermilk drain into a bowl. Don't throw this liquid away—it's perfect for cooking. The stuff left in the strainer is your fresh butter.
- Clean your butter:
- Put the butter in a clean bowl and cover with ice-cold water. Push and fold it using a spatula or clean hands to squeeze out trapped buttermilk. Dump the cloudy water and do this again until the water stays clear, usually 3 to 5 times.
- Add flavor if you want:
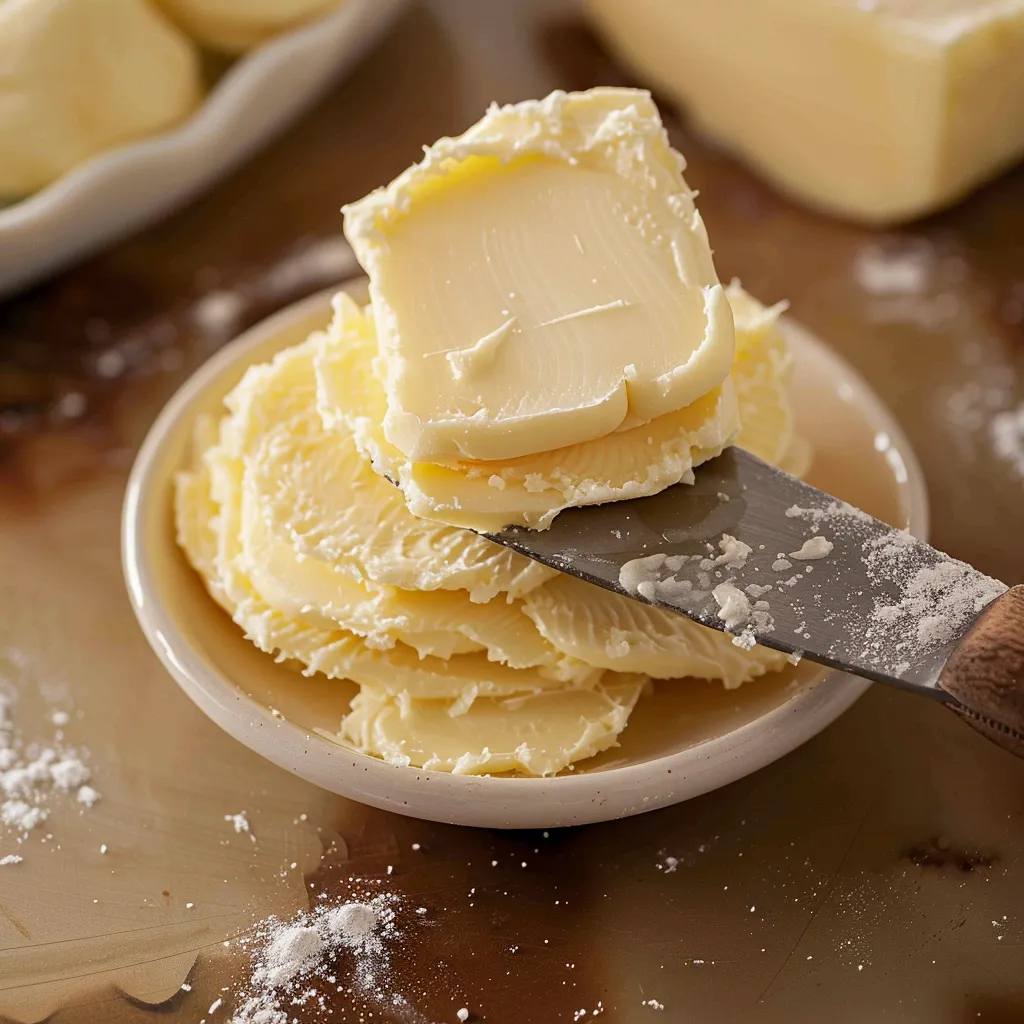
- Move your clean butter to a plate or container and mix in 1/4 to 1/2 teaspoon sea salt if you'd like. Shape it however you want.
 Pin it
My favorite part of making butter is when it suddenly shifts from whipped cream into separate solids and liquids. My grandma called this the magic moment, when ordinary cream turns to gold. She taught me to listen for the special splashing noise that tells you butter has formed, even before you can see it happen.
Keeping Your Butter Fresh
When properly washed, your homemade butter will stay good in the fridge for about two weeks. Wrap it up tight in waxed paper or put it in an airtight container so it won't pick up other food smells. If you want to keep it longer, butter freezes really well for up to six months. Cut it into smaller portions before freezing so you can thaw just what you need.
Flavor Twists
Once you get the hang of basic butter making, you can try tons of different flavors. Add herbs like rosemary, thyme, or chives for savory uses. For sweet versions, try mixing in honey, cinnamon, maple syrup, or vanilla bean. Add these extras after washing but before shaping your butter. Let flavored butter sit overnight in the fridge so the tastes can really sink in.
Fixing Common Problems
If your cream won't turn into butter, it might be too cold or not fatty enough. Let it warm up a bit and keep beating. Runny, streaky butter means you didn't wash it enough, which will make it go sour fast. Don't rush the washing steps if you want your butter to stay fresh longer. If your finished butter seems too soft, stick it in the fridge for 20 minutes before shaping it.
 Pin it
Frequently Asked Questions
- → What do I need for making butter?
All you need is heavy cream and, if you prefer, some sea salt to bring out the flavor.
- → How do I use my stand mixer to make butter?
Just whip heavy cream in your stand mixer until it splits—strain out the liquid, rinse, and knead it clean in cold water.
- → Can I mix butter using something else?
Sure! Both handheld mixers and food processors will do the job. Blend cream till it separates, drain, and rinse off any leftover liquid.
- → How do I store my butter the right way?
Keep it in the fridge, either wrapped in wax paper or sealed in an airtight container, for up to around two weeks.
- → What should I do with the extra buttermilk?
Don't toss it—use it for stuff like pancakes, other baked goodies, or to add a nice tang to dishes.
- → Why bother rinsing and kneading butter?
It gets rid of extra buttermilk, which makes the butter keep longer and gives it a smooth texture too.