
 Pin it
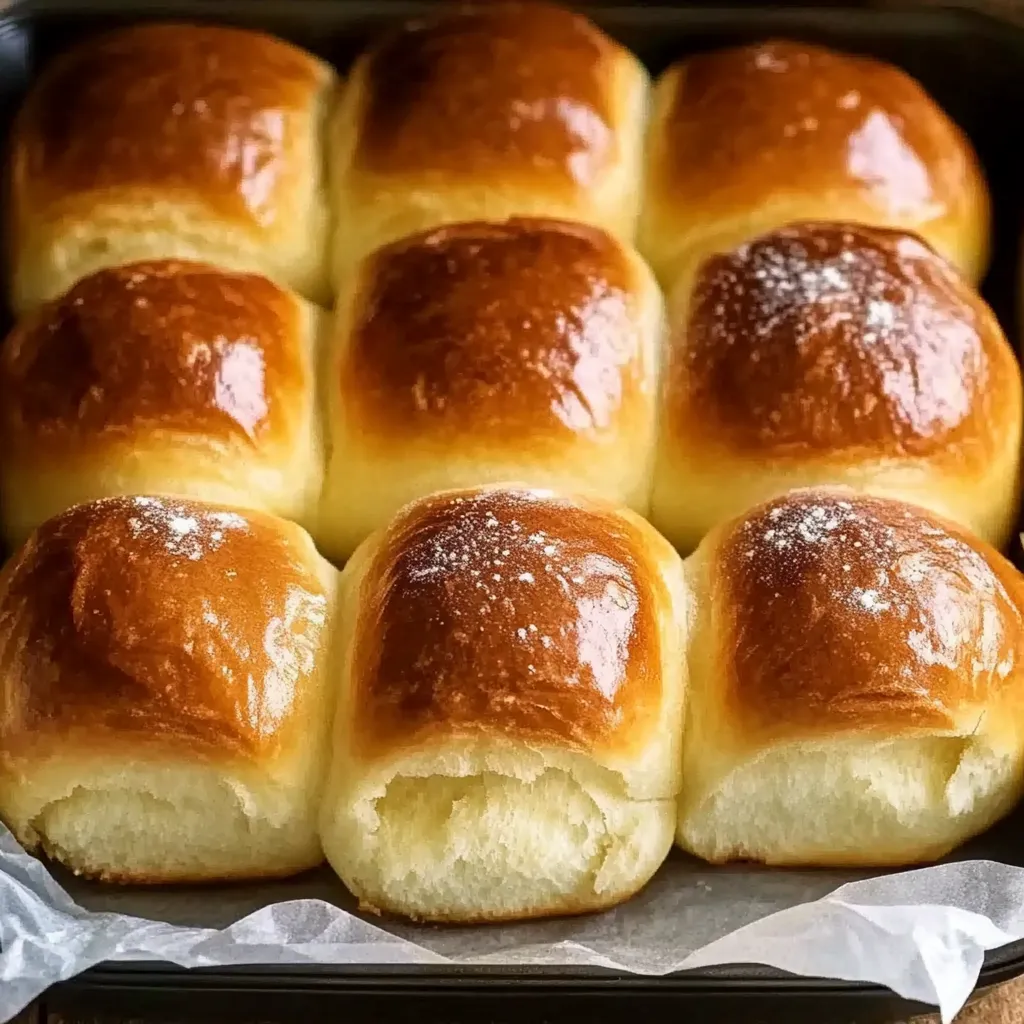
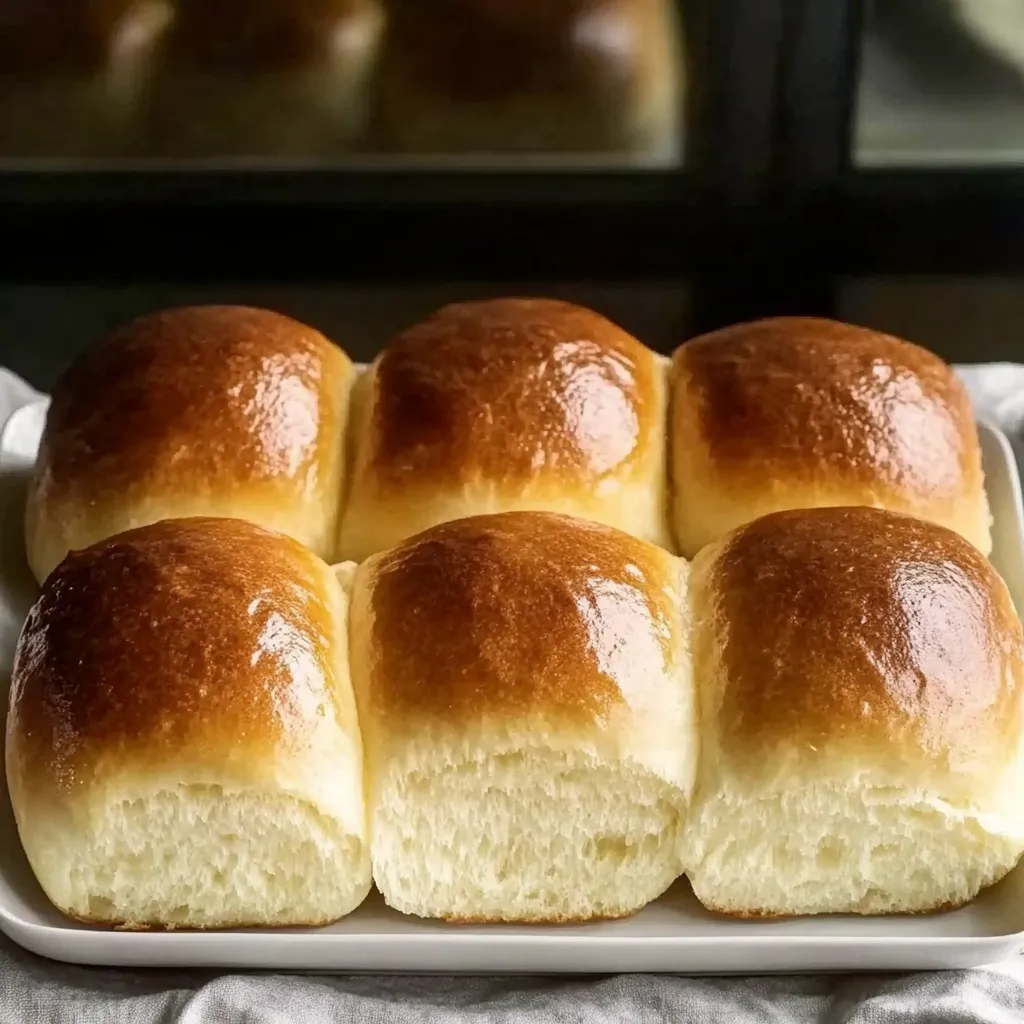
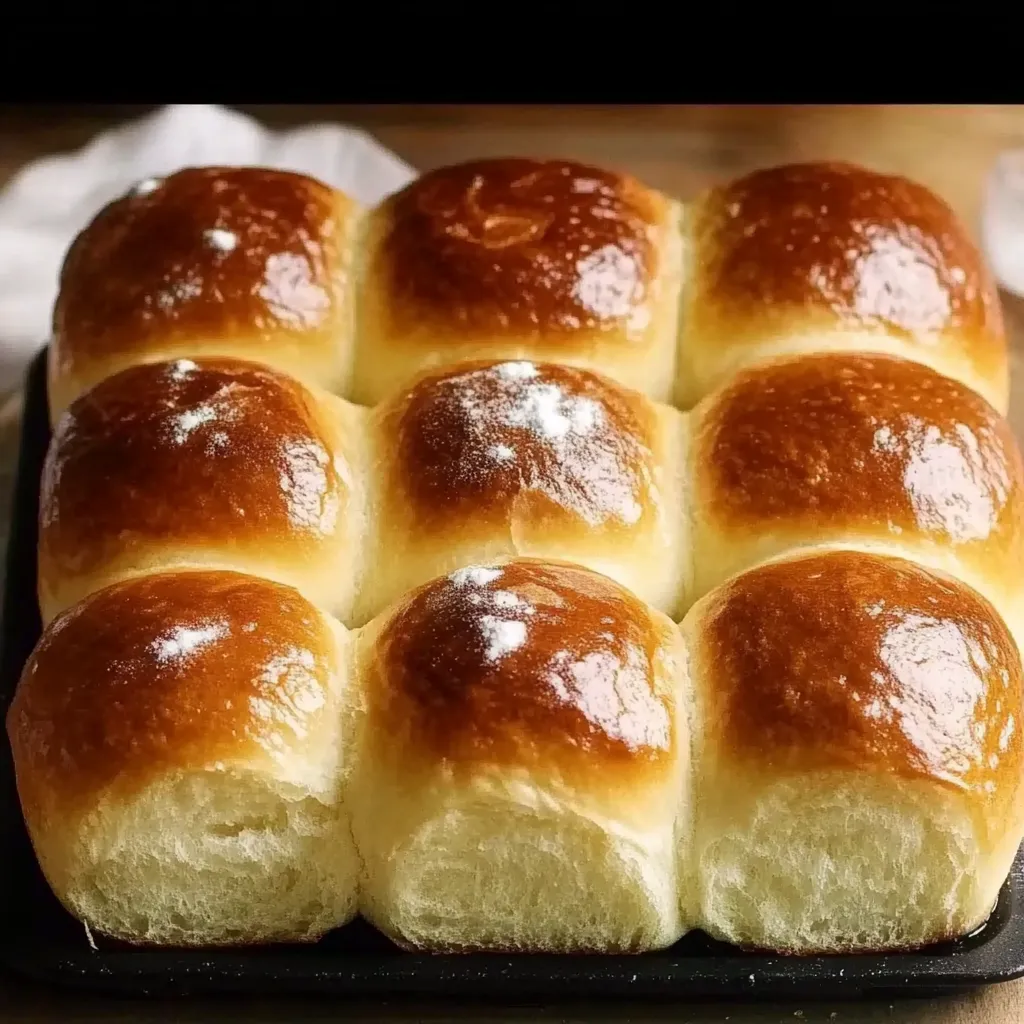
Sink your teeth into these cloud-like Fluffy Brioche Dinner Rolls, where each golden bite delivers a dreamy mix of buttery goodness and feather-soft texture. These divine rolls marry the light crumb of classic French brioche with practical dinner roll shapes, making them impossible to resist at any table. When your kitchen fills with that fresh-baked smell, you'll know there's a batch of warm, pillowy rolls just waiting to be torn apart.
Key Ingredients Breakdown
- Whole Milk: Brings softness and moisture, helping you get that tender inside while boosting the overall taste.
- Active Dry Yeast: Makes everything rise beautifully, starting the fermentation that creates that airy, light feel.
- Granulated Sugar: Wakes up the yeast and kicks off good fermentation while adding just enough sweetness to round things out.
- Sea Salt: Pulls out all the flavor notes, both sweet and savory, so every bite tastes complete.
- Premium All-Purpose Flour: Gives your rolls the backbone and stretch they need, creating that perfect mix of soft yet sturdy texture.
- Farm-Fresh Eggs: Those yellow yolks add beautiful color, richness, and structure, making your dough easier to work with and tastier too.
- European-Style Butter: Contains more fat than regular butter, giving you that smooth, rich flavor and melt-away feel in your mouth.
- Whole milk: Makes everything richer and helps create a softer bite.
- Active dry yeast: Gets your dough bubbling and rising properly.
- Granulated sugar: Gives the yeast something to eat and rounds out the taste.
- Sea salt: Makes all the flavors pop, sweet and savory alike.
- Premium all-purpose flour: Builds the perfect foundation for your rolls.
- Farm-fresh eggs: Add golden color and make everything richer.
- European-style butter: Brings that unforgettable taste and texture.
Crafting Your Brioche
- Yeast Activation:
- Get your milk to just the right warmth, not scalding hot or too cool. Mix in the yeast with sugar and wait until it gets foamy and smells like bread in the making.
- Dough Development:
- Throw everything in your stand mixer and watch the magic happen as your lumpy mixture turns into a smooth, stretchy ball of dough.
- Butter Integration:
- Add soft butter chunks one at a time, letting each piece disappear into the dough before adding the next bit.
- First Fermentation:
- Pop your dough in a greased bowl and let it double up, building flavor and structure while it rests.
 Pin it
My grandma always told me to take my time when adding butter to the dough. That patience pays off with the flakiest, most tender rolls. I'm still amazed every time I watch the dough change during this step.
Roll Forming Method
Cut your dough into twelve even pieces and form each into a smooth ball with light hands. You'll want to create some tension on the outside without squashing all those air bubbles inside for the softest, puffiest results.
Final Rise Time
Let your shaped balls of dough rest somewhere cozy, watching them puff up as they get ready for their oven time. Don't rush this part if you want that dreamy, airy texture in your finished rolls.
Last Steps Before Baking
Brush beaten egg over each roll, making sure you cover them evenly for that gorgeous golden top. This egg coating doesn't just make them pretty, it also gives you that slightly crisp outer layer that everyone loves.
Tasty Companions
Enjoy these rolls while they're still warm with fancy butter and some local honey drizzled on top. They're also great for tiny sandwiches or dunking in hearty soups. You can honestly serve them with just about anything.
Fun Twists
Mix things up by kneading herbs into your dough or sprinkling different seeds on top before they go in the oven. Try shaping them into fancy knots or arranging them in a circle for holidays and get-togethers.
Keeping Them Fresh
Store your leftover rolls in a sealed container on your counter. Warm them up quickly before eating to bring back that fresh-baked feel. If you want to save them longer, stick them in freezer bags and thaw whenever you need them.
 Pin it
I've made these rolls hundreds of times over the years, and they still show off what's so wonderful about old-school bread making. The rich ingredients combined with careful handling creates something that makes any meal feel special. Whether they're part of your holiday spread or just alongside a regular weeknight dinner, these rolls always bring a bit of comfort and happiness to everyone at the table.
Frequently Asked Questions
- → Can I prep these buns a day before?
- Absolutely! Form the buns, wrap them up, and stick them in the fridge overnight. They'll slowly rise while chilling. Just let them sit out for 20 minutes before you bake them.
- → What's the best way to keep leftover buns?
- Keep them at room temp in a sealed container or plastic bag for a day or two. If you need longer storage, pop them in the freezer for up to 2 months.
- → My dough isn't getting smooth - what's wrong?
- You probably need to mix it longer after adding the butter, usually around 5-10 minutes. Just keep mixing until it stops sticking to the sides of your bowl.
- → Can I make these without a mixer?
- A stand mixer helps a lot, but hand kneading works too. It'll take more time and muscle, especially when you're working in all that butter.
- → How can I tell when the buns are fully baked?
- Look for a golden brown top and they should sound hollow when you tap them. The inside should reach about 190°F if you're checking with a thermometer.