
 Pin it
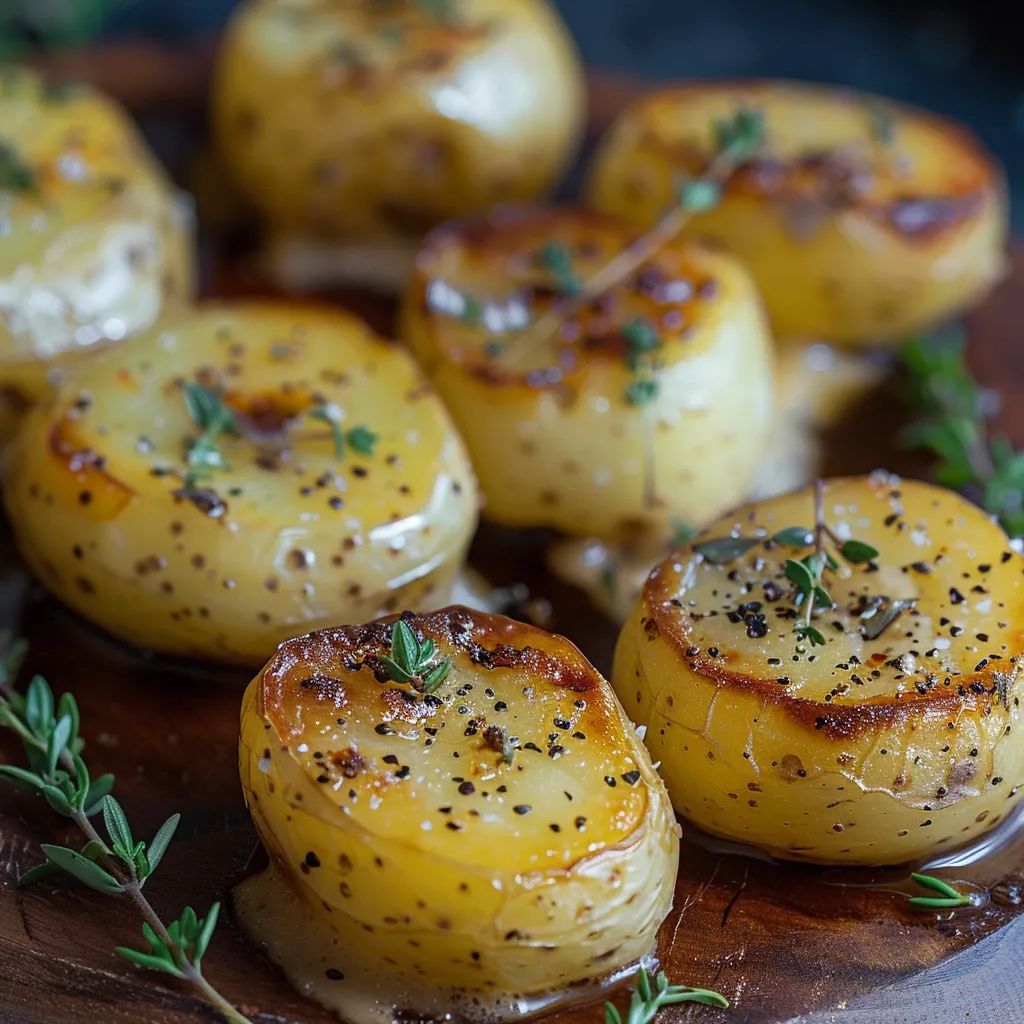
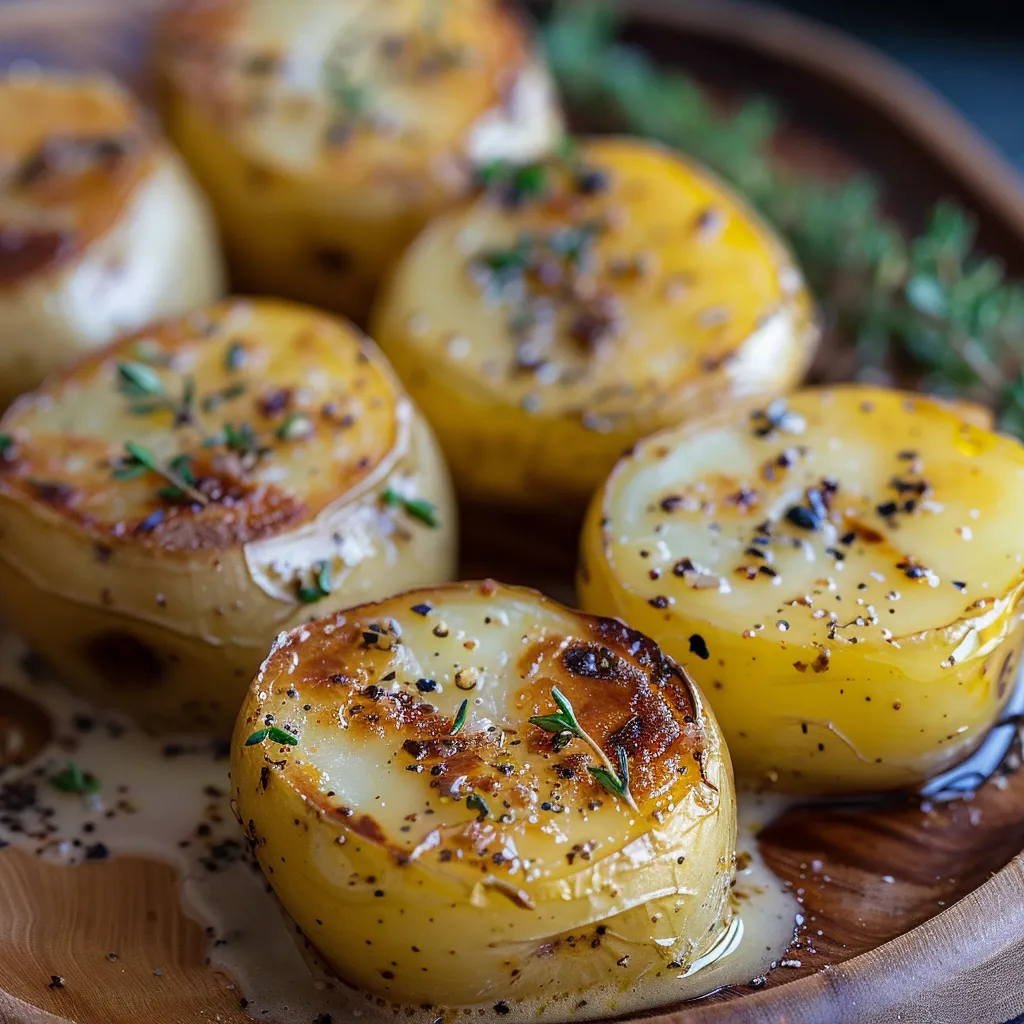
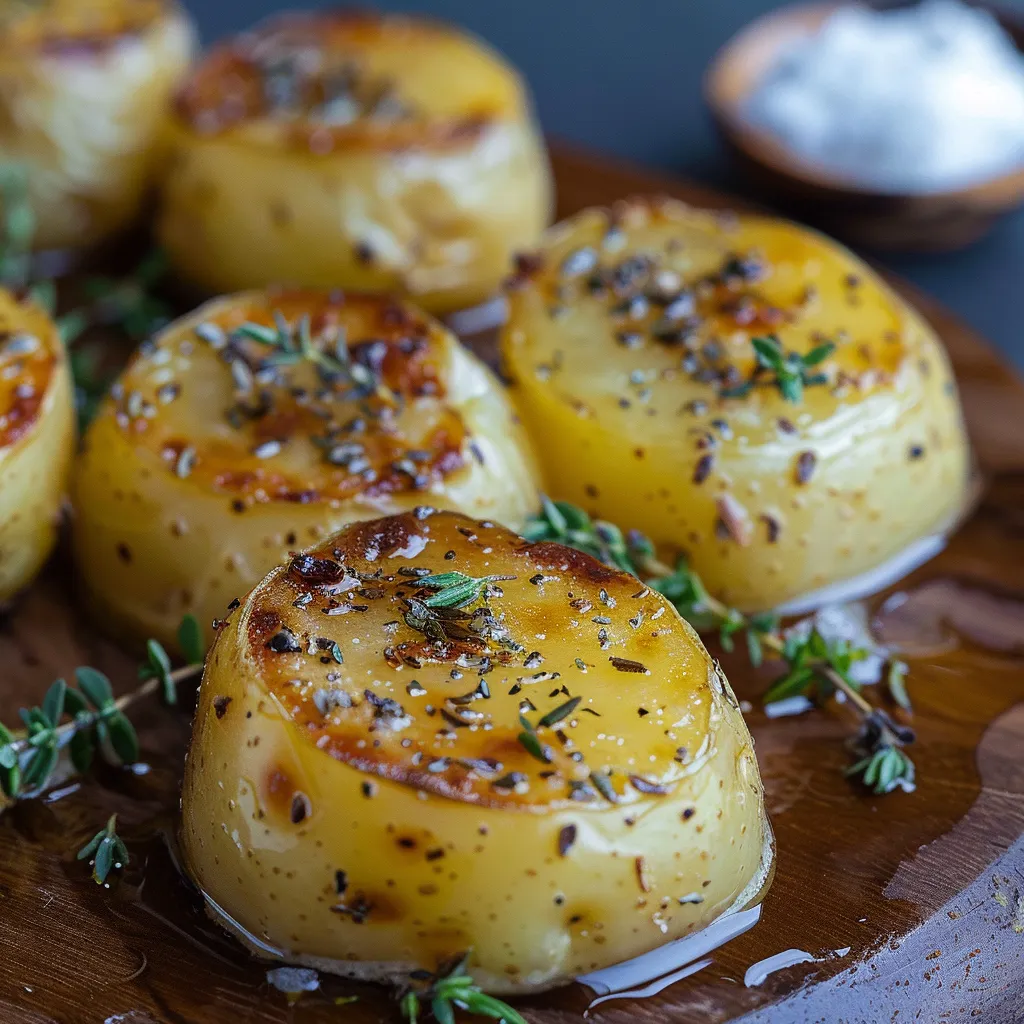
These satisfying spud treats turn plain potatoes into a standout side with crunchy shells and silky-smooth centers. The secret comes from the gradual oven time where these taters soak up a delicious garlic-herb butter mix, creating knockout flavor that'll have folks begging for another helping.
I stumbled on this method a while back when I was bored with the same old mashed or regular roasted potatoes. These days, these melt-in-your-mouth spuds show up at practically all our family celebrations because everyone loves them, and they always want me to share how I make them.
What You'll Need
- Yukon gold potatoes: Picked specially for their naturally buttery taste and smooth texture that gives you that perfect melt-away feel
- Butter: Adds richness and helps create that golden outer layer
- Oil: Avocado or olive oil boosts the heat tolerance so potatoes brown nicely without burning
- Fresh rosemary: Brings bold, fragrant flavor that holds up during long cooking times
- Fresh thyme: Adds subtle earth tones and gentle herb flavors
- Garlic: Freshly chopped for the strongest aroma and flavor depth
- Salt: Boosts all the tastes and helps form that perfect outer crunch
- Black pepper: Gives a touch of warmth and extra dimension
- Chicken broth: Makes steam in the oven and turns into an amazing sauce as it mixes with the butter and potato starches
Easy Cooking Method
- Warm Up Your Oven:
- Get your oven going at exactly 400°F. This temp is key for getting that perfect balance between the crunchy outside and tender inside of your potatoes.
- Cut Your Potatoes:
- Slice off about half an inch from the rounded ends to make flat surfaces that'll brown evenly. Then cut each potato across the middle to make 1 inch thick pieces. The same thickness makes sure they all cook perfectly.
- Mix Your Seasonings:
- In a big bowl, stir together the melted butter, oil, chopped rosemary, thyme, chopped garlic, salt, and black pepper until they're well mixed. The warm butter pulls out all the good smells from the herbs and garlic, making them taste even better before cooking.
- Cover The Potatoes:
- Toss your potato pieces into the herb-butter mix and turn them around until they're totally coated on all sides. This covering doesn't just add flavor but helps get that tasty browned exterior.
- First Cooking Stage:
- Lay out your coated potatoes in one layer in a 13x9 inch baking dish that's been sprayed with nonstick spray. Pour any leftover sauce over them. Bake for 30 minutes, flipping them halfway so both cut sides get nicely browned.
- Add Liquid and Finish:
- Pour chicken broth around the potatoes in the dish and put it back in the oven for another 20 to 25 minutes. During this time, the potatoes drink up the liquid while it cooks down and mixes with the butter and potato starch to make an incredible sauce.
- Make Them Look Good:
- Put the finished potatoes on a serving plate and pour the sauce from the pan over them. Sprinkle with some fresh herbs on top for a fancy look and extra flavor kick.
 Pin it
Fresh herbs really set this dish apart. My grandma taught me that herbs shouldn't be just thrown in as an afterthought, especially with potatoes. One Christmas, I nearly used dried herbs instead of fresh, but grandma insisted on sending my uncle to the store during a snowstorm to get fresh rosemary and thyme. Everyone said it was totally worth the trouble.
Picking Good Potatoes
You need waxy types like Yukon Gold for this dish. They've got the right amount of moisture and medium starch so they stay intact while getting super tender. Russets would just fall apart and turn mealy, while red potatoes might not get that creamy inside. Go for medium-sized ones with smooth, clean skins for the best results.
Do-Ahead Steps
These potatoes work surprisingly well for planning ahead. You can cut them up two days early and keep them in cold, slightly salted water in the fridge so they don't brown. Just make sure to dry them completely before adding the herb butter mix. You can also prep the whole dish up to the broth-adding step, then refrigerate for a day. When you're ready to eat, just add the broth and finish baking, giving them about 5 extra minutes since they'll be cold.
Great Food Matches
These melty potatoes taste amazing with pretty much any meat. Try them next to a juicy roasted chicken or tender beef for a dinner nobody will forget. The sauce tastes incredible with roasted meats as it mixes with the meat juices on your plate. For a full meal, add something green like roasted asparagus or quick-cooked green beans that can soak up some of that garlic herb sauce. They're also fantastic for brunch alongside eggs and a simple green salad.
Switch Up The Sauce
The classic herbs make a timeless flavor, but you can change the sauce to fit different meals. For holiday dinners, try adding a bit of nutmeg and sage. For a Mediterranean feel, mix in some lemon zest and oregano. You can swap the broth for white wine or mix wine with broth for fancier flavor. Just make sure whatever liquid you use has enough salt to flavor the potatoes as they soak it up during the final cooking time.
 Pin it
Frequently Asked Questions
- → Which type of potato works best?
Yukon golds are a great pick since they have a rich, creamy texture and stay intact while cooking.
- → Can I make this meal vegan-friendly?
Absolutely, just switch chicken broth with veggie broth and replace regular butter with plant-based options.
- → What's the best way to prep ahead?
Slice your potatoes, then refrigerate them in salted water for up to two days before cooking.
- → Is freezing these potatoes an option?
Though possible, freezing could change the texture. Refrigeration for 4–5 days keeps them fresh and tasty.
- → How do I warm these potatoes back up?
Pop them in a 350℉ oven for 10–15 minutes for crispiness. Microwaving is faster but won't keep the edges crispy.