
 Pin it
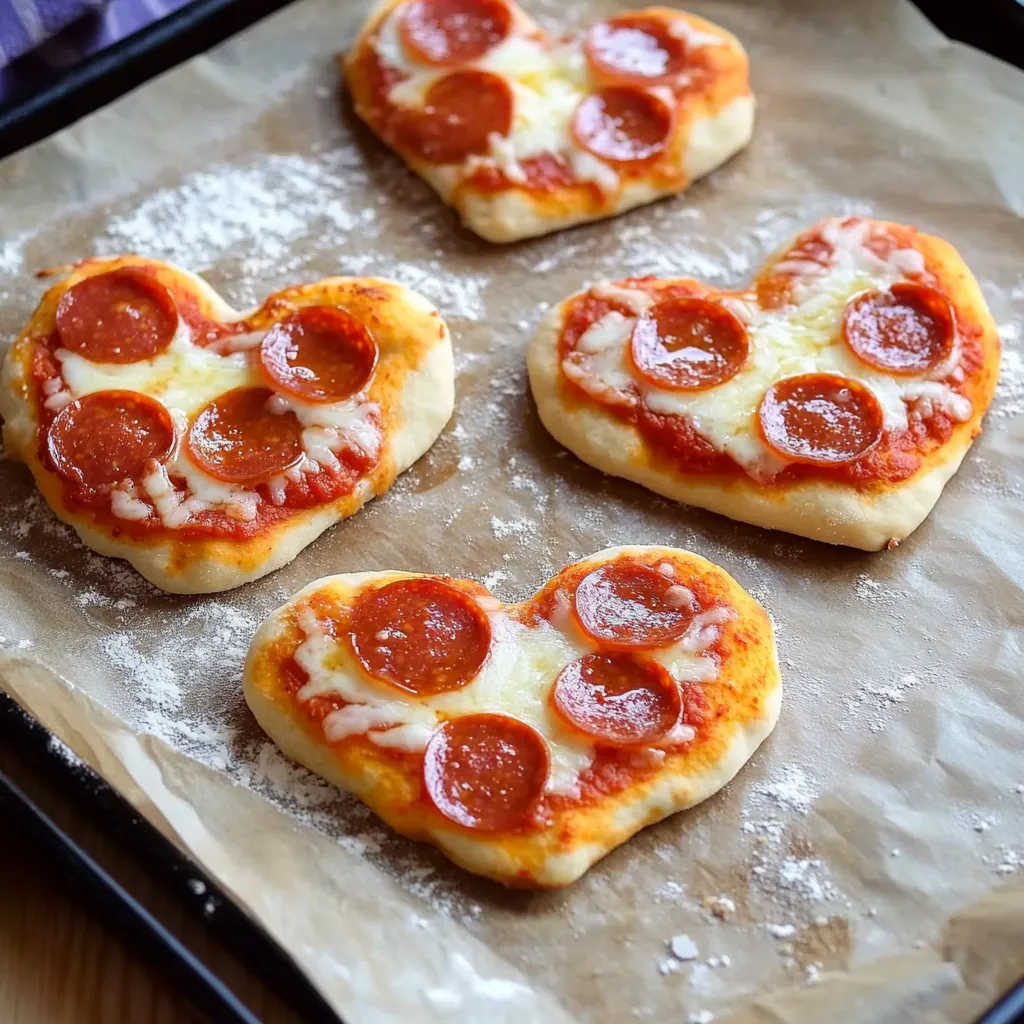
Turn regular pizza night into a Valentine's Day treat with these cute heart-shaped mini pizzas. They've got a crispy crust with a touch of garlic butter, gooey cheese, and whatever toppings you fancy - making dinner both fun and tasty.
These pizzas have become something we look forward to every year. There's something magical about forming hearts from pizza dough - it gets everyone laughing and being creative, and that garlic butter finish makes them impossible to resist.
Key Ingredients Breakdown
- Active Dry Yeast: Make sure it's not old or the dough won't puff up right.
- Bread Flour: Gives you that nice chewy texture like your favorite pizza place.
- Whole Milk Mozzarella: Melts better and gives you that amazing cheese pull.
- Pizza Sauce: Go for a thicker one so your pizzas don't get all wet in the middle.
- Quality Oil: Real extra virgin olive oil makes everything taste better.
Step-By-Step Guide
- Getting Your Yeast Ready:
- Mix water that's exactly 110°F with your yeast and a bit of sugar. Wait until you see foam on top - that means it's working. This usually takes about 5-7 minutes.
- Making Your Dough Just Right:
- Stir oil and salt into your foamy yeast mix. Add flour bit by bit, kneading until you get something smooth that bounces back when touched. This helps build up the gluten for that perfect bite.
- Forming Those Hearts:
- Split your dough into equal balls using a kitchen scale. Press each one into a circle first, then gently shape into hearts by pulling and pinching rather than cutting sharply.
- Putting On Toppings:
- Spread a thin layer of sauce but leave the edges clean for a proper crust. Place cheese carefully so your heart shape stays intact while baking.
 Pin it
I first learned about making pizza in my grandma's kitchen where she always said taking your time with dough makes all the difference. Now I bring that same care to these Valentine's heart pizzas.
Getting The Heat Just Right
Heat your oven to 450°F for that crispy outside. Put a pizza stone on the bottom rack while it heats up if you want that pizzeria taste. Don't rush it - give the stone a full 30 minutes to get hot enough.
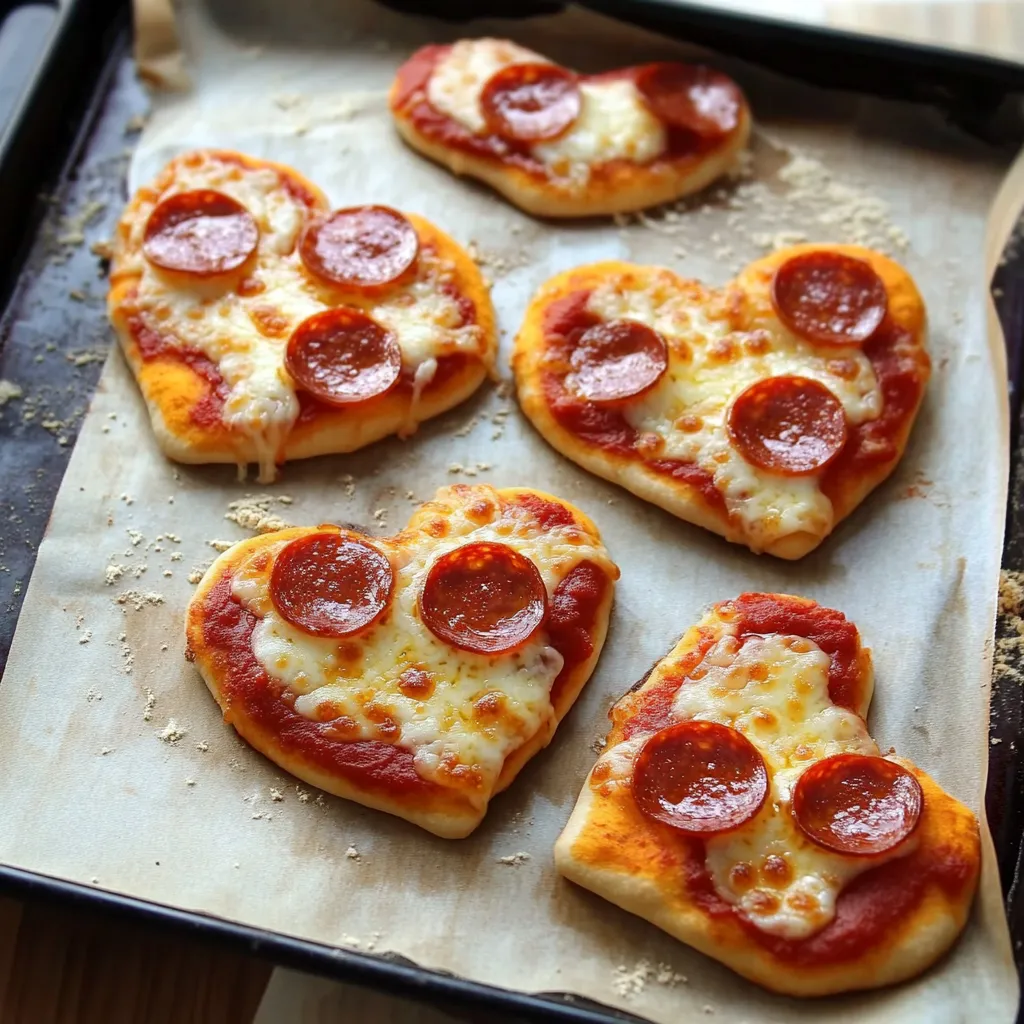
Cooking It Perfectly
Look for edges turning golden brown and cheese bubbling away, usually around 12-15 minutes. Turn the pizzas around halfway so they cook evenly. Check the bottom through the paper to make sure it's browned too.
Fancy Final Touches
Brush some garlic butter mix on the crust edges right after they come out. The hot crust will soak it up and taste amazing. Wait two minutes before cutting so the cheese doesn't slide right off.
Setting Up For Success
Get everything lined up like a production line before you start. Measure out all your ingredients ahead of time. Keep your work surface lightly dusted with flour so the dough doesn't stick but doesn't dry out either.
Planning Ahead
You can make the dough a day early and keep it covered in the fridge. Just take it out an hour before you need it. After shaping the hearts, let them sit covered for 30 minutes before adding toppings and baking.
 Pin it
From all my years teaching people how to make pizza, I've noticed these heart-shaped ones bring something special to the table. When you combine good technique, great ingredients, and a bit of love, you create Valentine's memories that stick around long after dinner's done.
Frequently Asked Questions
- → Can I grab ready-made pizza dough?
- Sure, just cut it into hearts and pile on your toppings.
- → What's with poking the dough?
- It stops big bubbles from showing up while it bakes.
- → Is making dough beforehand okay?
- Definitely, mix and chill your dough, but wait to top and cook until eating time.
- → Will other toppings work too?
- Absolutely, go wild with whatever pizza extras you love.
- → Why use the garlic butter?
- It makes the edges taste amazing and keeps them nice and tender.