
 Pin it
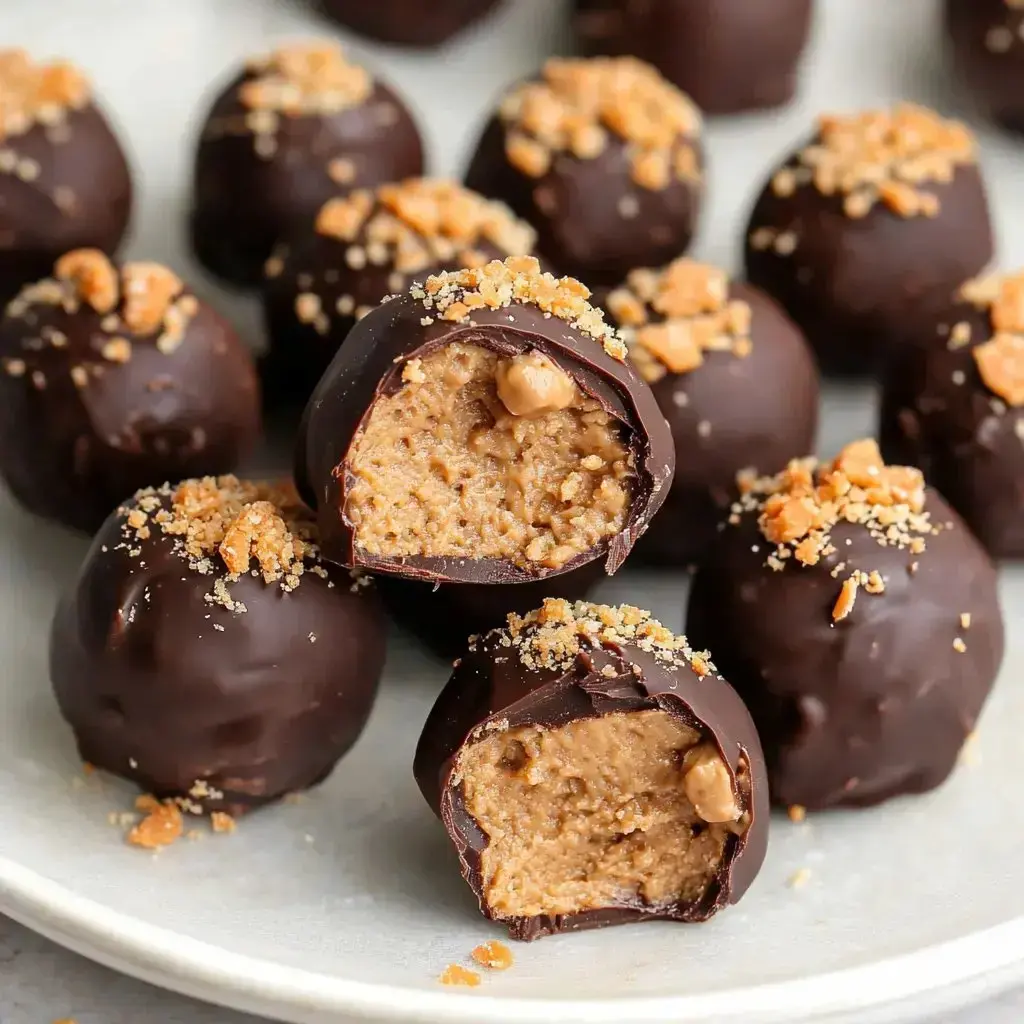
These no-bake Butterfinger Balls blend the iconic tastes of peanut butter and chocolate with a surprising crunch from Butterfinger chunks. They're super easy to whip up and work great for parties, sports gatherings, or as a thoughtful handmade present.
Delightful Bites of Nostalgia
Whenever I whip up these Butterfinger Balls, I'm instantly reminded of what makes them so special to me. The mix of smooth peanut butter with those crunchy Butterfinger bits creates an amazing texture contrast, and that chocolate shell gives them such a fancy look. And the best part? They don't take much effort at all, which is always something I'm happy about.
Your Ingredients List
- Smooth Peanut Butter: 1 cup, regular kind works best since natural types can separate.
- Salted Butter: 1/4 cup, make sure it's soft enough to mix easily.
- Real Vanilla Extract: 1 teaspoon, adds that extra flavor boost.
- Powdered Sugar: 1 1/4 cups, sift it first for the best results.
- Graham Crackers: 1/2 cup, smashed into tiny bits for the right texture.
- Butterfinger Candy Bars: 1 cup, broken up to add that famous crunch.
- Chocolate Almond Bark: 1 1/2 cups, melted down for dipping.
Step-By-Step Instructions
- Mix Your Base
- Combine peanut butter, butter, and vanilla in a big bowl until they're nice and creamy. Then mix in your powdered sugar, graham cracker bits, and crushed Butterfinger pieces until everything's well combined.
- Form Your Balls
- Grab a small scoop to make even-sized balls from the mixture. Pop them onto a paper-lined tray and stick them in the fridge for at least 30 minutes to get firm.
- Get Your Chocolate Ready
- Put your almond bark in the microwave for 45 seconds at a time, giving it a good stir between sessions until it's completely smooth.
- Dip Each Ball
- Use a fork to dunk each chilled ball into the melted chocolate. Give it a little tap to get rid of extra chocolate, then put it back on your tray.
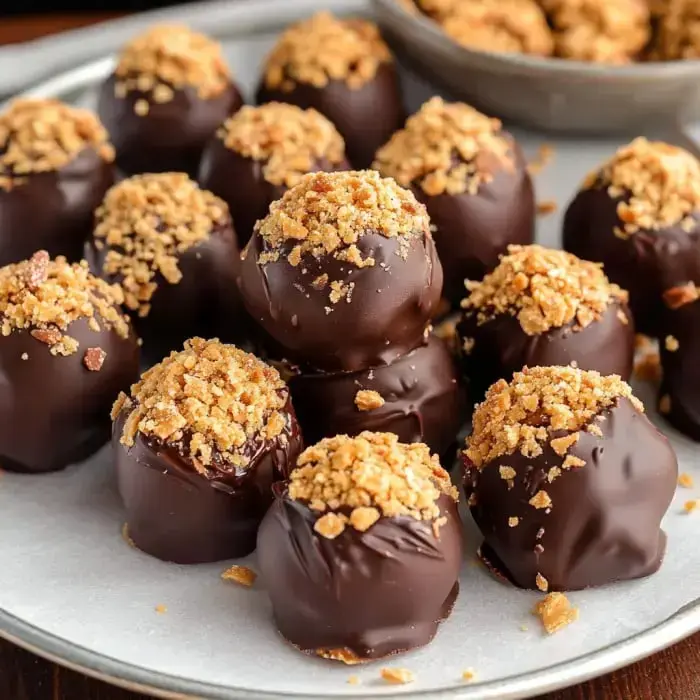
- Add Final Touches
- Drizzle some more melted chocolate on top and sprinkle with extra Butterfinger pieces to make them look extra fancy.
Tips for Success
After making these treats so many times, I've found that taking your time really matters. Getting those centers really cold before you dip them makes them look so much better in the end. I always go for regular peanut butter instead of the natural stuff because it holds together better and won't separate on you.
Storage Advice
You can keep these yummy balls in your fridge for up to two weeks, though at my house they're usually gone way before that! When I'm planning for a big event, I'll make extra and freeze some for later. Just don't forget to put wax paper between the layers so they won't stick together, and let them warm up a bit before eating them for the tastiest experience.
 Pin it
Frequently Asked Questions
- → Why avoid natural peanut butter?
- It has too much oil, which makes it hard for the treats to hold their shape. Stick with brands like Skippy or Jif for better results.
- → Why chill before adding chocolate?
- You’ll need at least 30 minutes in the fridge so the mixture is firm, making it easier to dip without falling apart.
- → How long will these last?
- Store in the fridge for up to two weeks or freeze for as long as three months. Just keep them in a tightly closed container.
- → What if the balls soften while I dip them?
- If this happens, pop them in your freezer for around 5-10 minutes to firm up before dipping again.
- → Can I make them smaller?
- Absolutely! You can cut the size down by using a smaller scoop, which will make more servings.