
 Pin it
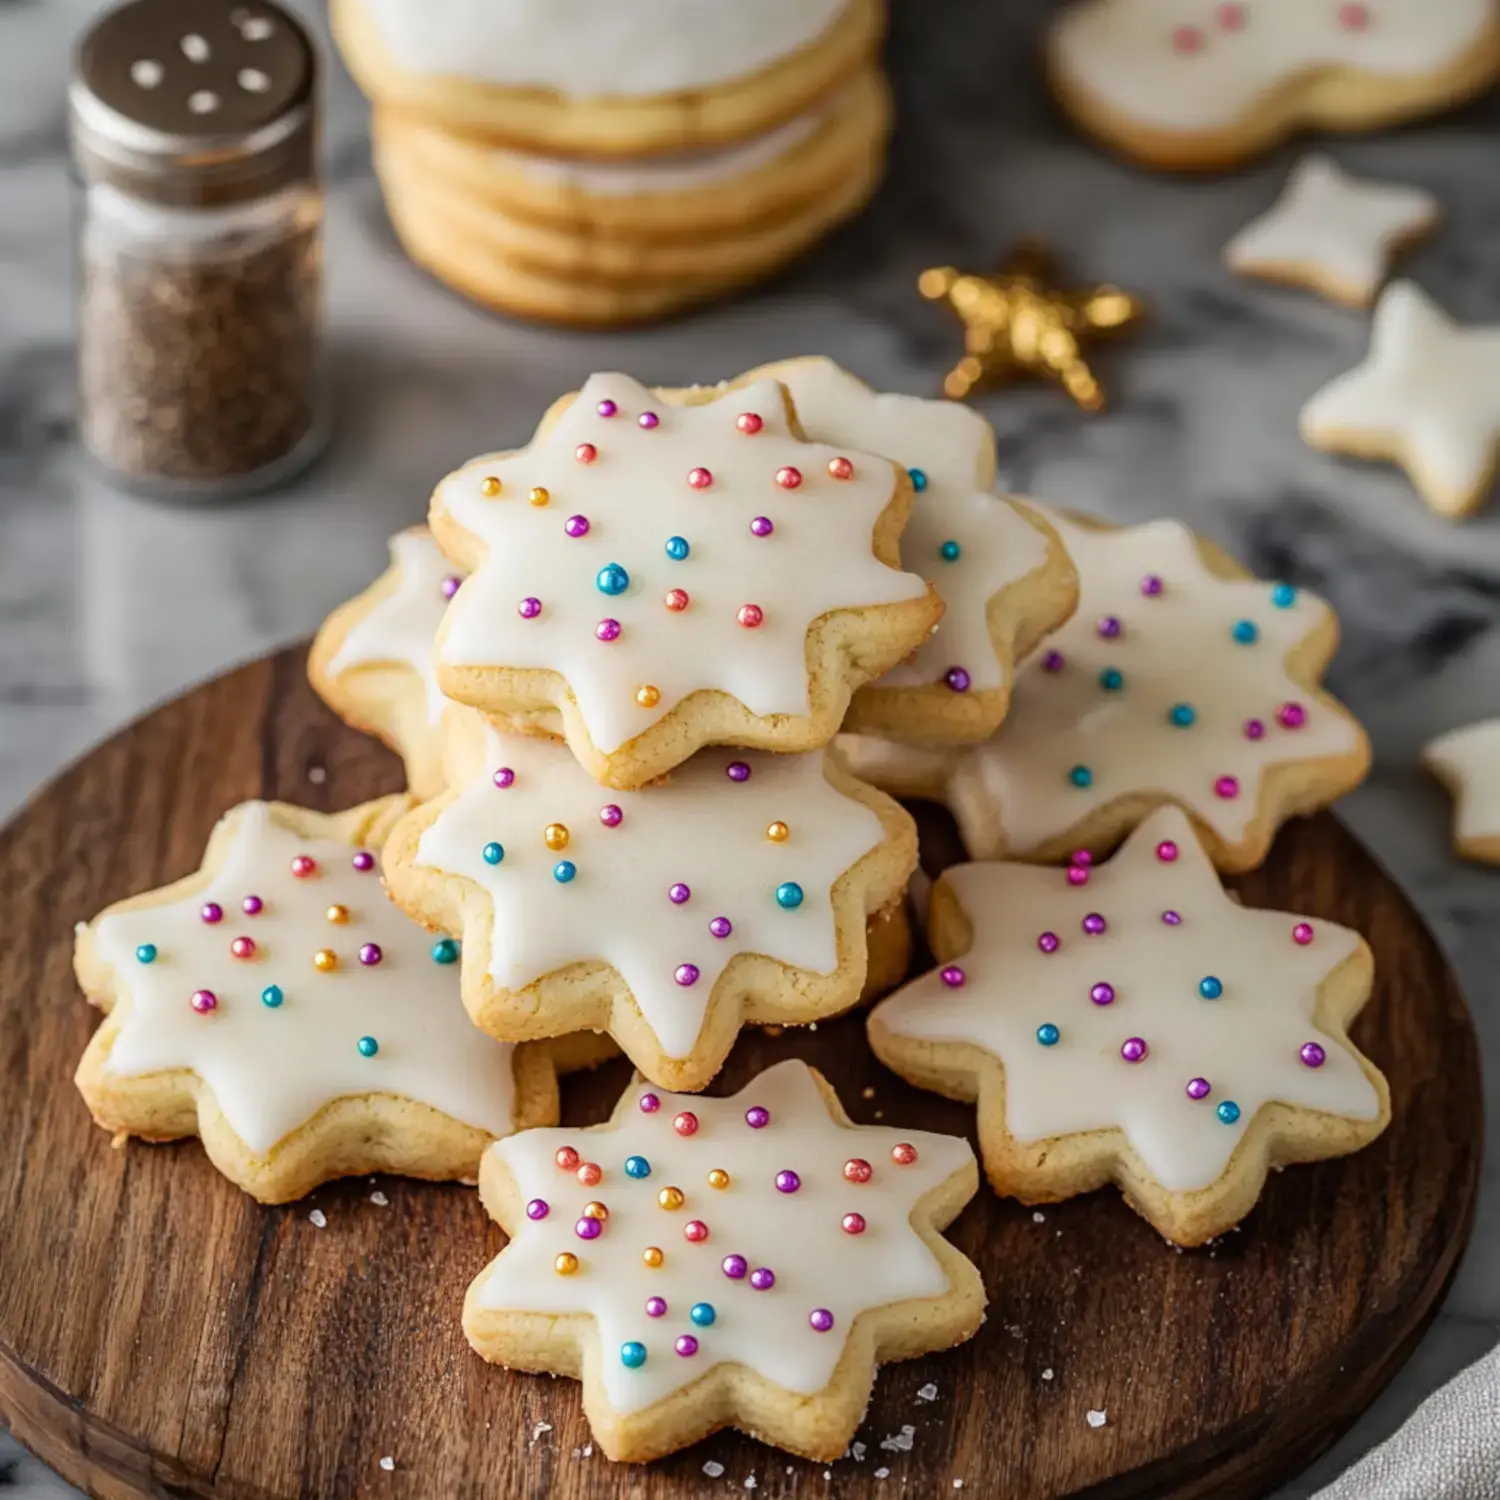
Need flawless sugar cookies in a flash? These Skip-the-Fridge Sugar Cookies are my go-to trick for those unexpected baking situations! Through countless times of poor planning (my bad!), I've finally nailed the recipe for shaped cookies that skip refrigeration completely. They've got a buttery taste, soft centers, and crispy edges just like traditional ones, but they're done in less than an hour. My little ones nicknamed them our 'instant' cookies because we don't have to sit around waiting!
The Magic Behind This Method
Who's got time to wait for dough to cool down? This approach has bailed me out so many times when I've blanked on bake sales or unexpected guests. The mix is really forgiving (great for kids helping out), and those shapes? They keep their crisp lines even after they're done—making them fantastic for adding decorations! And you can switch up the flavors however you want—I've experimented with everything from plain vanilla to fancy lemon zest.
What You'll Need
- Butter: Just barely soft when touched—this really matters! Mine sits out roughly 30 minutes.
- Extract Options: Vanilla works perfectly, but sometimes I throw in a dash of almond too—what a difference!
- Basic Flour: Simple all-purpose flour does the job here.
- My Special Addition: Some cornstarch for that wonderfully soft texture.
- Baking Powder: A small amount gives just the right amount of rise.
- Sugar: Standard granulated sugar creates that classic sweet taste.
Baking Steps
- Getting Started
- Begin by whipping that butter and sugar until it's really light! I always set my watch for 3 minutes—don't cut corners!
- Adding Richness
- Next comes the egg and flavorings. Always scrape the bowl sides—my grandma would tap my hand if I tried to skip this!
- Handling Dry Stuff
- Combine those dry items separately (it definitely counts!), then mix them in gradually. I add them bit by bit to avoid a flour explosion—learned that mistake!
- Time to Shape
- Here's where it gets fun! A slightly floury surface will be your best friend.
- Baking Watch
- Look for those slightly golden edges—that's your sign they're perfectly done!
Fixing Common Issues
Got problems with your dough? Been there too! When things get sticky, don't stress! A bit more flour usually sorts it out. If it's falling apart? Just mix a little longer—sometimes it takes an extra minute to come together properly. And remember: work with your rolling pin gently—light pressure works way better than muscle!
Decoration Ideas
Time to talk finishing touches! These treats work like little blank slates. Royal icing looks amazing for fancy designs, but sometimes I just throw colored sugar on top before they go in the oven—so much simpler with kids around! Those sharp edges really make decorations stand out nicely.
Fast Solutions
Out of cornstarch? Don't worry! Just use extra flour instead. While they're perfect for cookie cutters, they won't work as drop cookies—found that out the hard way! If they're spreading too much, your butter's probably too soft—stick the dough in the fridge for 15 minutes and try again.
Storage Tips
These treats stay good about a week in a sealed container—if they don't vanish first! I put parchment between layers to protect all the pretty designs. They freeze really well too, which helps get holiday baking done early. Just let them warm up naturally when you want to eat them!
Why These Will Win You Over
These cookies really change everything! They taste just as good as old-school sugar cookies but they're ready when you need them now. Whether you're baking for a class party, holiday gathering, or just because you felt like it, this approach won't let you down. The biggest win? You'll seem like a kitchen wizard without spending your whole day baking!
 Pin it
Frequently Asked Questions
- → How can these skip chilling?
The dough holds its shape thanks to cool butter (around 65°F/18°C) and the perfect ingredient balance. A bit of cornstarch means no spreading while baking, even without chilling.
- → What stops the dough from crumbling?
Add the dry ingredients bit by bit—4 or 5 parts work well. Mix each portion fully before adding more. If the dough feels too dry, chances are the flour went in too quickly or too much was used.
- → Why include cornstarch here?
Cornstarch gives cookies a softer texture with sharp edges, holding the cut-out shapes perfectly in the oven. While substituting more flour is possible, it tweaks the final result slightly.
- → How thick should I roll it?
Keep the rolled dough around 1/4 inch (6.5mm). This ensures even baking and perfect texture while keeping things neat.
- → Can I prep these in advance?
Enjoy stored cookies for up to two weeks in a sealed container or freeze them (unfrosted is best) for months when packed well.