
 Pin it
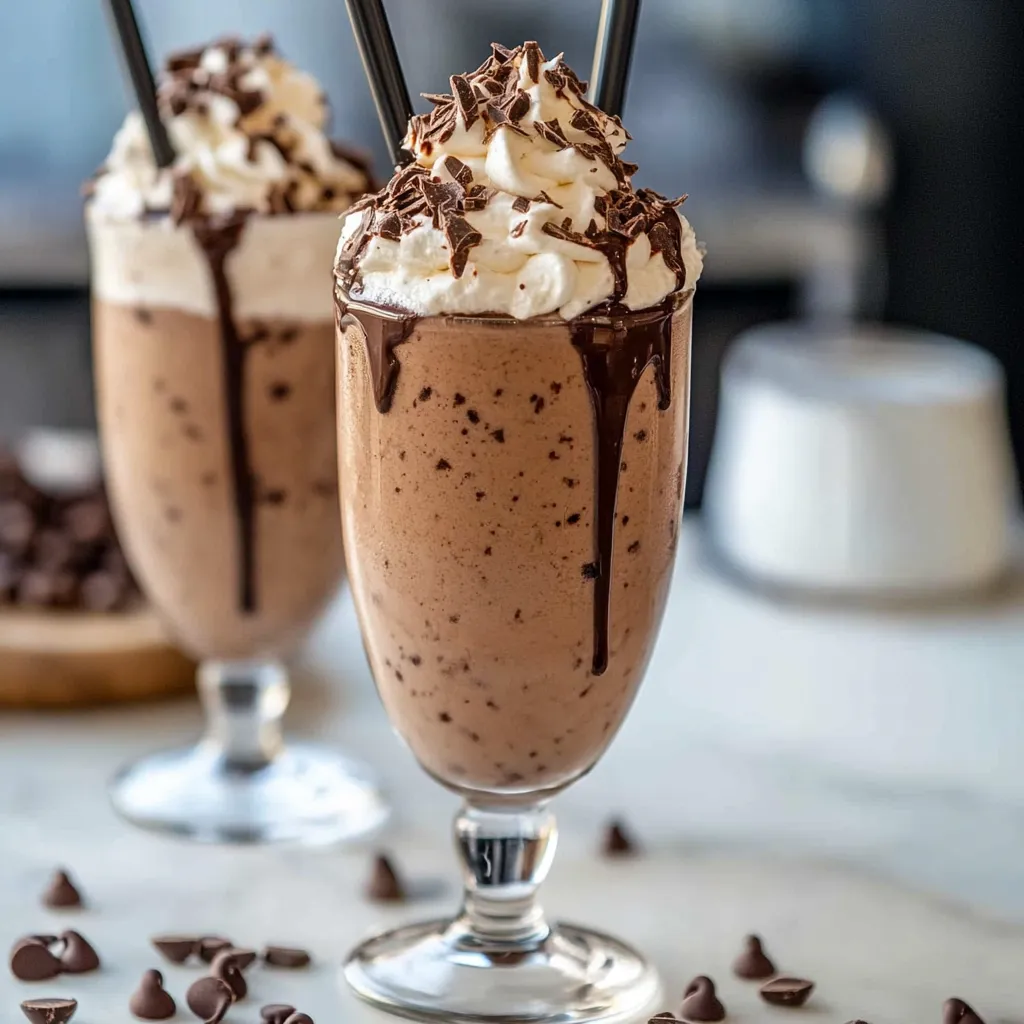
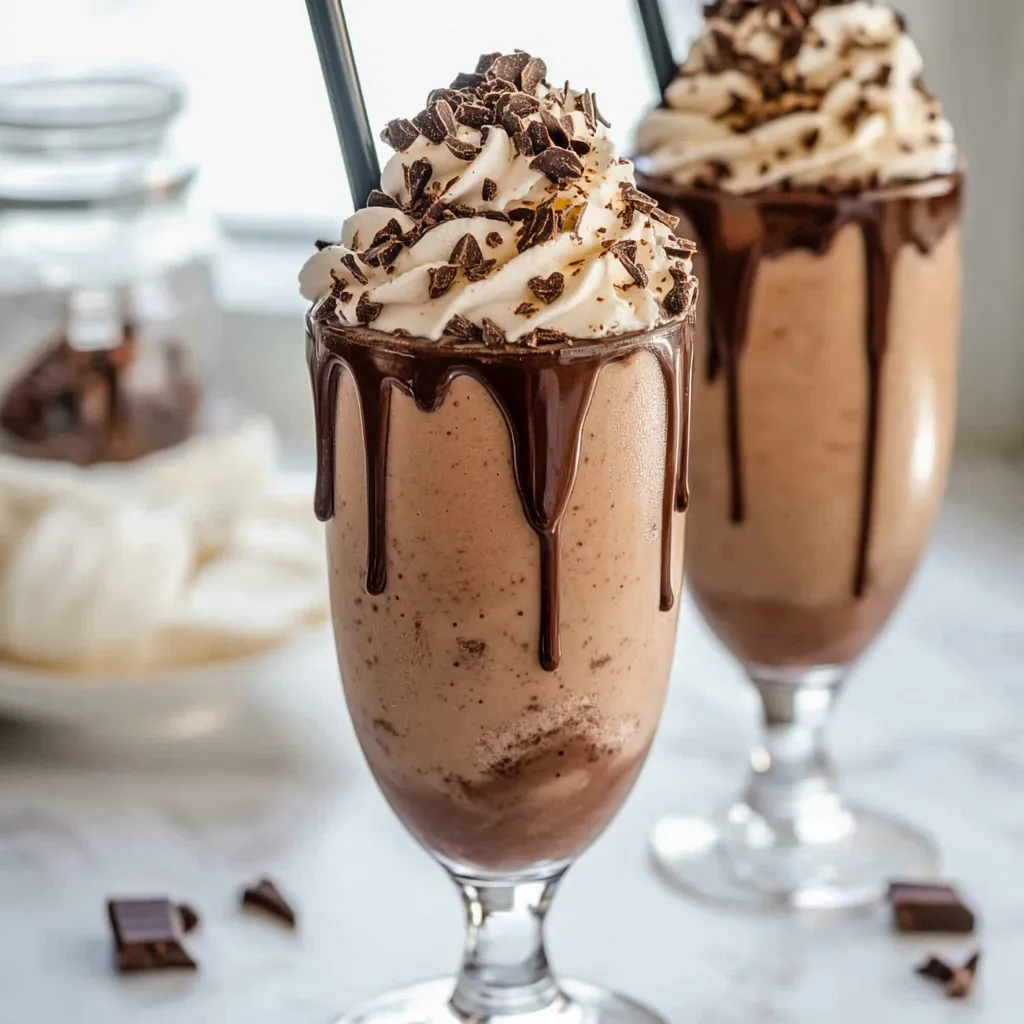
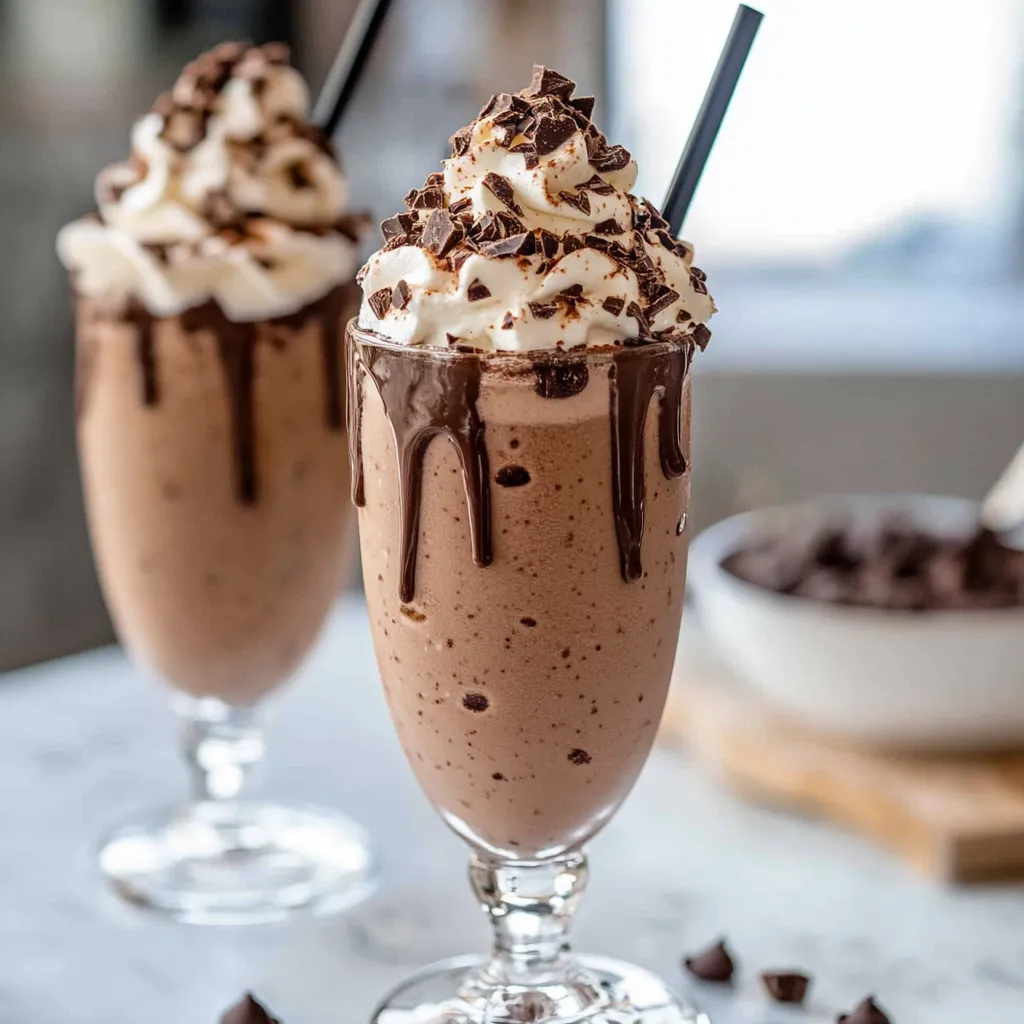
A smooth, decadent chocolate milkshake combines the luxurious texture of creamy ice cream with silky milk, making an over-the-top treat that knocks out even the strongest chocolate cravings. This simple formula turns an ordinary milkshake into a coffee-shop worthy drink that beats anything you'd pay premium prices for.
When I was a kid, whipping up chocolate milkshakes was our weekend tradition. I've tried countless versions over the years, playing with different chocolate types and measurements until I landed on this perfect mix that strikes just the right balance between richness and drinkability.
Key Ingredients
- Chocolate Ice Cream: Go for a quality brand with actual cocoa butter for the fullest flavor and smoothest feel. The extra fat makes your shake incredibly velvety.
- Whole Milk: The fat in whole milk helps it mix perfectly with the ice cream. You can try reduced-fat options, but whole milk gives you that classic milkshake texture.
- Chocolate Sauce: Pick one made with actual chocolate instead of fake flavored syrups. Good sauce adds extra depth and makes sure you taste chocolate in every sip.
Instructions
- Step 1: Preparation
- Let your ice cream sit out for about 5 minutes to soften slightly. This makes blending easier and won't strain your blender motor. While waiting, stick your serving glasses in the freezer so they'll keep your shake thick longer.
- Step 2: The Perfect Blend
- Start by putting chocolate ice cream in your blender, then pour in just half the milk. Beginning with less milk lets you control how thick it ends up. Drizzle your chocolate sauce over the ice cream so it doesn't all sink to the bottom.
- Step 3: Blending Technique
- Start blending on low for about 15-20 seconds to break up the ice cream, then switch to medium speed. You'll know it's ready when you see a little whirlpool forming in the middle. Add more milk bit by bit if needed until it looks right to you.
- Step 4: The Finishing Touch
- Pour your shake into the cold glasses right after you finish blending. Don't wait around - serving immediately keeps that perfect thickness you worked for. Top it off with whatever extras you like.
 Pin it
Everyone in my house goes crazy for it when I swirl some dark chocolate sauce inside the glass before pouring in the shake - it makes cool chocolate streaks and kicks up the fancy factor a notch.
 Pin it
This chocolate milkshake has turned into my go-to dessert drink that everyone asks for at family get-togethers. Using top-notch ingredients and paying attention to the little details creates a milkshake that feels both old-school and fancy at the same time - it's basically heaven for chocolate fans.
Frequently Asked Questions
- → How do I make my chocolate milkshake thicker?
- Start with smaller amounts of milk and add more only if needed. You can also chill your glass in the freezer for 10 minutes before pouring.
- → Can I make this milkshake without a blender?
- A blender gives the smoothest result, but you can use a hand mixer or mix thoroughly in a big bowl with softened ice cream.
- → What type of milk works best for milkshakes?
- Whole milk makes the richest texture, but any type works fine. Try chocolate milk for extra flavor punch.
- → How long can I keep a homemade milkshake?
- They're best drunk right away. If you store it in the freezer, let it sit out for 5 minutes and mix again before enjoying.
- → Can I make this milkshake dairy-free?
- Absolutely! Just swap in dairy-free ice cream and use almond milk or any other plant milk you like.