
 Pin it
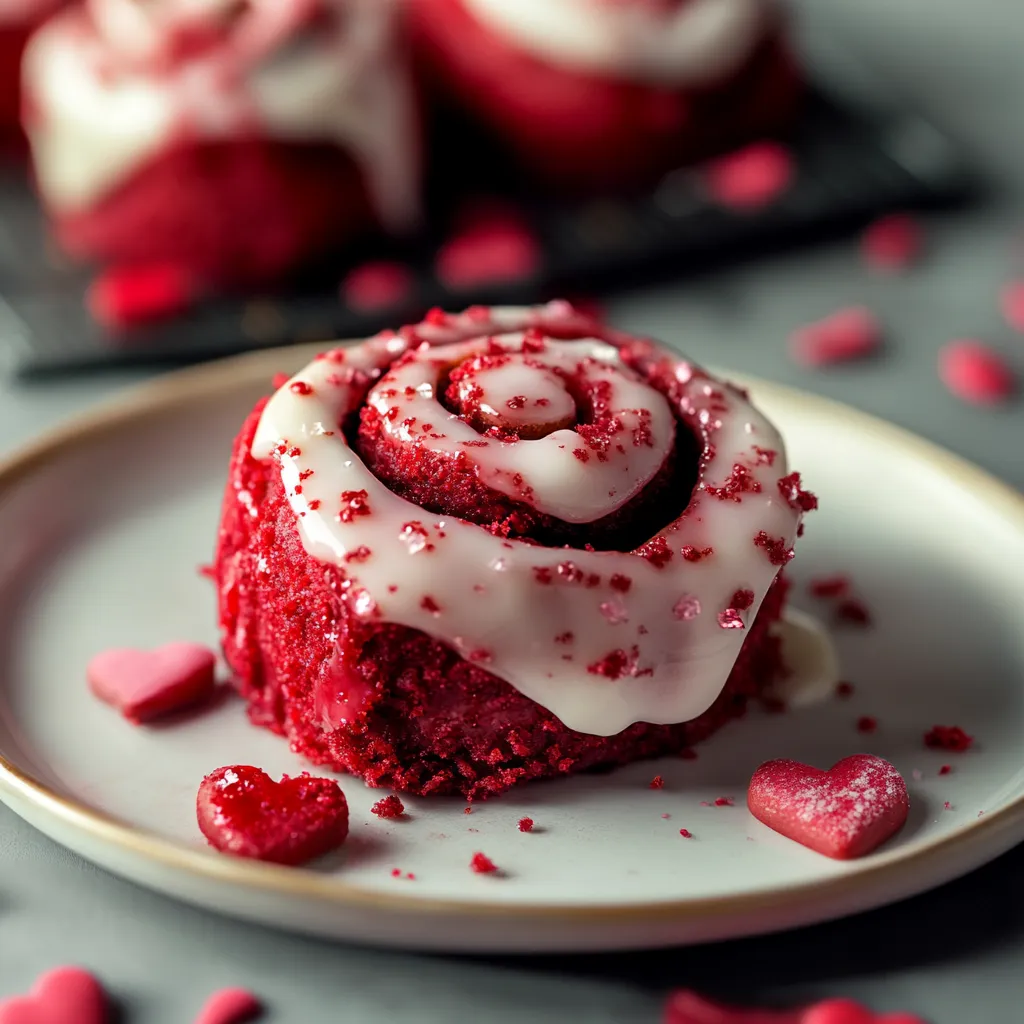
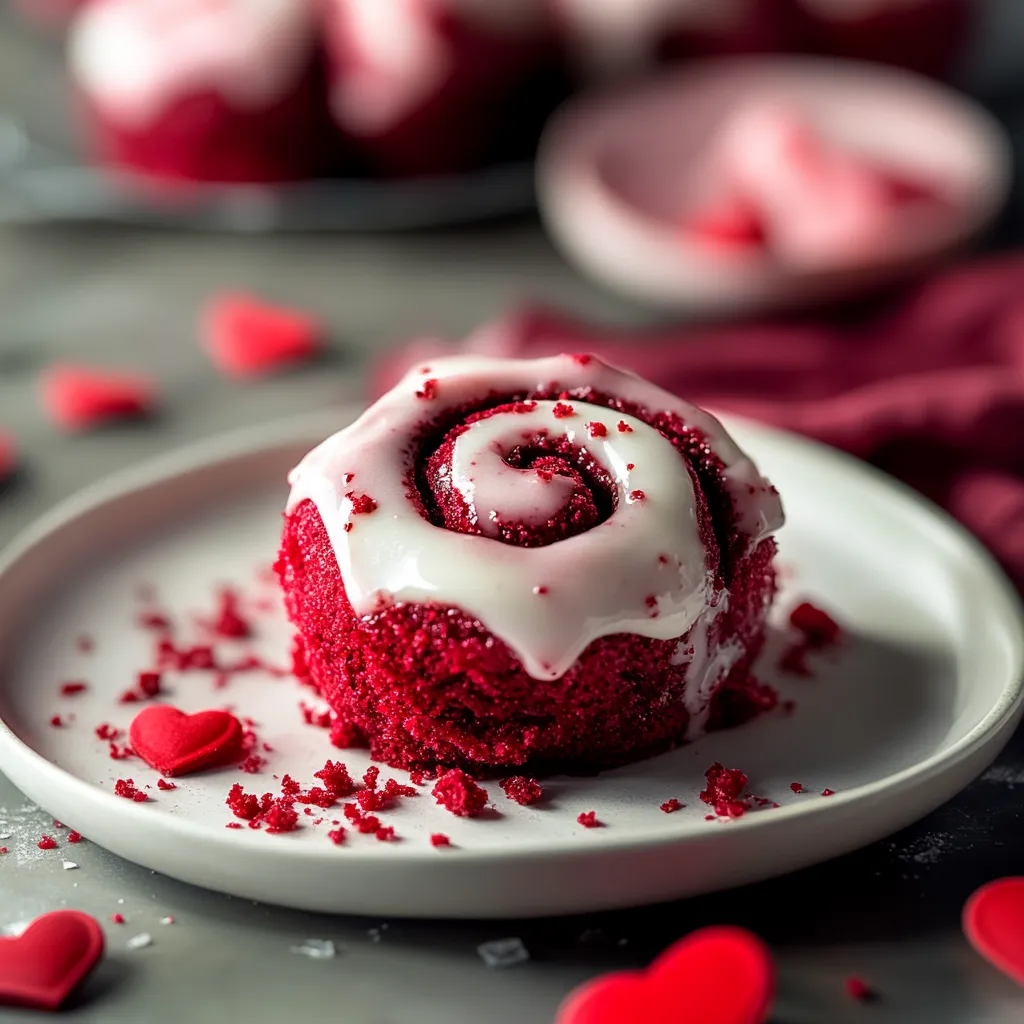
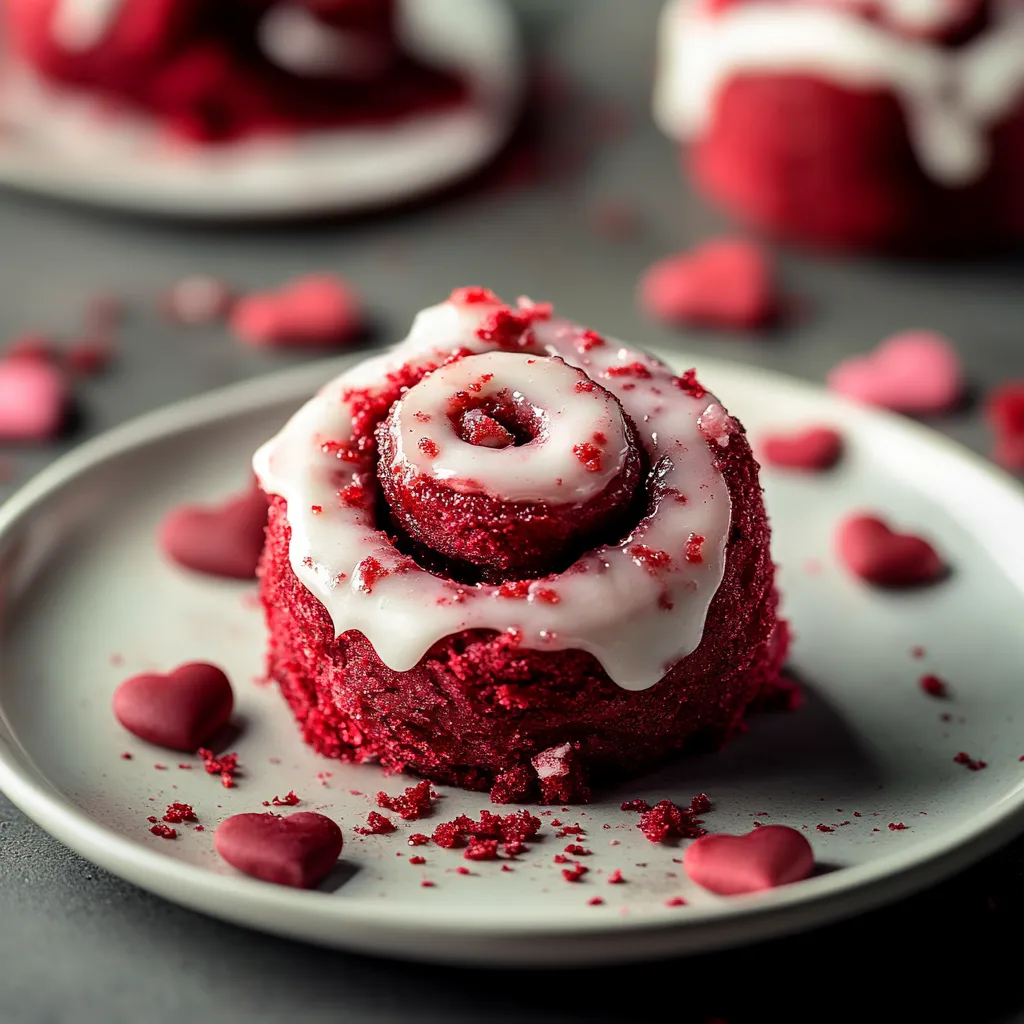
Mixing the classic appeal of cinnamon rolls with the beloved taste of red velvet creates a charming Valentine's treat everyone will adore. The ruby-colored dough winds around a sweet cinnamon-sugar blend, forming beautiful swirls that show off their red centers in every soft bite. Topped with smooth vanilla icing that seeps into all the nooks and folds.
I've tweaked this recipe many times and found that cooling the dough overnight in the fridge really brings out amazing flavors. These rolls have become such a hit that my folks ask for them all year round, not just on Valentine's Day. The smell of them cooking has turned into our weekend family tradition.
Complete Ingredients Breakdown
- Bread Flour: The extra protein gives you that wonderful chewy texture. Try to grab unbleached bread flour for top-notch results.
- Cocoa Powder: Stick with regular, unsweetened cocoa for that true red velvet taste. The Dutch kind can make the red color less bright.
- Red Food Coloring: Go with gel colors for the brightest red without changing how the dough feels. I really like using Americolor Super Red.
- Active Dry Yeast: Make sure it's not old - always check the date and keep it stored properly.
- Buttermilk: Don't substitute this! Real buttermilk makes everything softer and adds a nice tang. Remember to let it warm up first.
Step-by-Step Preparation Guide
- Starting Your Dough:
- Combine the yeast with lukewarm buttermilk and a tiny bit of sugar. Wait until it gets bubbly, around 5-7 minutes. This tells you your yeast is good to go.
- Making The Foundation:
- Put flour, cocoa powder, and salt in your stand mixer bowl with the dough hook attached. Add the buttermilk mix, melted butter, and eggs. Mix slowly until everything comes together, about 2 minutes.
- Working The Dough:
- Turn the speed up to medium and let it run for 8-10 minutes. You want the dough to feel smooth and stretchy, pulling away from the bowl sides. Add your red coloring bit by bit during the final minute.
- The Initial Rest:
- Put your dough in a greased bowl, cover it with plastic, and let it sit somewhere warm until it doubles, usually 1-1.5 hours.
- Spreading And Filling:
- Roll your dough into a big 16x20 inch rectangle on a lightly floured counter. Spread soft butter all over, leaving about an inch around the edges. Mix brown sugar with cinnamon and sprinkle it evenly on the butter.
- Forming Your Rolls:
- Starting from the longer side, roll everything up tightly. Pinch the edge to close it up. Use a ruler to mark out 12 even sections.
 Pin it
From my time working in our family's bakery, I learned buttermilk is the secret weapon in red velvet goodies. Its slight sourness adds a flavor that just can't come from regular milk. These days I always keep some buttermilk powder in my kitchen cabinet just in case.
Achieving Fantastic Rising Results
Through years of testing recipes, I've found that getting the rise just right turns good cinnamon rolls into amazing ones. Let your shaped rolls puff up until they're touching each other in the pan, usually taking 45-60 minutes. Your kitchen's natural warmth creates the best spot for this final rising stage.
Creating Wonderful Icing
Getting the icing just right takes a bit of care. Start with cream cheese and butter that aren't cold, and beat them until they're totally smooth. Then slowly add powdered sugar, and thin it with heavy cream until it flows like a ribbon. This way you'll get super smooth icing that sets just right.
Showing Off Your Creation
These rolls look best when you serve them right. Put them on an old-fashioned cake stand or pretty ceramic plate. The dark red swirls look amazing against white dishes. For Valentine's Day, add some heart sprinkles or dust lightly with cocoa powder.
Prep Ahead For Easy Mornings
The best thing about these rolls is you can get them ready ahead of time. After shaping them, stick them in the fridge overnight. The slow, cold rise makes them taste even better and saves you work in the morning. Just let them warm up a bit before baking.
Fixing Common Problems
Knowing what might go wrong helps you succeed. If your dough feels too sticky, don't just dump in more flour - slightly tacky dough makes softer rolls. If they're getting too brown while baking, just cover them loosely with foil so they can finish cooking without burning.
 Pin it
Perfecting these red velvet cinnamon rolls took lots of practice and learning how ingredients work together. The combo of red velvet's mild chocolate flavor with warm cinnamon is something really special. Watching families enjoy these rolls on Valentine's morning reminds me why I love baking so much - good food brings people closer and creates memories that last forever.
Frequently Asked Questions
- → Can I make these ahead of time?
- You can fix them the night before and pop them in the fridge after shaping. Just let them warm up and rise before baking.
- → Why use dental floss to cut rolls?
- It doesn't flatten the dough like knives often do, so your rolls stay nicely round.
- → Can I freeze these rolls?
- You can freeze them without frosting for up to 2 months. Just thaw and heat them up before adding the glaze.
- → How do I know when the dough has risen enough?
- It'll be twice as big and will keep a small dent when you gently poke it.
- → Can I use instant yeast?
- You can just mix it straight into your dry stuff instead of proofing it first.