
 Pin it
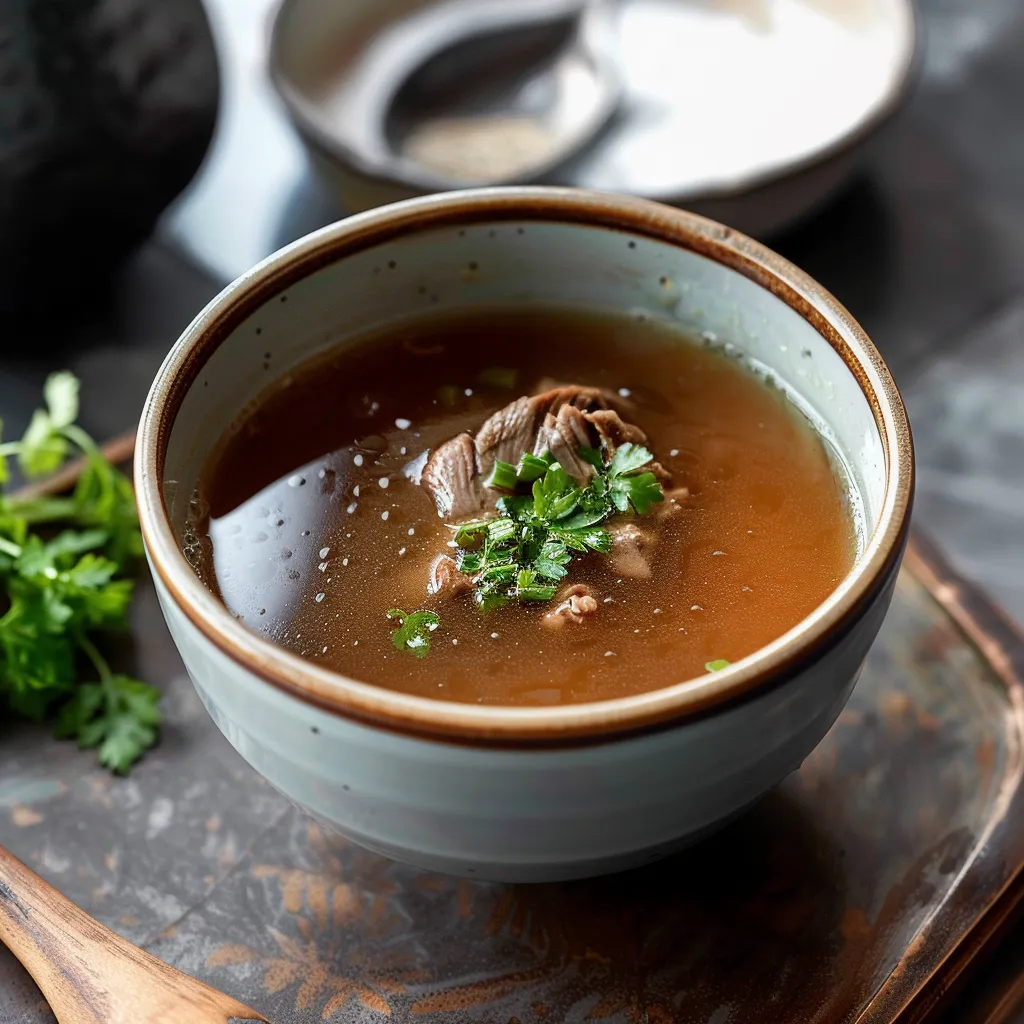
This deeply flavorful homemade beef stock turns basic meals into something special with its intense, layered taste that store-bought versions can't compete with. When I make this slow-cooked gem, it becomes the backbone for so many dishes in my kitchen.
I began crafting beef stock at home after finding my grandma's old recipe collection, and now it's turned into a once-a-month tradition. When my family smells stock day happening, they know tasty dinners are on the way.
Ingredients
- Marrow bones: Give thickness and that wonderful rich texture to your stock
- Meaty bones: Add powerful taste while their attached cartilage improves consistency
- Beef stew meat: Creates that strong, beefy flavor backbone
- Onions, carrots, and celery: Form your essential flavor base
- Fresh herbs: Bring subtle complexity without taking over
- Tomato paste: Adds depth and slight tanginess
- Dried mushrooms: Boost earthiness without making things muddy
- Parmesan rind: Not required but brings amazing savory qualities
- Anchovy fillets: Add richness without any fishy taste
- Apple cider vinegar: Pulls nutrients from the bones
- Salt: Lifts all flavors but don't go overboard
Step-by-Step Instructions
- Layer ingredients strategically:
- Set smaller items like herbs and spices on the pot bottom with bigger bones and meat pieces above them. This smart arrangement makes skimming easier later and helps flavors mix evenly throughout cooking.
- Bring to a gentle simmer:
- Heat slowly until you see the first signs of boiling, then turn heat to its lowest setting right away. This gentle approach is key since hard boiling will make your stock cloudy and give it a weird texture. Watch for tiny, occasional bubbles instead of a rolling boil.
- Skim as needed:
- During the first half hour, use a small mesh strainer to take off foam from the top. This step mainly helps with looks by making a clearer result, but your stock will taste great either way. Take your time and only remove the foam, not the tasty liquid.
- Practice patience:
- Let your stock cook for at least 6 hours, though 8 hours works even better. The real magic happens in those last couple hours when everything breaks down and flavors come together. I usually start mine on weekend mornings so it can cook all day while I do other stuff.
- Strain thoroughly:
- First grab the big pieces with tongs, then pour what's left through a fine strainer. Don't push on the solids as that can cloud your clear stock. You can keep the meat for other meals but throw out the cooked veggies.
- Cool properly:
- Put your strained stock in an ice bath in your sink to cool it down fast. This quick cooling stops bacteria and keeps the flavor nice. Don't stick hot stock straight in the fridge as it can warm up your other food too much.
 Pin it
I think dried mushrooms might be my best secret addition to this stock. My grandma never put them in, but I learned about their amazing effect during a cooking workshop some time back. Just a few small pieces add such incredible depth that guests always ask what makes it so good.
Storage Wisdom
Once you've strained and cooled your beef stock, you can keep it in the fridge for about 5 days. That solid fat layer on top actually helps keep it fresh by sealing out air. For longer storage, freeze it in amounts that match how you cook. I find 1-cup and 2-cup containers most useful, plus some ice cube sizes for when I just need a touch of flavor.
Make sure to mix your chilled stock well before freezing since the good stuff tends to settle at the bottom during cooling. This way each portion will taste the same. Don't forget to write the date and what's inside on your containers - it's surprisingly hard to tell different stocks apart once they're frozen.
Creative Uses Beyond Soup
Beef stock shines in soups and stews, but that's just the start. Try cooking your rice or barley in it to soak up all that goodness. Boil it down by half for a sauce starter or reduce it more for a thick, tasty meat topping.
I sometimes add a splash when cooking veggies or after searing meat to get all those tasty bits from the pan. Even a spoonful makes mashed potatoes so much better. The strong flavor works wonders in risotto or when you're slow-cooking vegetables.
Cultural Significance
Making stock from bones ranks among the oldest cooking methods humans have used, going back thousands of years. Just about every food culture around the world has their own take on slowly cooking bones and aromatics as the base of their cooking.
French cooks call it "fond" which means foundation, while Italians say "fondo." In many Asian food traditions, beef bone broths are often enjoyed on their own as health-boosting drinks. This process shows real cooking wisdom by getting the most flavor and nutrition from parts that might otherwise go to waste.
 Pin it
Frequently Asked Questions
- → Which bones work best for this stock?
Go for marrow or bones with meat on them—they bring out amazing flavor and the thick texture you want.
- → Do I have to skim the stock?
No, but it’s a good step if you want clearer broth. Leaving it doesn’t change the taste much.
- → What’s the best amount of time to simmer?
To get the best flavor, simmer for 6+ hours. But you’ll still get decent results in 3-4 hours.
- → Is roasting the ingredients necessary?
It’s your choice. Roasting gives a bold, caramelized touch, but you can skip it and just simmer everything.
- → How should I stash the stock safely?
Cool the liquid down, remove fat from the top, and store it in portioned containers or freezer bags for later use.