
 Pin it
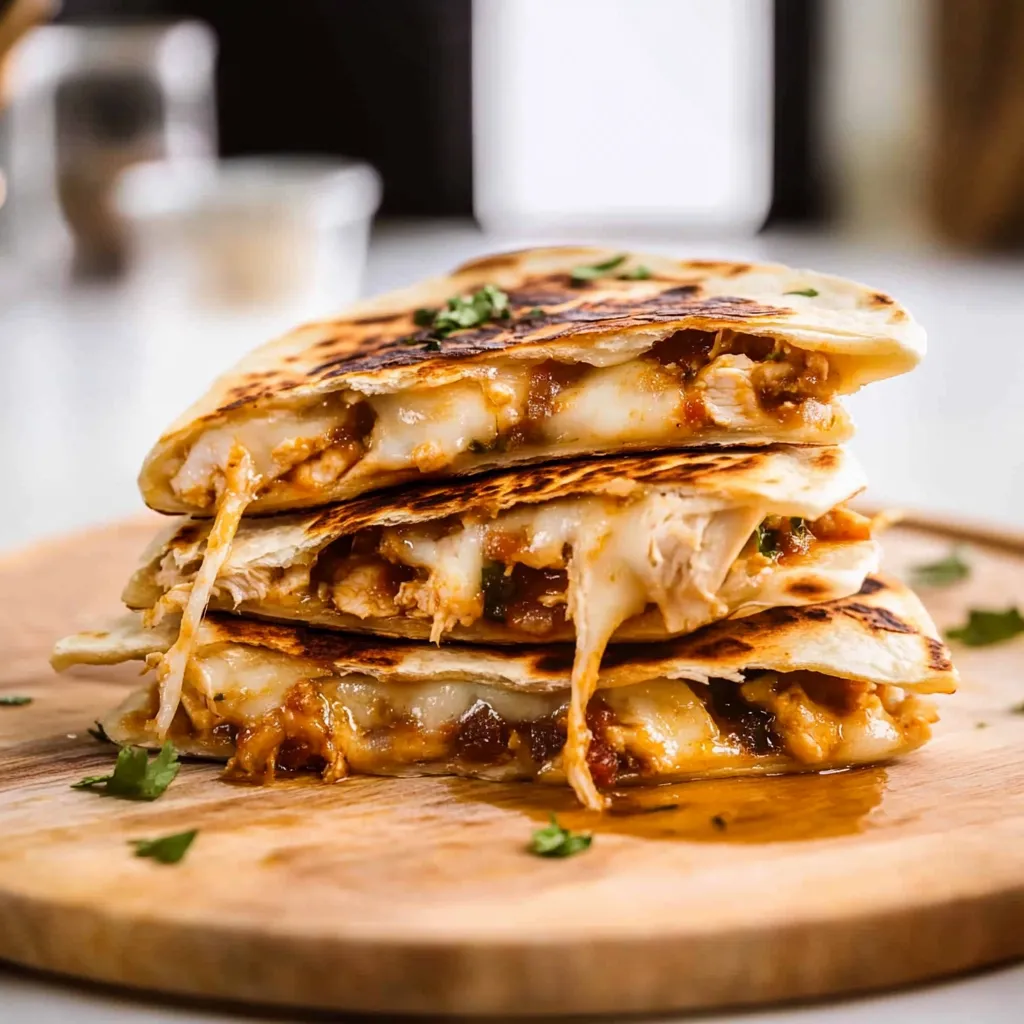
Turn plain ingredients into a craveable dinner with these crunchy, golden chicken quesadillas. They hit all the right notes with juicy chicken, sweet cooked onions, and loads of gooey cheese. You’ll have a meal that’s both fuss-free and totally crowd-pleasing right in your own kitchen, faster than you think.
The first time I whipped these up for my fussy nephew, he shocked everyone by not just eating them, but actually begging for more the very next day. Now, whenever we need something quick that still impresses, these go on the menu for weeknights and last-minute get-togethers.
Tasty Ingredients
- Oil: This helps your quesadillas get crisped up and golden - pick avocado or any neutral oil
- Tortillas: Use 8-inch flour tortillas if you can – they’re easy to fold and hold all the good stuff
- Medium cheddar cheese: Sharp with just enough tang, plus gives that extra burst of color
- Monterey Jack cheese: Smooth and creamy, it melts perfectly for those epic cheese pulls
- Cooked chicken: Grab some rotisserie chicken for convenience and flavor
- Fresh onion: Caramelize it for a sweet background flavor
- Cumin: Adds a smoky, earthy kick you taste in real Mexican dishes
- Garlic powder: Makes sure every bite is loaded with savory aroma
- Onion powder: Backs up the fresh onion with more depth
- Black pepper: A pinch cranks up the flavor
- Chili powder: Gives a gentle heat and that familiar southwestern zip
- Salt: Brings everything together and helps all the other seasonings pop
Easy Step-by-Step Directions
- Start by prepping the tortillas:
- Lightly brush some oil onto one side of each tortilla. This is important if you want that crispy edge everyone loves. Try not to go overboard—just a quick swipe with a pastry brush does the trick.
- Mix your cheeses:
- Stir both the Monterey Jack and cheddar together in a bowl. That way, you get stretchy melt from one and extra punchy flavor from the other when you bite in.
- Time to season:
- Grab a little bowl and combine salt, chili powder, black pepper, garlic powder, onion powder, and cumin. Give it a good whisk so everything’s mixed up nicely. This means every bite will taste awesome.
- Sauté onions for major flavor:
- Warm a skillet with oil over medium heat. Toss in diced onions and sprinkle the spice blend right away. Stir every now and then. Cook 4-5 minutes, or until the onions turn soft and edges start looking golden.
- Add chicken to the mix:
- Move the pan off the burner and toss in shredded chicken. Stir until every chunk is coated in those tasty spices, then set aside while you get your cheese sorted out. Letting it sit helps everything blend together.
- Assemble and cook:
- Heat a big skillet over medium-low. Lay a tortilla in, oiled side down. Sprinkle some cheese blend over half, scoop on that seasoned chicken mix, then a bit more cheese on top. Fold over and press gently to get that nice crescent shape.
- Finish it off:
- Let each one cook for about 2-3 minutes per side until browned and crispy outside with melty cheese hidden inside. Let them chill on a cutting board for half a minute before slicing up so the filling doesn’t spill everywhere.
 Pin it
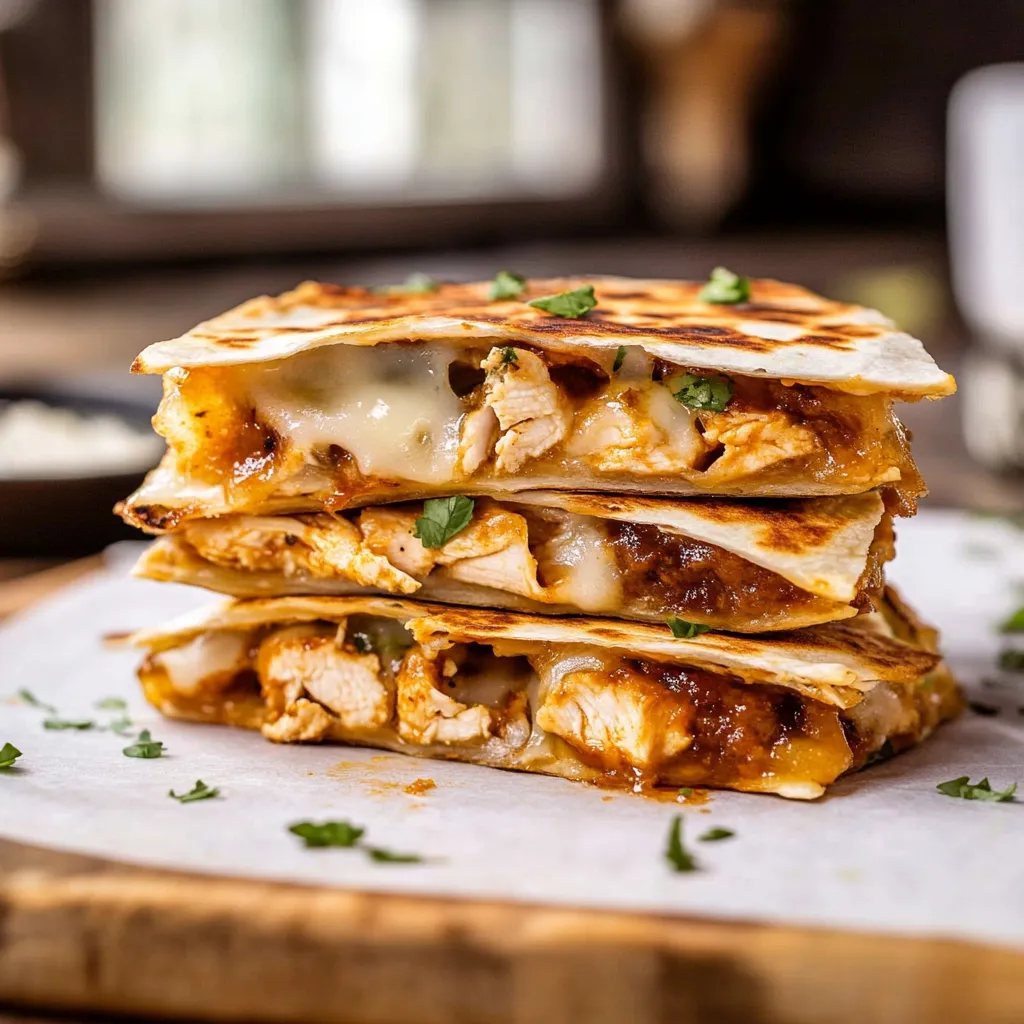
My grandma's spice combo is what takes these over the top. She always insisted that cumin made everything taste real. Sometimes she’d toast whole cumin seeds before grinding them, and if I’ve got some time, I’ll do it too, just to remember her and get that extra punch of flavor.
Awesome Sides to Serve
These are awesome, but they’re even better with the right extras. Spoon up some pico de gallo (think chopped tomatoes, lime, onion, cilantro) for a fresh kick. Want it filling? Throw on some black beans or Spanish rice. Trying to show off? Whip up a smooth avocado crema by blending avocado, sour cream, lime juice, and a bit of salt. Your guests will go wild.
Switch Things Up
Don’t worry if you’re out of something—these are super flexible. Got leftover turkey after Thanksgiving? Just swap it in for the chicken. For vegetarians, go with black beans and corn instead. Like it spicier? Try pepper jack cheese instead of Monterey. Corn tortillas are tasty too but break easier, so be gentle. And if you don’t do dairy, there are decent vegan cheese shreds that melt just fine.
How to Store
If you want them crispy later, let them cool on a rack after cooking. Stack with parchment between them into airtight containers—they’ll keep in the fridge up to three days. Reheat in a dry skillet (or toaster oven) so they stay nice and crispy, not soggy like they’d get in the microwave. For long-term storage, freeze them uncooked (parchment between), and just fry from frozen, adding a minute or two per side.
 Pin it
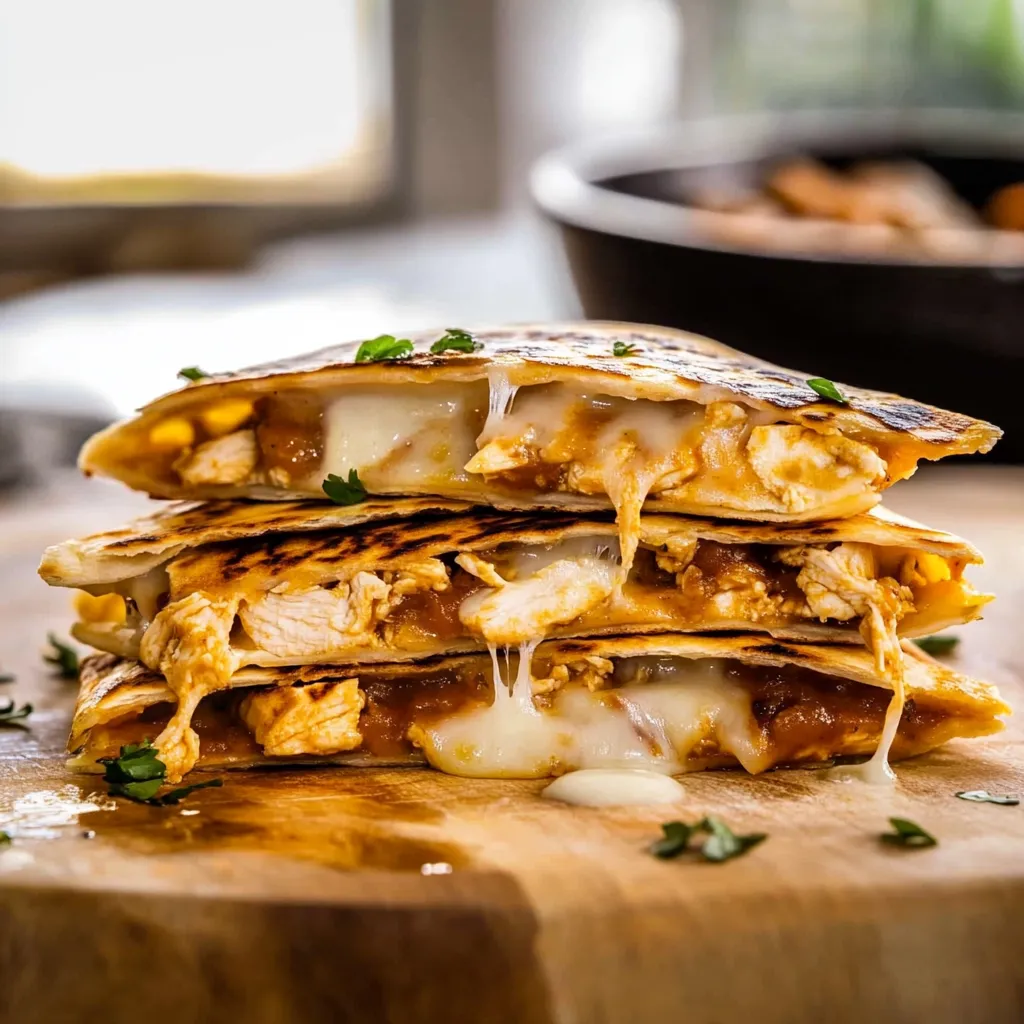
Making these is honestly just fun. You get something super simple and totally delicious every single time.
Frequently Asked Questions
- → Can I make cheesy chicken quesadillas ahead of time?
It's easy to cook your chicken and onions in advance and keep them in the fridge for up to two days. For the best flavor, cook the quesadillas fresh, but you can stuff them and store in the fridge for a few hours if you have to wait before cooking.
- → What's good to eat with cheesy chicken quesadillas?
Try dipping them in sour cream, pico de gallo, guac, or salsa. For a full meal, go with cilantro-lime salad, refried beans, corn with chili butter, or Mexican rice alongside.
- → How do you keep quesadillas hot at a party?
Pop the quesadillas on a pan in the oven at 200°F (95°C) to stay warm. Spread them out instead of piling, or use a wire rack so they don't get soft while waiting.
- → Which cheese melts best in quesadillas?
Monterey Jack and cheddar both melt perfectly. Want more spice? Toss in pepper jack. You can use Oaxaca cheese or a Mexican blend—just skip hard cheeses or super soft ones like brie.
- → Are there good vegetarian swaps for cheesy chicken quesadillas?
Totally—swap in beans (black or pinto), meat-free chicken, or pan-cooked veggies like mushrooms, peppers, or squash. Use the same spices to keep the flavors strong.
- → How do I get my quesadillas nice and crispy?
Stick with medium-low heat. Let the tortillas toast slowly so they don't burn and the cheese has time to melt. A little oil brushed on the outside makes them really crispy, and keep the fillings from overflowing so they stay crunchy, not soggy.