
 Pin it
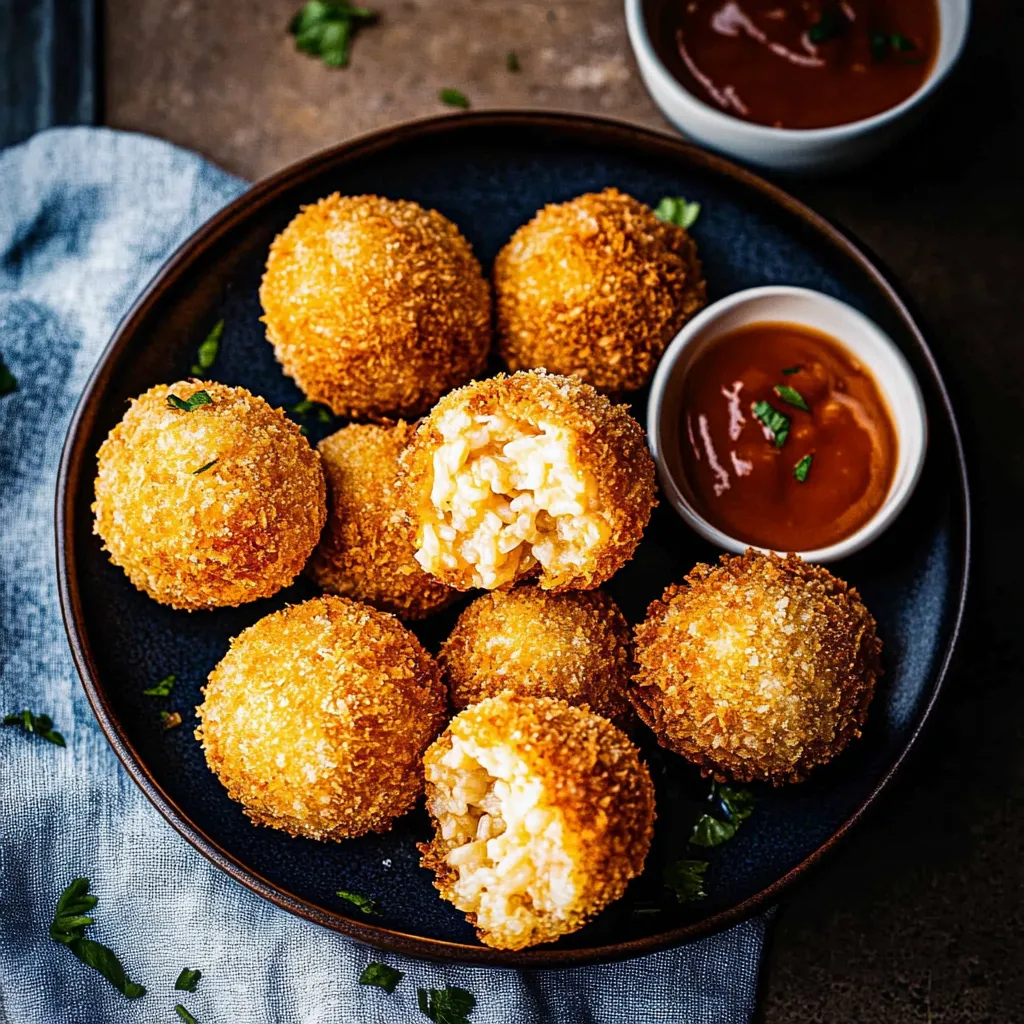
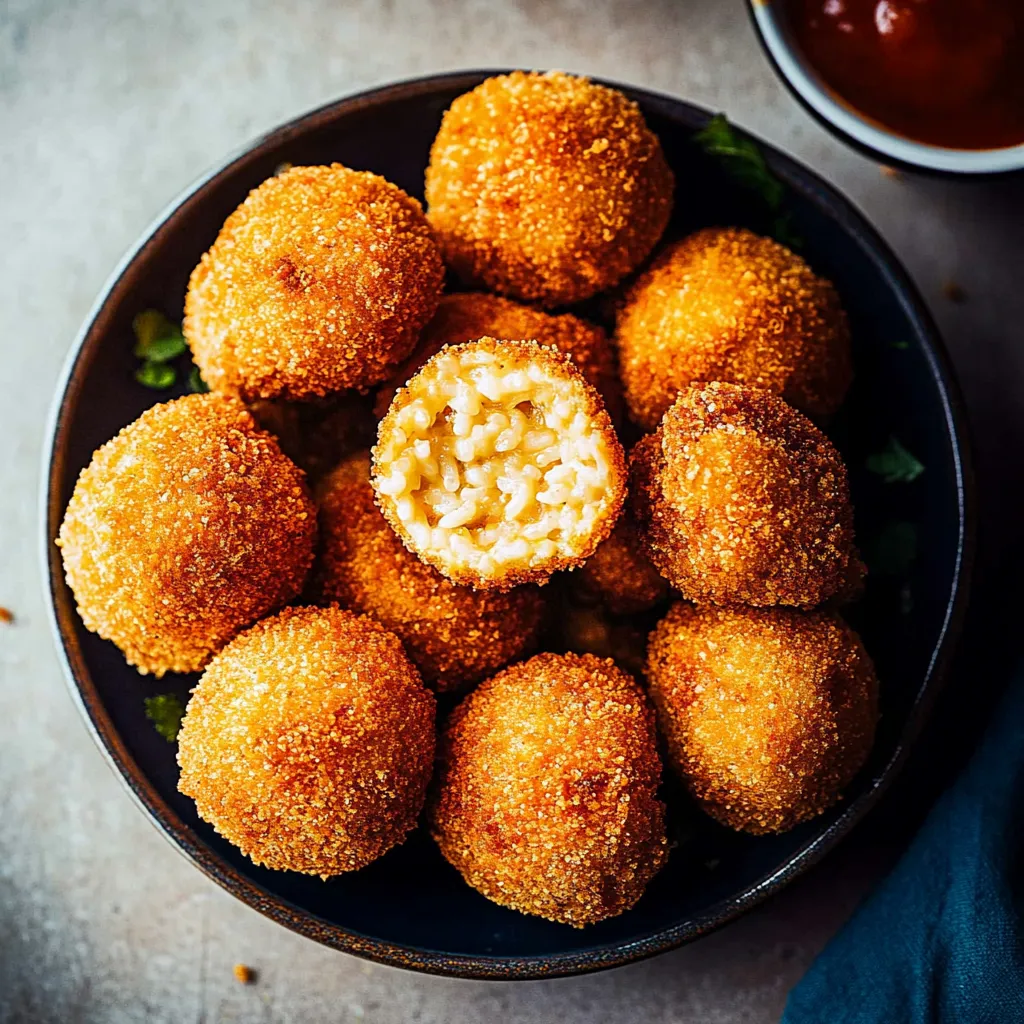
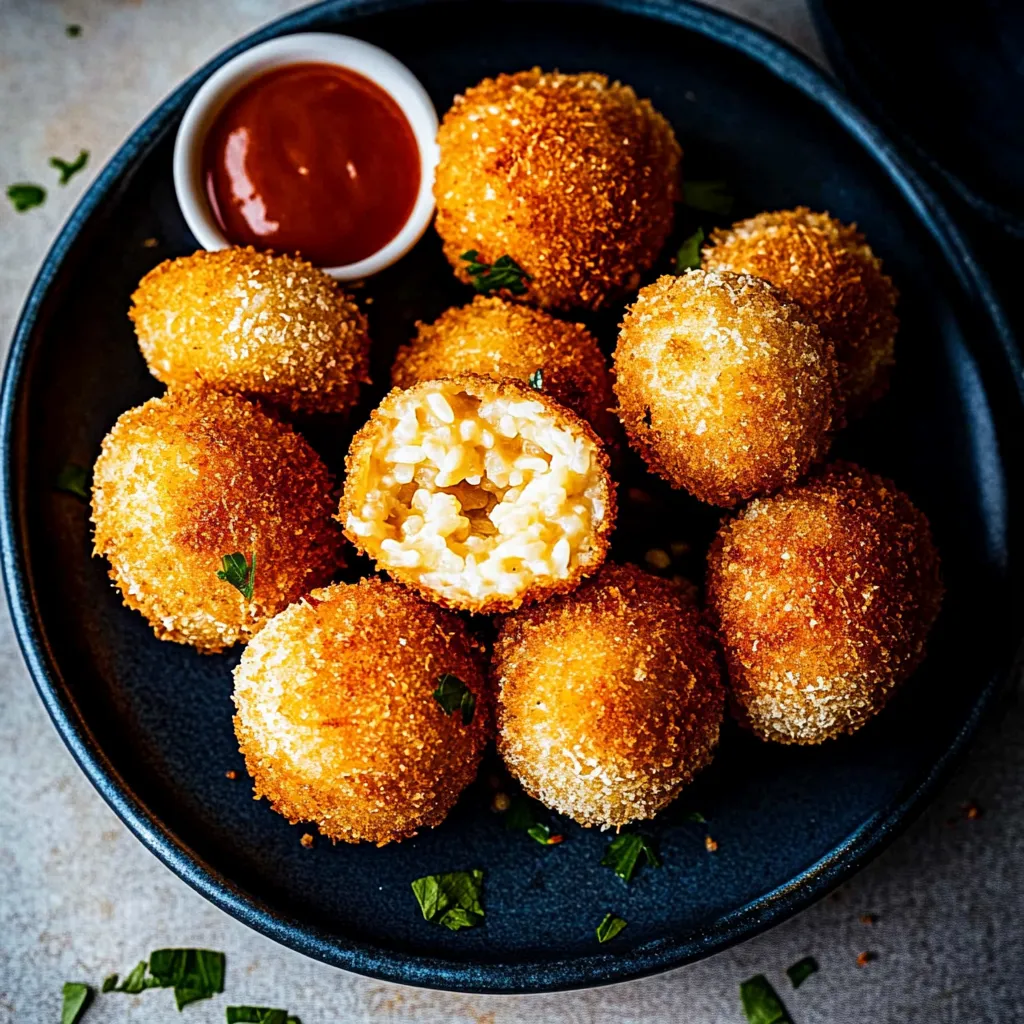
Hidden away in Sicily's heartland, these golden rice balls have been winning over food lovers for generations. They've got it all - creamy risotto on the inside, wrapped around gooey mozzarella centers, and coated in super crunchy breadcrumbs. Every mouthful starts with that satisfying crack, moves through soft saffron-infused rice, and finishes with that wow moment when stretchy cheese pulls apart, giving you everything wonderful about Italian comfort cooking in one bite.
I'll never forget watching an old Italian grandma make these in her cramped Sicilian kitchen. I was blown away by how she just knew when everything felt right. It took me tons of tries over many years, but I've finally got her little tricks and touches down pat to make truly outstanding rice balls.
Key Ingredients Breakdown
- Arborio rice: This special short-grain type gives off just the right amount of starch to make that creamy texture you need for fantastic arancini
- Fresh mozzarella: Go for the drier kind that you can cube easily, so your centers melt perfectly without getting soggy
- Saffron threads: You can skip them, but these tiny red strands add true Sicilian color and amazing scent that makes everything taste better
- Italian panko breadcrumbs: They're smaller than the Japanese ones and make that perfect golden shell that stays crunchy longer
- Top-notch Parmigiano-Reggiano: Look for stuff aged two years or more to get that ideal mix of saltiness and rich flavor in your rice base
Making Stellar Arancini
- Risotto Foundation:
- Start by cooking your rice in olive oil till it looks shiny and see-through. This key step puts a barrier around each grain so it soaks up liquid while keeping its shape.
- Liquid Integration:
- Pour warm broth in bit by bit, waiting for each splash to soak in before adding more. Taking your time lets the rice release its starch, making that smooth, creamy base you want.
- Cooling Process:
- After cooking, spread your risotto thin on a tray lined with parchment paper. This cools it fast and evenly, making it way easier to shape later on.
- Shaping Technique:
- Get your hands slightly wet with cool water, grab some rice, and make a dent in the middle. Drop in your cheese cube and wrap the rice around it, making sure there aren't any gaps.
- Breading Method:
- Set up three bowls - one with seasoned flour, one with beaten eggs, and one with fine breadcrumbs. Roll each ball gently through each bowl, covering it completely.
- Frying Excellence:
- Get your oil to 350°F on the dot. This temp makes sure your balls turn golden brown outside while giving the cheese enough time to melt just right inside.
 Pin it
Working with these rice balls always brings me back to those lazy Sundays in Syracuse, watching street food sellers expertly craft and fry these golden treasures. The sound of fresh arancini hitting the oil would pull in the crowds, everyone waiting to get that perfect bite where crunch meets creaminess.
Brilliant Oil Control
Keeping your oil at the right temp is super important - too hot and the outside burns before the cheese melts, too cool and they'll soak up oil and get soggy. Keep a thermometer in there and tweak your heat as you go, letting the oil come back to temp between batches.
Do-Ahead Tricks
You can put these together and bread them up to a day before you need them. Just leave them uncovered in the fridge on a tray with parchment paper - this actually helps the coating stick better when you fry them.
Different Local Styles
While the classic cheese filling is amazing, you might want to try other Sicilian favorites like meat sauce with peas or creamy pistachio filling. Every part of Sicily has their own special version, showing off what grows best in their area.
How To Serve Them
Put your hot arancini on some fresh basil leaves with warm tomato sauce on the side for dipping. In Sicily, folks eat them as street food, just wrapped in paper with a sprinkle of sea salt on top.
Keeping Leftovers Fresh
Store any extras in one layer in a sealed container with parchment paper between them. They'll taste way better if you warm them up in a 350°F oven instead of zapping them in the microwave.
 Pin it
I've spent years getting these little treasures just right, and I've found that taking your time makes all the difference. Whether you're making them for fancy company or just a cozy night in, arancini bring a bit of Sicily to your table. They show us how basic ingredients can turn into something amazing with tried-and-true methods and a whole lot of care.
Frequently Asked Questions
- → Can I make arancini ahead of time?
- You can prep the risotto and shape the balls one day early, storing them in the fridge. Just do the breading and frying right before serving for the crunchiest results.
- → Why is my rice sticky and hard to form?
- Try keeping your hands damp while rolling the balls to stop sticking. Your rice should be cool but not fridge-cold for easier handling.
- → How do I know when the oil is ready?
- Your oil should hit 350°F or create tiny bubbles around a wooden spoon when you dip it in. Don't let it smoke - that means it's too hot.
- → Can I bake instead of fry them?
- Traditional arancini are fried, but you can pop them in a 400°F oven for 20-25 minutes, though they won't get quite as crunchy.
- → What can I serve with arancini?
- They're great dunked in marinara sauce, or just enjoy them plain with a bit of extra parmesan sprinkled on top.