
 Pin it
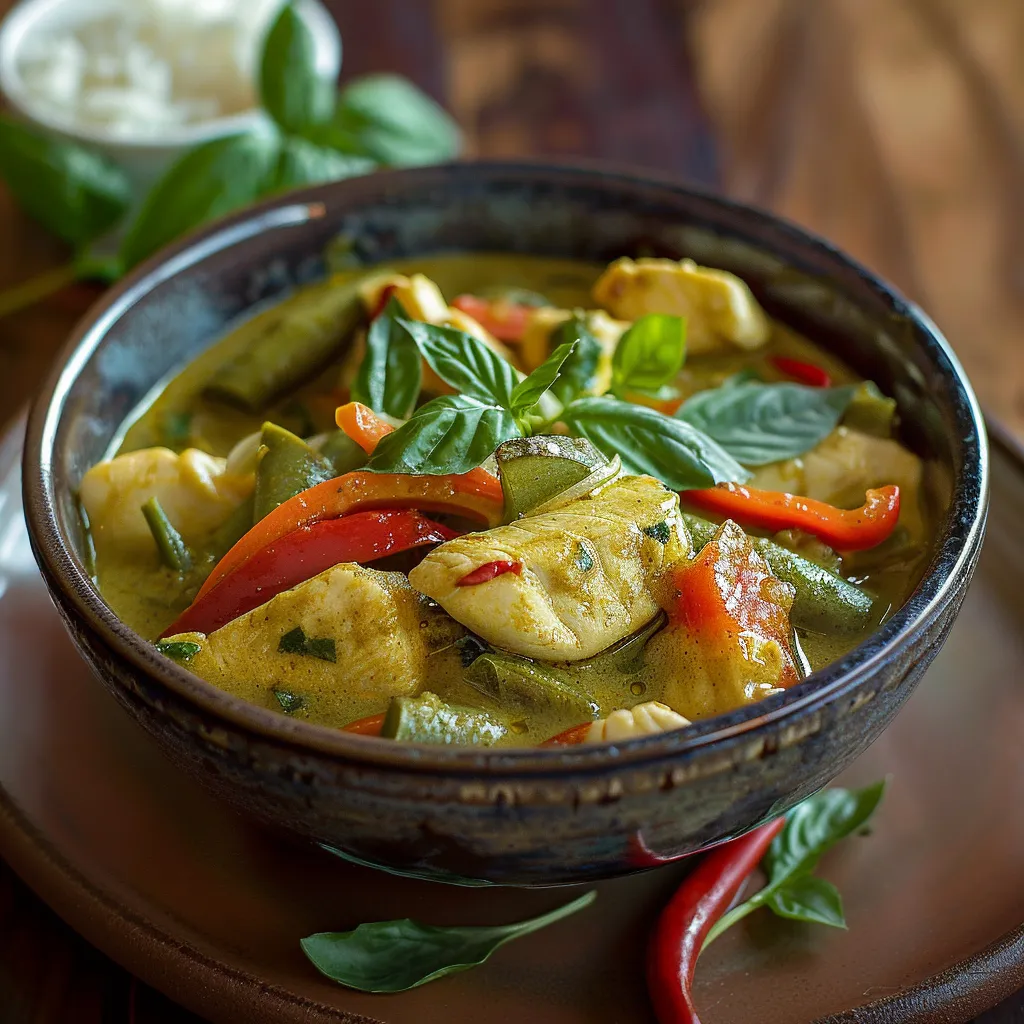
The velvety combo of green curry and coconut milk creates a dreamy sauce that hugs juicy chicken and snap-fresh veggies in this top-notch meal. Every bite delivers that magic mix of sweet, hot, tangy, and rich flavors that make real Thai food so special. This easy-to-follow yet knock-your-socks-off dish brings far-away tastes right to your table without needing fancy cooking know-how or tools.
The first time I dished this curry up for pals, the chatter stopped as everyone took their first taste. My next-door buddy, who usually runs from anything with heat, kept going back for more, saying how the coconut milk smoothed out the spiciness while letting all those amazing flavors come through. There's something about mixing everyday ingredients with surprising scents that makes an easy yet special meal that even picky eaters love.
Superior Ingredients
- Coconut milk: Makes a smooth base that carries every flavor through the whole dish
- Green curry paste: Gives deep spice flavor without needing tons of separate spices
- Fresh ginger: Brings warm, zingy notes that flow through the entire curry
- Lime juice and zest: Sharp citrus cuts through the richness and wakes up other tastes
- Bright vegetables: Sweet peppers, green beans, carrots, and onions add crunch and contrast
- Turmeric: Adds mild earthy flavor and gorgeous yellow color to the mix
- Fresh basil: Aromatic leaves that lift the whole dish with their standout smell
- Brown sugar: Rounds out the spice and tang with just enough sweetness
I found out through trial and error that letting the coconut milk and curry paste cook down properly makes the texture and flavor way better. My early tries rushed this key step, ending up with runny sauce that didn't have that rich feel of restaurant curry. Taking your time during this cooking down part changes the dish from just okay to amazing, creating that thick sauce that sticks perfectly to everything.
Flawless Method
- Cut chicken the right way:
- Slice breast meat into same-size chunks for even cooking, with just a bit of salt and pepper.
- Cook the flavor base:
- Heat garlic in coconut oil until it smells good but doesn't turn brown.
- Sear chicken lightly:
- Cook chicken bits until slightly golden but not all the way done to keep them juicy.
- Time your veggies right:
- Add vegetables one after another based on how long they take to cook, keeping them crisp-tender.
- Make your sauce:
- Mix coconut milk with curry paste, letting them blend fully while they bubble gently.
- Add flavor boosters:
- Put in ginger, lime, chilies, and spices while the sauce cooks down to build depth.
- Add sweetness carefully:
- Mix in brown sugar bit by bit, tweaking until it balances the spicy parts just right.
- Bring it all together thoughtfully:
- Put chicken and veggies back into the thickened sauce, letting flavors soak in as cooking finishes.
- Add the fresh stuff last:
- Toss in ripped basil leaves at the very end, keeping their bright look and smell.
 Pin it
I learned the hard way that throwing all veggies in at once leads to some being mush while others stay too crunchy. My first try left me with perfect chicken but soggy green beans and hard carrots. Now I carefully time when each veggie goes in based on how long it needs to cook, making sure everything reaches the perfect doneness together for curry heaven.
Ways To Serve
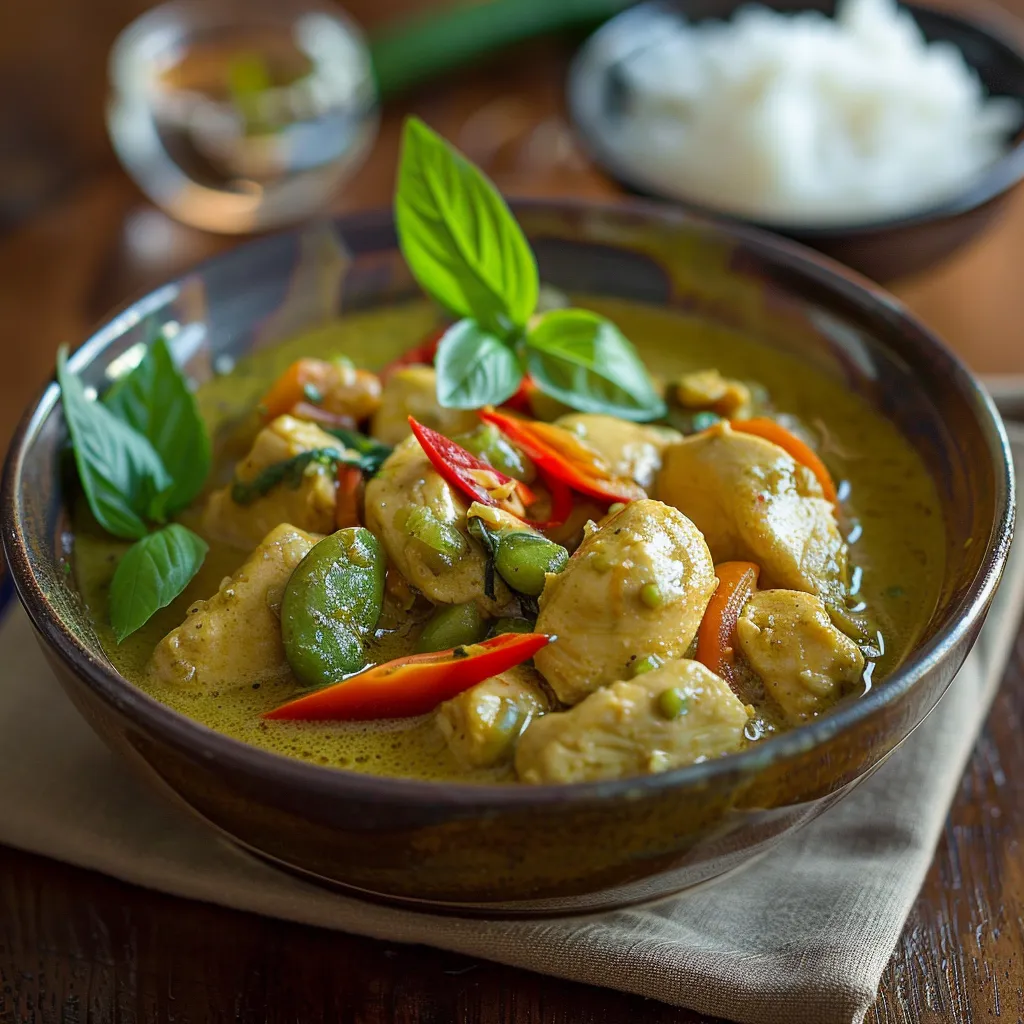
The classic way to show off the colorful sauce is best. Use white bowls and serve over fluffy jasmine rice that soaks up all that tasty coconut goodness.
Fun Twists
Swap in shrimp for quicker cooking or firm tofu for a meat-free option without losing any flavor punch. Try adding snow peas in springtime or chunks of butternut squash in autumn for seasonal flair. Turn up or dial down the dried chilies and red pepper flakes to make it kid-friendly mild or spicy-hot authentic.
Keeping Leftovers
Let curry cool completely before putting it in a sealed container for up to three days, keeping rice in a separate container so it won't get soggy. Warm it up slowly over medium-low heat, adding a splash of coconut milk if the sauce has gotten too thick in the fridge.
 Pin it
I got fired up to nail this dish after eating at a popular Thai place and realizing homemade could actually taste better with the right approach. Through watching carefully and playing around with methods, this recipe grew into something that hits the spot when you're craving exotic flavors but stays totally doable for regular home cooks.
Frequently Asked Questions
- → What brand of green curry paste works best for this recipe?
- For easy cooking and reliable results, you can't go wrong with Thai Kitchen or Maesri green curry paste - both are easy to find in stores. Thai Kitchen is generally milder, perfect if you're new to Thai food or don't want too much heat. Maesri tastes more authentic and packs a bit more punch. If you can shop at an Asian market, grab Aroy-D as another great choice. Begin with 3 tablespoons as the recipe suggests and taste as you go - you can always throw in more if you want extra kick and flavor.
- → Can I use light coconut milk instead of regular?
- You can swap in light coconut milk, but your sauce won't be as thick or rich. The full-fat stuff creates that smooth, velvety texture that makes restaurant curries so good. If you do go with light coconut milk, let it bubble a bit longer to thicken up, or mix in a teaspoon of cornstarch with some water to help it along. For the tastiest, most authentic curry, stick with full-fat coconut milk if you can.
- → How spicy is this curry, and how can I adjust the heat level?
- The recipe as written gives you a medium spice level. Want it milder? Cut back or skip the dried Thai chilies and red pepper flakes, and only use 1-2 spoonfuls of curry paste. Need more fire? Keep the seeds in your dried chilies, add extra red pepper flakes, or toss in a fresh Thai bird's eye chili when you're making the sauce. Keep in mind that curry pastes vary in heat between brands, so it's smart to taste as you cook.
- → What vegetables can I substitute or add to this curry?
- This curry works with almost any veggie you have on hand. Try mixing in snow peas, broccoli bits, cauliflower, zucchini, eggplant, bamboo shoots, water chestnuts, or mushrooms. For a more filling meal, toss in some diced sweet potatoes or butternut squash (just cook these a bit longer). Cut everything about the same size so they cook evenly, and adjust your cooking time based on how hard or soft each veggie is.
- → Can I make this curry ahead of time?
- Absolutely! This curry actually tastes even better the next day! Make the whole thing, let it cool down, and store it in the fridge in a sealed container for up to 3 days. When you warm it up again, add a little water or coconut milk if it's gotten too thick. If you know you'll be reheating later, try slightly undercooking the veggies so they don't get mushy. You can also freeze it for up to 3 months - just thaw it in the fridge overnight before gently warming it up on your stove.
- → What can I serve with this curry besides jasmine rice?
- Though jasmine rice is the classic pairing, this curry tastes great with lots of other sides. Try brown rice for something heartier, cauliflower rice if you're watching carbs, or rice noodles for a fun twist. For a complete Thai feast, start with some spring rolls or summer rolls. Roti (Thai flatbread) works wonders for soaking up all that tasty sauce. A simple cucumber salad with rice vinegar makes a cool, crisp side that balances out the rich curry perfectly.