
 Pin it
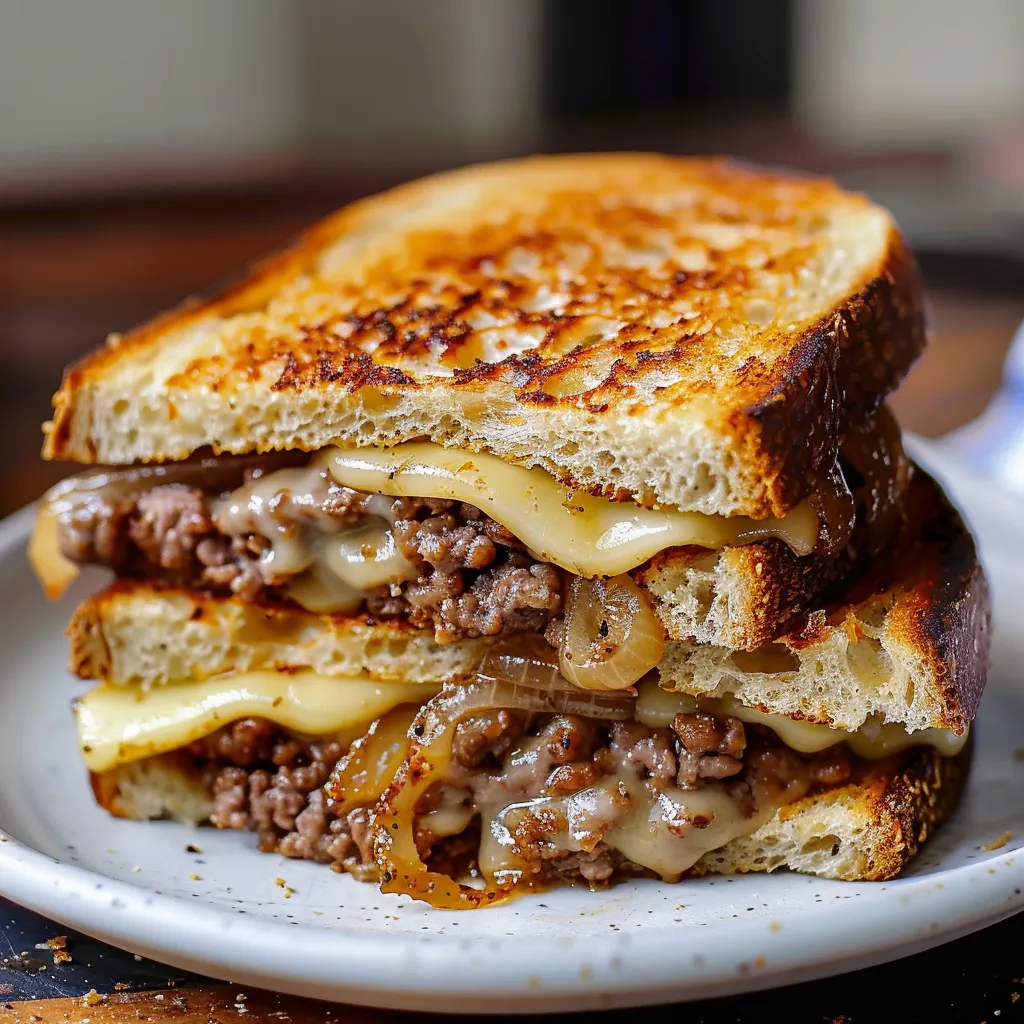
Imagine biting into the best roadside diner classic - a juicy beef burger nestled between toast, topped with sweet browned onions and gooey Swiss cheese. This Iconic Patty Melt sits right at the crossroads of burger and grilled cheese, bringing you the best of both worlds. Every bite delivers a mix of textures - from the crunchy toasted bread to the tender meat and soft, jammy onions. The cheese works its way through every bite, making this the ultimate comfort sandwich you'll crave again and again.
I first fell in love with patty melts watching my grandpa make them in his little roadside diner. He'd take his time with the onions, carefully build each layer, and taught me that the best comfort food needs both good technique and a lot of love.
Key Ingredient Breakdown
- Ground beef: Go for 80/20 meat for the tastiest results - that bit of fat keeps everything moist and flavorful
- Sweet onions: Try to grab Vidalia or Walla Walla ones since they turn super sweet when cooked down
- Swiss cheese: Regular deli-cut Swiss works best here with its great melt and slightly nutty taste
- Sturdy bread: Pick a bread that won't fall apart when it gets hot and soaks up flavors
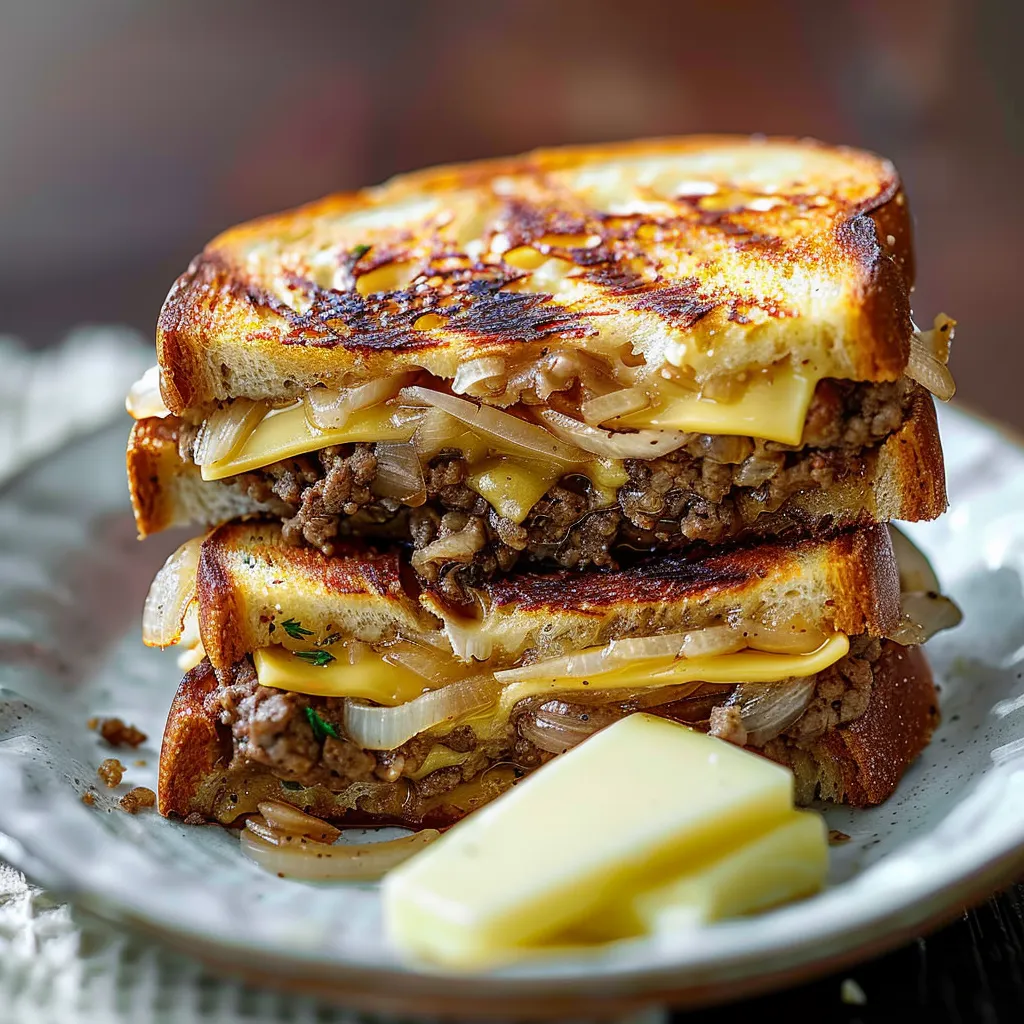
- European butter: It's got more fat than regular butter so your sandwich gets extra crispy
Mastering Your Patty Melt
- Onion Preparation:
- Cut your onions super thin and keep them all the same size so they cook evenly. Start them in butter in a cold pan and let them slowly turn golden over low heat.
- Patty Formation:
- Lightly form your meat into thin patties a bit bigger than your bread since they'll shrink. Push a little dent in the middle so they don't puff up.
- Seasoning Balance:
- Wait until just before cooking to salt your meat so it stays juicy. Add some fresh ground pepper to keep it simple but tasty.
- Cheese Placement:
- Put cheese under and over your patty to get the perfect amount in every bite and help everything stick together.
- Assembly Strategy:
- Build everything right in the pan, starting with buttered bread and stacking in the right order for the best melt.
- Grilling Technique:
- Keep your heat medium-low so the bread gets nice and brown while giving the cheese plenty of time to melt.
 Pin it
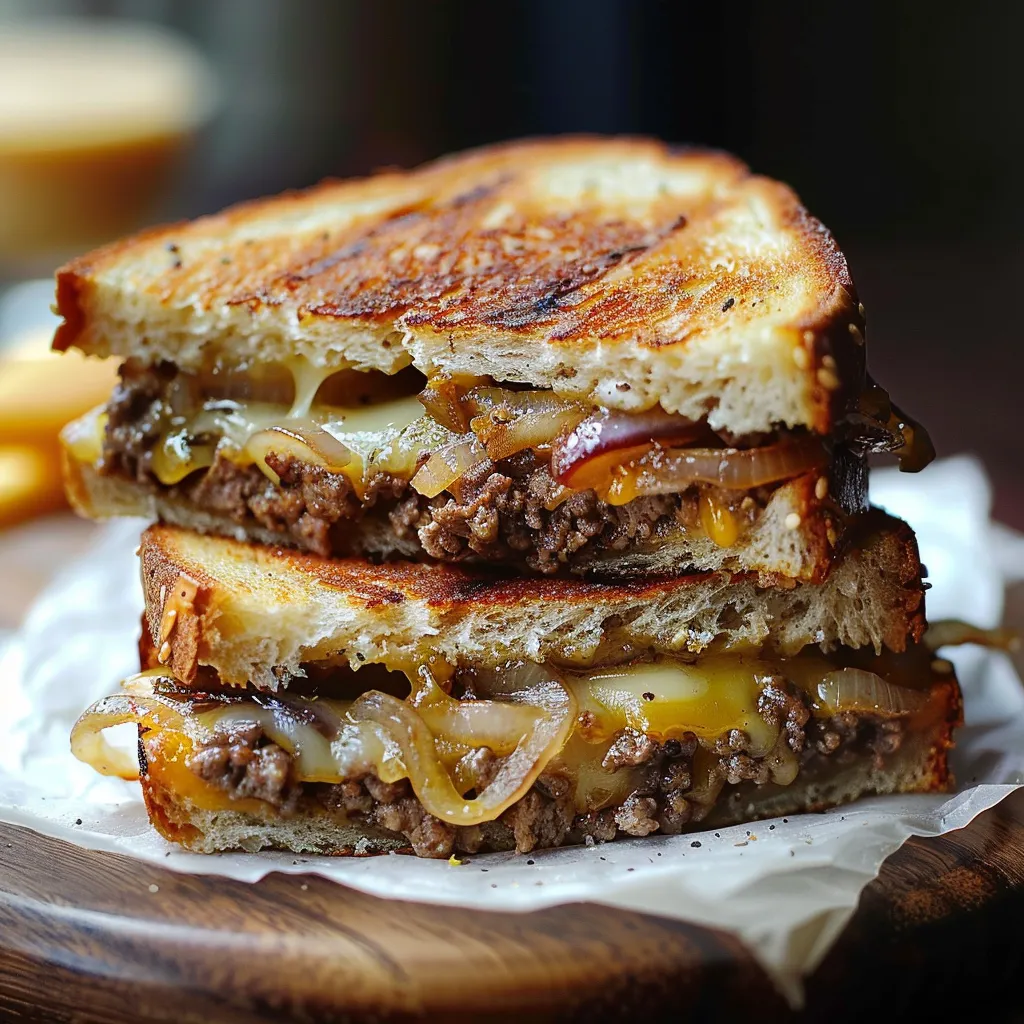
After making countless patty melts over the years, I've learned it's all about getting everything to finish at the same time. There's this perfect moment when your bread turns golden just as the cheese finishes melting and everything's heated through. My grandpa always told me, "You'll know it's done by the sound" - that subtle change in the sizzle that tells you it's ready.
Getting The Heat Just Right
You can't rush a good patty melt. Start with a heavy pan or cast iron skillet that's been warming up over medium-low heat for about five minutes before you start cooking. It should be hot enough that water droplets dance when they hit the surface but not so hot that butter turns brown right away. Aim for around 325°F - this sweet spot gives you that beautiful golden crust while allowing enough time for the cheese to get completely melty.
Prep Work You Can Do Early
You don't need to do everything at the last minute. Brown your onions up to three days ahead and keep them in the fridge in a sealed container. Shape your burger patties a day before and stack them between pieces of parchment paper. Just don't forget to take everything out of the fridge about 30 minutes before cooking - cold ingredients won't heat up properly and can leave you with cheese that doesn't melt evenly.
The Full Diner Experience
Make your meal feel like a real diner visit by thinking about how to serve it. Use warm plates to keep everything hot longer, and cut your sandwich corner to corner to show off all those beautiful layers. Add some crunchy dill pickles on the side for that tangy contrast against all the richness. Want to go all out? Serve with a mix of regular fries and onion rings arranged around the sandwich. You can even put a small dish of extra caramelized onions on the side for anyone who wants more.
Saving For Later
These sandwiches taste best fresh off the stove, but sometimes you need leftovers. If you've got extras, let them cool completely before wrapping them first in parchment and then in foil to keep the bread from getting soggy. When you're ready to eat, unwrap everything and heat it slowly in a dry pan over medium-low heat, pressing down lightly with a spatula. Take your time - about 3-4 minutes per side works best - so the cheese gets melty again and the bread crisps back up.
Making It Your Own
Feel free to put your own spin on this classic sandwich while keeping what makes it great. Try aged cheddar for a sharper flavor or swap in caramelized shallots for a milder sweetness than onions. Add a layer of cooked mushrooms for an earthy twist or thin slices of jalapeño if you want some heat. There are tons of ways to change it up, but remember one thing - any additions should work with the main ingredients, not overpower them.
 Pin it
Frequently Asked Questions
- → Why add apple cider vinegar to the onions?
- The vinegar cuts through the sweetness of the onions and lifts all the tasty brown bits from the pan for more flavor.
- → Can I swap out the cheese?
- Swiss is the go-to choice, but any good melting cheese like American or Gruyere works too. Just make sure it gets nice and gooey.
- → Why should patties be thin?
- Thin patties cook faster and more evenly, plus they fit better in a sandwich and let the cheese melt all around them.
- → Can I make the onions beforehand?
- You bet! Cook those onions up to 3 days early and keep them in the fridge. Just warm them up when you're ready.
- → What bread works best?
- Go for sturdy bread that won't fall apart when grilled. Rye is the classic choice, but any thick-cut white or wheat bread will do the job.