
 Pin it
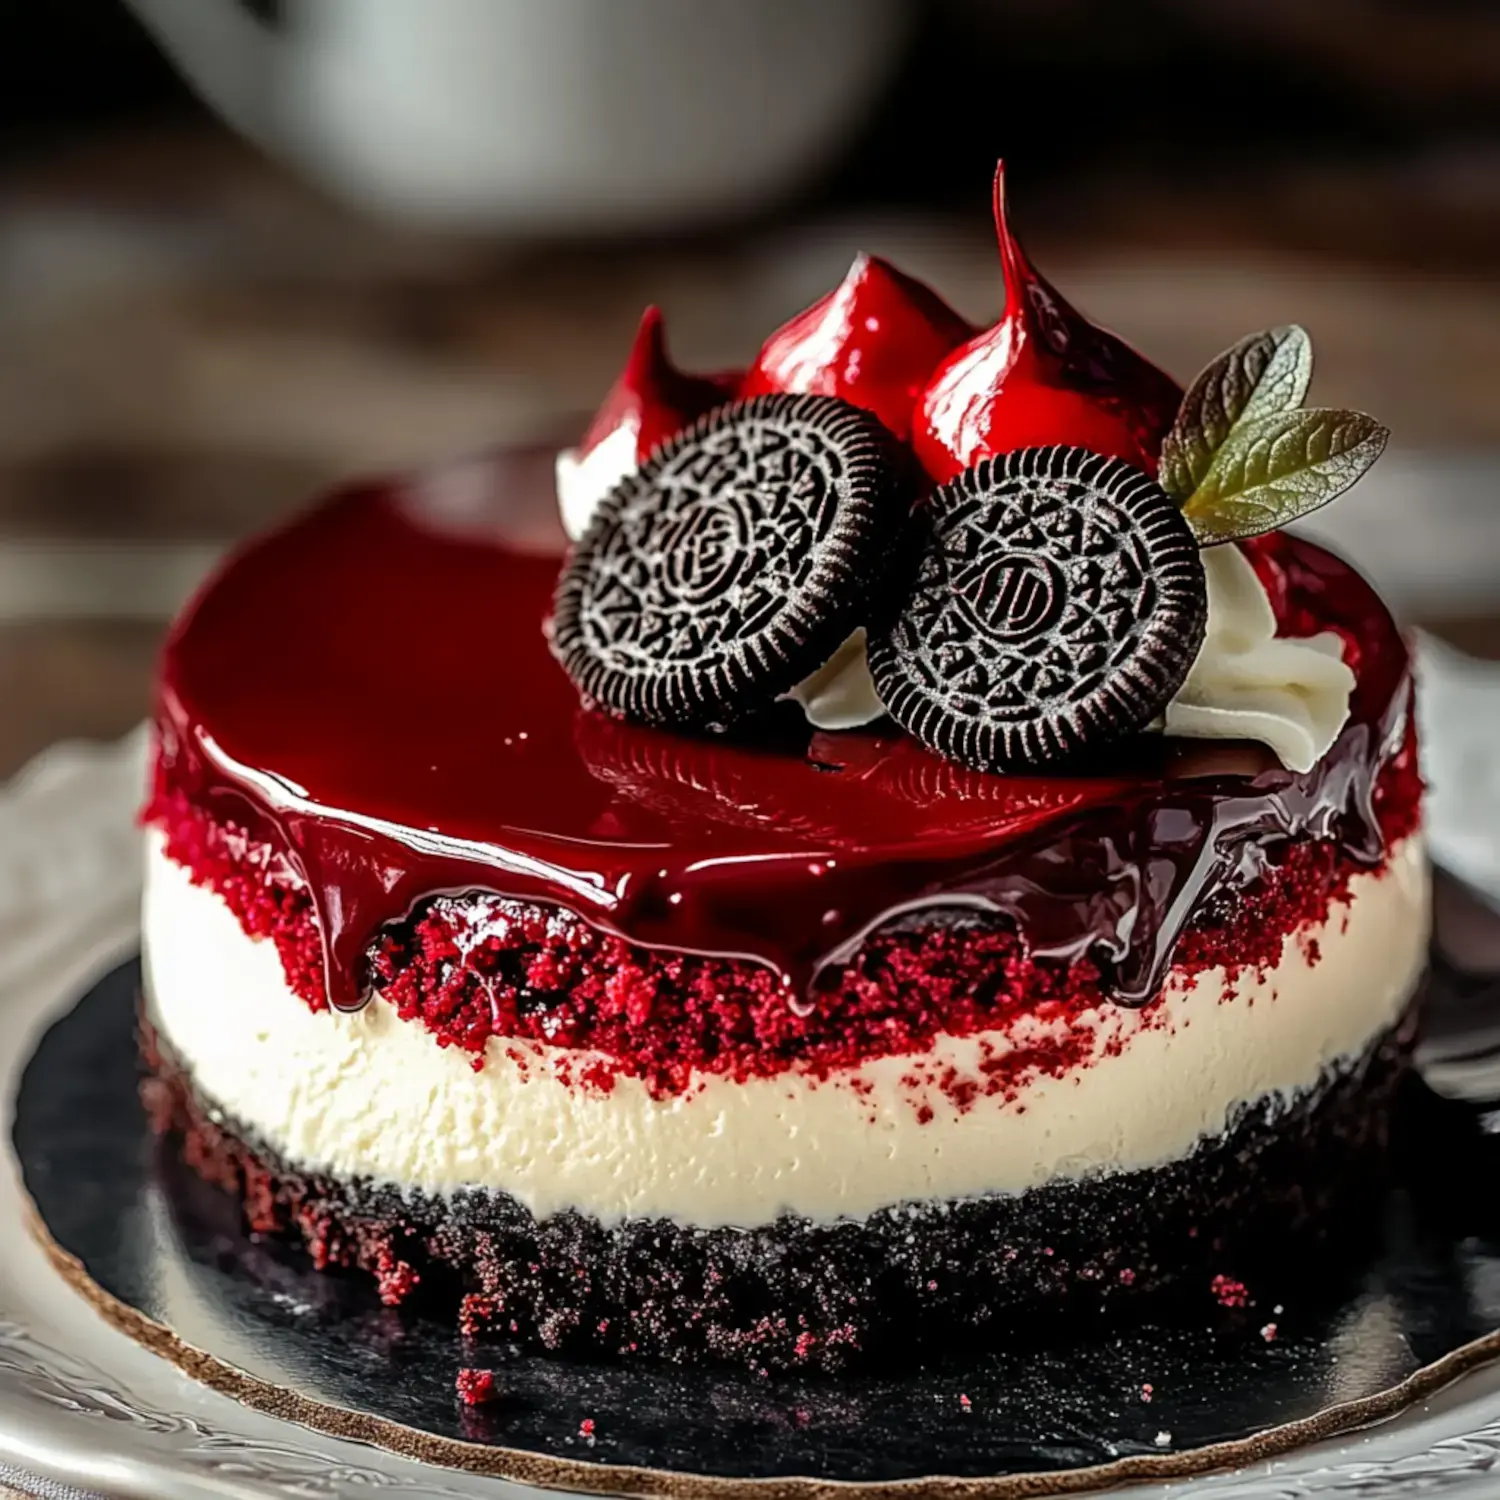
I've gotta share my knockout Red Velvet Oreo Cheesecake that always stuns everyone. I came up with this masterpiece when I needed something extraordinary for my daughter's birthday party - it mixes everything we adore about creamy cheesecake, crunchy Oreos, and classic red velvet cake. The striking red interior paired with that chocolate drizzle and chunky Oreo base is seriously dessert paradise.
Must-Try Delicious Creation
This isn't your regular cheesecake - it's basically a party disguised as dessert. There's something truly magical about how the smooth filling works with that crisp Oreo foundation. And when you see that rich red against the dark chocolate drizzle, it's just gorgeous. People actually stop mid-conversation when I bring this to gatherings.
Your Shopping List
- Oreo Crumbs: Finely crushed, two cups for that ideal base
- Cream Cheese: Full fat and softened to room temperature
- Sour Cream: The trick to getting that super smooth texture
- Cocoa Powder: Just a bit for authentic red velvet taste
- Red Food Coloring: The gel type works way better
- Crushed Oreos: Extra ones for inside because who doesn't want more Oreos
- Chocolate Chips: Premium quality for our topping
- Heavy Cream: For that incredibly velvety finish
- Whipped Cream: To make those beautiful peaks on top
- Mini Oreos and Sprinkles: Because we're going totally fancy here
Step-by-Step Instructions
- Prep Stage
- Heat your oven to 325°F and pull out your springform pan.
- Base Building
- Combine those Oreo bits with melted butter, push down firmly and bake briefly.
- Creating the Mixture
- Whip the cream cheese until completely smooth, mix in everything else and gently add those extra Oreo chunks.
- Slow Cooking
- Pour everything into the pan and bake gently, then let it cool inside the turned-off oven.
- Decoration Phase
- Mix up that chocolate topping, cool it slightly and then create those stunning drips.
- Finishing Touches
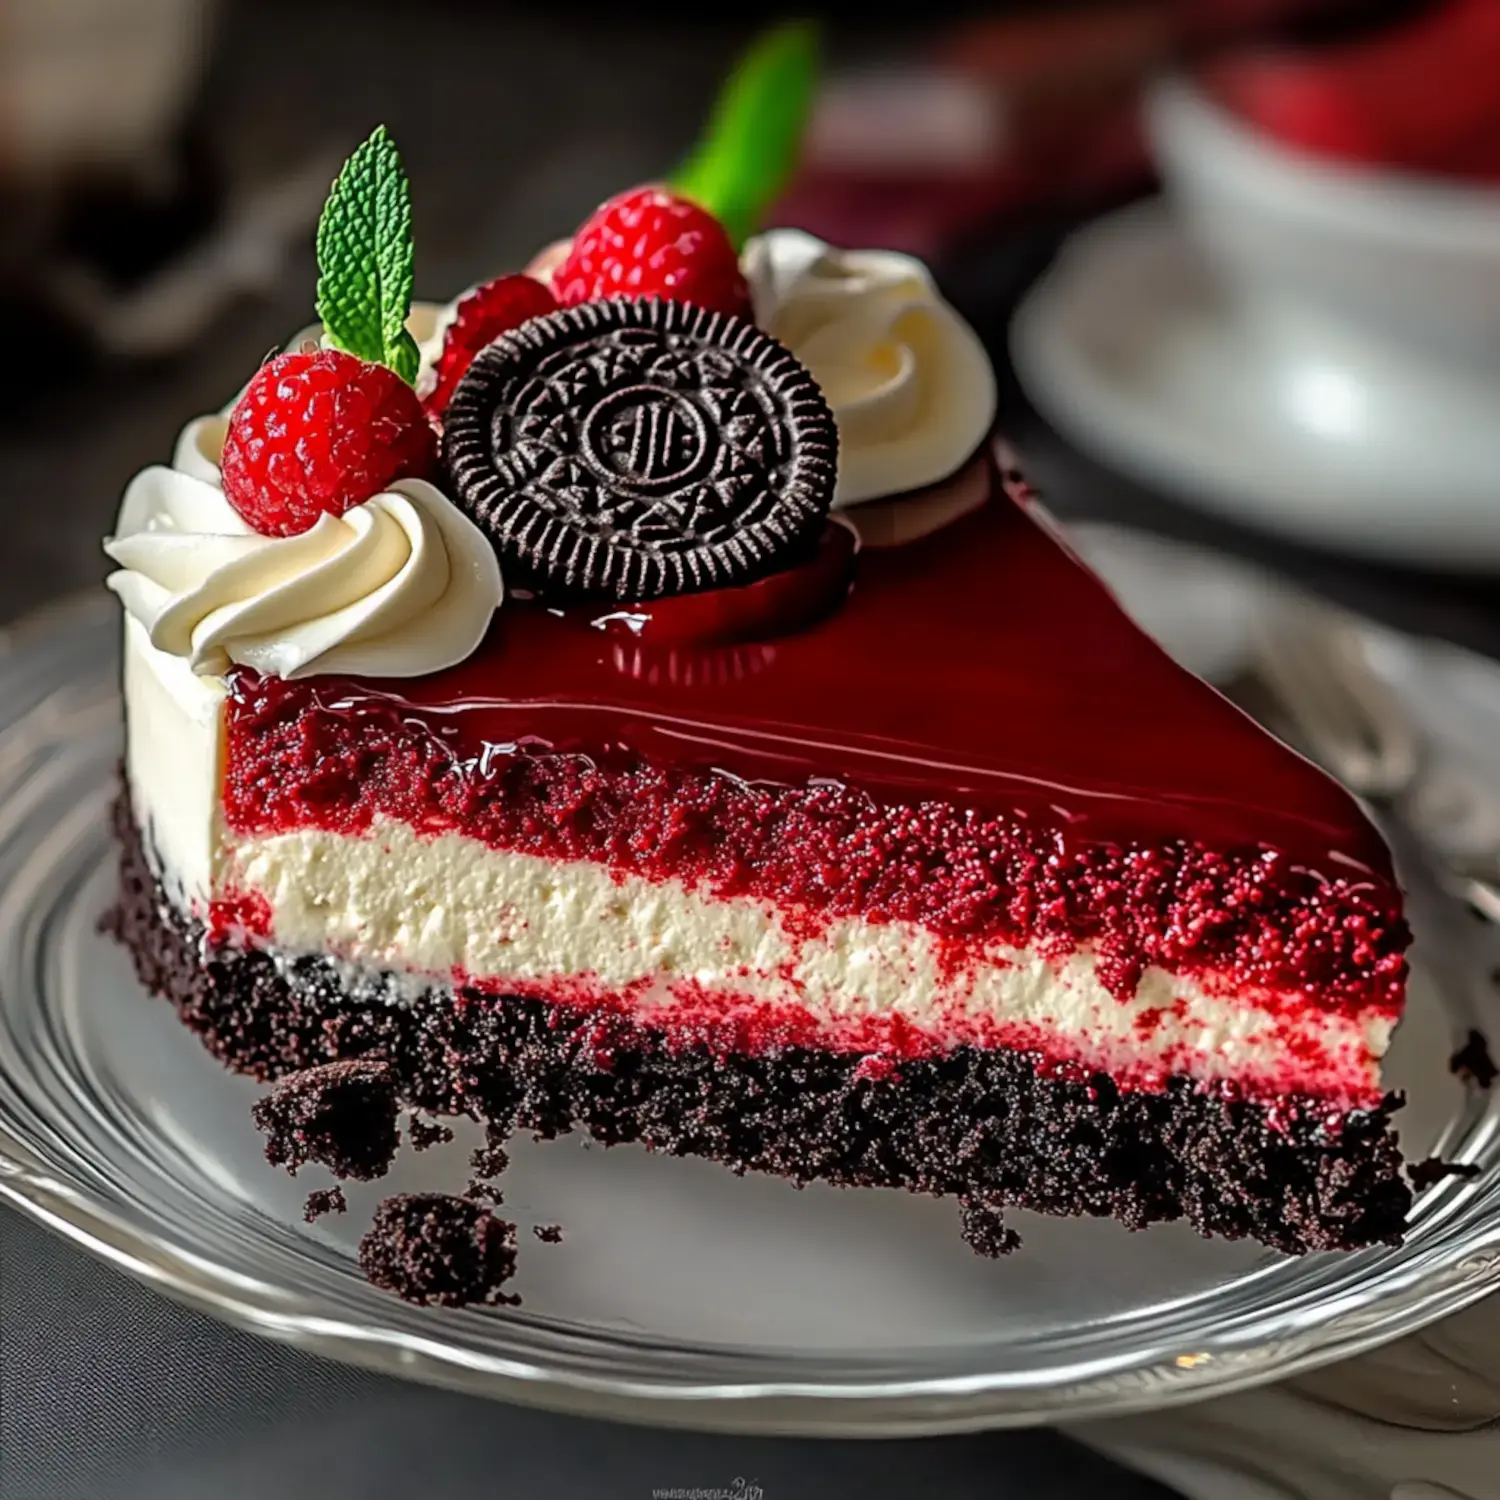
- Top with cream swirls, tiny Oreos and colorful sprinkles for that wow factor.
Insider Secrets
I've made this dozens of times and learned some tricks. Always cool it slowly with the oven door cracked - this stops it from cracking. Go for gel coloring instead of liquid to keep the perfect consistency. And watch your chocolate topping carefully - it needs to be just the right thickness for those perfect drips.
Storage Advice
This showstopper actually tastes even better after chilling overnight. All the flavors blend together and the texture turns absolutely dreamy. You can keep it in the fridge for around 5 days, though at my place it vanishes much quicker than that.
Try These Twists
Feel free to swap in graham crackers or chocolate cookies for the base. Don't worry if you want to skip the red coloring - it'll taste just as amazing. Want extra texture? Toss in some chopped nuts - you really can't mess this up.
The Wow Factor
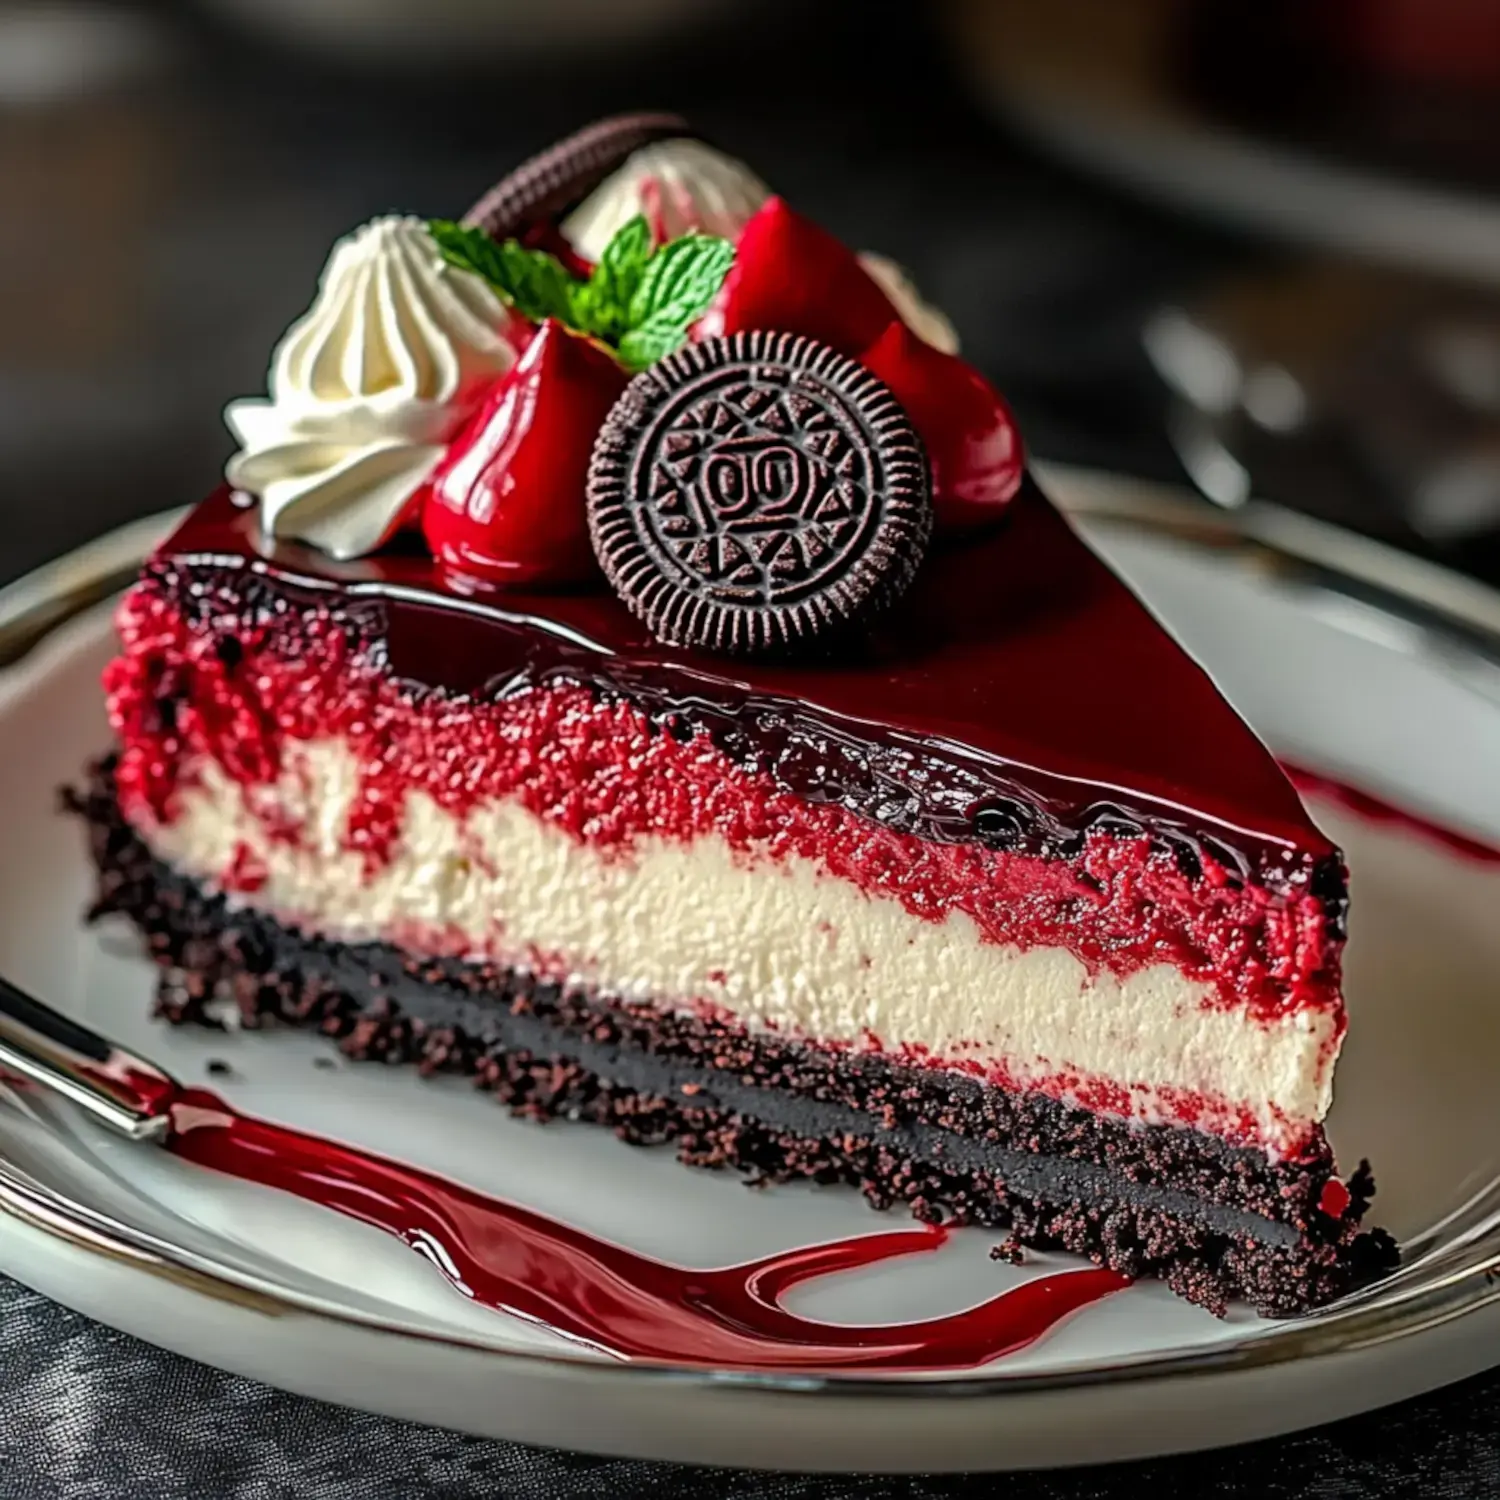
The real magic happens when all these elements come together. That smooth filling against the crunchy base, those bits of Oreo scattered throughout, and the eye-catching presentation - it's truly something special when you take that first bite.
 Pin it
Celebration Centerpiece
This has turned into my favorite special occasion dessert. For birthdays, family gatherings, or just when you want to create something extraordinary - this cheesecake always delivers. People will talk about it long after they've finished eating.
Pro Techniques
Want my best advice for perfect cheesecake? Make sure all ingredients reach room temperature before starting. Look for that slight wobble in the center to know it's done. And don't rush the cooling - your patience will pay off with the smoothest texture you've ever tasted.
Chocolate Topping Tricks
Creating those gorgeous drips isn't complicated. Let your chocolate mixture cool until just slightly warm. I always test one drip on the back of the pan first. Then work around the edge, letting each drip fall naturally before pouring the rest over the top for that glossy finish.
Fast Answers
Can I use different cookies? Any cookie base tastes great in this recipe.
Concerned about red coloring? Just leave it out, the flavor stays incredible.
How long should it chill? Overnight works best if you can wait that long, it's totally worth it.
Healthier Versions
Want something a bit less indulgent? Try low-fat cream cheese, skip the chocolate topping or go light on the decorations. Natural sweeteners work fine too. It'll still taste wonderful, just not quite as rich.
Festive Favorite
This cheesecake shines during holidays. The red color makes it perfect for Christmas celebrations while the rich chocolate is ideal for Valentine's Day. I've even stuck sparklers in it for New Year's Eve - talk about creating memories around food.
The Reward Factor
Trust me, every minute you spend making this cheesecake pays off. It's one of those dishes that becomes part of your family traditions. The first time you see everyone's faces light up when you bring it to the table, you'll totally get what I mean.
 Pin it
Frequently Asked Questions
- → Why leave cheesecake to cool in the oven?
- Cooling it slowly keeps the surface crack-free and smooth. A gentle temperature shift gets you that flawless finish.
- → Can this be prepped early?
- Totally! Make it the day before. Give it at least four hours in the fridge, though overnight is even better!
- → How do I control the red shade?
- Start with a tiny amount of food coloring. Add a bit at a time until you're happy with the color. Gel colors work best!
- → Is freezing this cake possible?
- Yes! Just freeze without toppings for up to two months. Thaw it in your fridge overnight, then decorate fresh.
- → Why do Oreos rise in the batter?
- Break Oreos into smaller bits and mix them into the batter gently at the end. That keeps them evenly spread.