
 Pin it
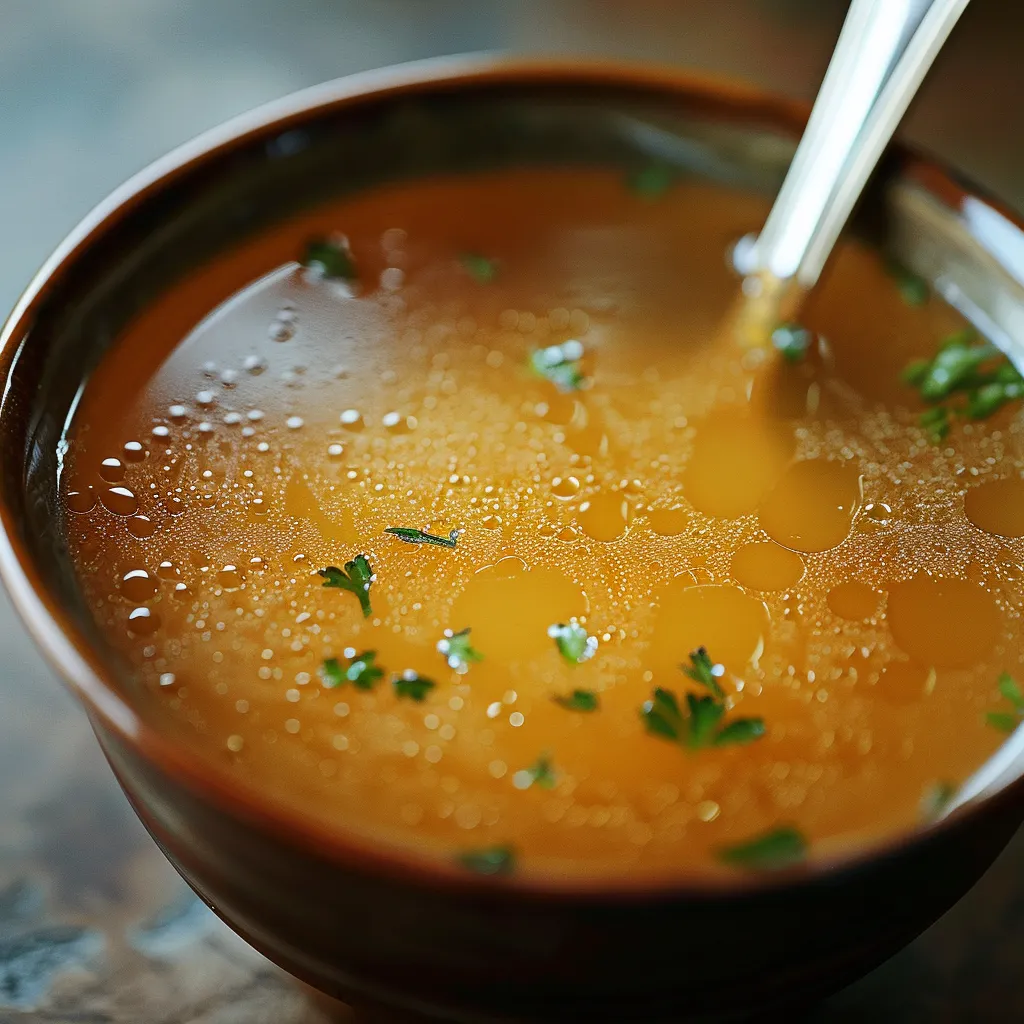
Rich, amber-colored liquid bubbles away in your pressure cooker, turning basic ingredients into flavorful homemade chicken broth in just 60 minutes. This kitchen essential upgrades every dish it touches while giving you tender cooked chicken as an extra perk. The easy prep combined with incredible taste makes this method a must-have in your cooking toolkit.
I used to avoid making broth at home, thinking it needed endless hours of watching and stirring. When I finally gave this pressure cooker technique a shot, I couldn't believe how easy it was. My house filled with smells that reminded me of my grandma's weekend cooking. These days I whip up a batch every couple weeks and keep portions frozen for whenever I need them.
Premium Ingredients
- Whole chicken: Go for organic or free-range for tastier broth and deeper color
- Onions: Regular yellow ones create the perfect savory foundation for well-balanced broth
- Carrots: They bring natural sweetness and that gorgeous golden hue to your finished liquid
- Celery: Adds light, herby notes that round out the overall flavor
- Garlic: Whole cloves create rich aromas you'll never get from the powdered stuff
- Bay leaves: These simple dried leaves somehow make everything taste more complex
- Nutritional yeast: You can skip it, but it boosts color and adds health benefits
As a kid, my mom always told me good broth needs the whole chicken, including all the skin. She swore chicken feet made the thickest, most flavorful broth, but I can hardly ever find them where I shop. Whenever I do spot them, I grab a few to toss into my pot for extra richness.
Core Technique
- Set up your area:
- Get everything ready before you start, making sure your cutting board is clean and your knife is sharp for chopping veggies.
- Give the chicken color:
- Turn on your pressure cooker's sauté mode until it's hot, add a bit of oil and cook the chicken skin until it turns golden.
- Cut your veggies:
- Chop onions, carrots and celery into big chunks, keeping them large enough to fish out easily later.
- Mix everything:
- Put your veggies, whole garlic cloves, bay leaves and nutritional yeast (if using) in the pot with your chicken, arranging everything for best flavor.
- Pour in water:
- Add filtered water to the pot, but don't go past the max line on your pressure cooker.
- Close it up:
- Put the lid on your pressure cooker following the maker's directions, making sure the valve points to seal.
- Cook under pressure:
- Set it to high pressure for 60 minutes, then let the pressure come down naturally when it's done.
- Filter it all:
- Use a big colander lined with cheesecloth to separate the clear broth from solids, gently pressing the veggies to get all the liquid out.
- Let it cool:
- Wait for the broth to reach room temperature before putting it in the fridge or freezer in suitable containers.
 Pin it
My grandma always kept veggie scraps in a special bag in her freezer all week. On broth-making day, she'd throw these saved bits in the pot along with fresh vegetables. This saved money and created amazing flavor you can't get with just new ingredients. I've started doing this too and it's great for using up leek tops and mushroom stems I'd normally throw away.
Ideal Companions
Homemade soups taste totally different with fresh broth. Regular chicken noodle soup becomes something special, with richness that store brands just can't match. The natural gelatin makes a smooth texture that wraps around each noodle perfectly. Risotto turns out so much better with good broth, especially mushroom risotto. Even plain rice gets a flavor boost when you cook it in homemade broth instead of water.
Tasty Twists
Make herb-rich versions by throwing in thyme, rosemary, and parsley for French-style flavors. Asian-style broths turn out great with fresh ginger, star anise, and lemongrass. For fancy occasions, try roasting your onions, carrots, and garlic before pressure cooking to get a super rich, caramelized taste.
Keeping It Fresh
Keep cooled broth in glass jars with tight lids in your fridge for up to five days. Freeze in measured containers for up to two months. Thaw overnight in your fridge or quickly in a warm water bath when you're ready to use it.
 Pin it
I started making pressure cooker broth because I needed to. With little kids and busy days, I had to find quick ways to make good food. What began as a time-saver turned into a passion when I tasted how much better homemade broth made everything taste. Now I think it's basic kitchen know-how worth passing on to anyone who likes to cook. There's something special about making such a basic ingredient from scratch that connects us to cooking traditions while making modern meals easier.
Frequently Asked Questions
- → Can I use chicken pieces or bones instead of a whole chicken?
- Sure thing! This recipe works with pretty much any chicken you've got. Instead of using a whole bird, you can toss in about 2½-3 pounds of whatever chicken parts you have—legs, wings, thighs, or backs work great since they've got bones, which add tons of flavor. Another smart option is grabbing 2-3 leftover rotisserie chicken frames, which puts good use to something you might just throw away. If you're using already cooked rotisserie bones, you can skip the browning part. For the yummiest broth, bones really matter, so try to include some even if you're mainly using boneless meat. No matter which type of chicken you pick, the cooking time stays exactly the same.
- → What is nutritional yeast and why is it in this chicken broth?
- Nutritional yeast comes as yellow flakes or powder and isn't active like baking yeast. It's got this nutty, savory kick that adds what chefs call umami—that satisfying rich taste that makes food extra good. I've included it as an optional add-in for the broth to make it taste deeper and richer without adding salt or MSG. You won't find this in grandma's chicken broth recipe, but it's a secret that many pro cooks use. You can grab it at health food stores or even regular grocery stores these days. It's really big in vegan cooking as a cheese substitute and packs lots of B vitamins. Don't worry if you don't have any—just leave it out and your broth will still turn out great.
- → How can I make this chicken broth more flavorful?
- Want a tastier broth? Don't skip the browning steps—they build amazing flavor. For even more punch, try roasting your veggies and chicken in the oven first before they go in the pot. You can also toss in extra aromatics like leeks, parsnips, a small chunk of ginger, lemongrass, or fresh herbs such as rosemary or tarragon. A tablespoon or two of tomato paste while you're cooking the veggies adds nice color and depth. A splash of white wine (about 1/4 cup) after browning the chicken works wonders too. And here's a pro tip: once cooking is done, let everything cool down together before straining—this gives flavors more time to mix and mingle.
- → Can I freeze this chicken broth for later use?
- You bet! This broth freezes really well and makes meal prep a breeze. After you've strained it and let it cool completely, pour it into freezer containers but don't fill them all the way—leave about an inch at the top since liquids expand when frozen. I like to freeze broth in different amounts—ice cube trays for when you need just a little bit (each cube is about 2 tablespoons), 1-cup containers for medium jobs, and quart containers for soup bases. Square containers stack better in the freezer than round ones. Don't forget to write the date and what it is on each container. Your broth will stay good for 3 months in a regular freezer, or twice that long in a deep freezer. When you need to thaw it, just stick it in the fridge overnight or use your microwave's defrost setting if you're in a hurry.
- → Why is my chicken broth cloudy instead of clear?
- Don't worry—cloudy broth tastes just as good as clear broth! But if you're after that crystal-clear look, try these tricks. First, make sure your broth isn't boiling too hard in the pressure cooker—it should just simmer gently. After cooking, strain everything through a fine mesh strainer with cheesecloth to catch all the tiny bits. For super clear broth, try this old-school chef move: after the broth has cooled a bit, mix in 1-2 whisked egg whites, then warm it up again just until it barely simmers. The egg whites will grab all the cloudy particles and form a layer on top you can scoop off. Just so you know, if you use a whole chicken with the skin on, your broth will always be a bit cloudy and fatty—which is actually perfect for many recipes.
- → What's the difference between chicken broth, stock, and bone broth?
- People mix these terms up all the time, but there are real differences. Chicken broth (like what we're making here) uses both meat and bones cooked for a shorter time, giving you a lighter but still tasty liquid that's great for soups where you want gentle chicken flavor. Chicken stock is traditionally made mostly with bones and not much meat, simmered way longer (4+ hours the old-fashioned way), which creates a richer feel in your mouth from all the collagen that breaks down. It's perfect for sauces. Bone broth is basically stock that's cooked forever (12-24+ hours normally), often with some vinegar to help pull minerals and collagen from the bones. The cool thing about this pressure cooker recipe is it gives you something in between—it's quick like making broth, but extracts collagen like a stock, so you get the best of both without waiting all day.