
 Pin it
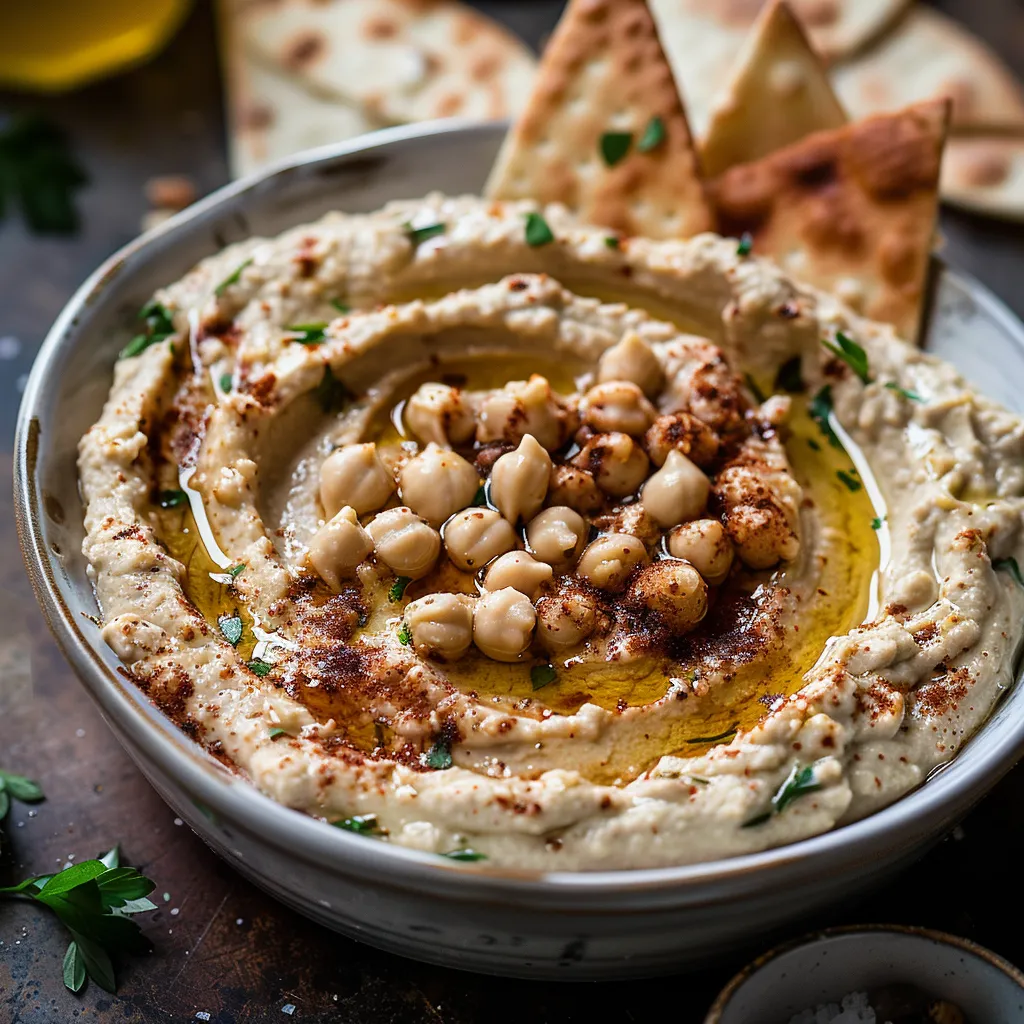
Silky smooth hummus turns plain chickpeas into a creamy, decadent dip that beats anything you'll find at fancy eateries. The trick isn't exotic ingredients but method, especially how you use baking soda and blend everything. This dip has that impossible-to-resist smoothness that'll make you forget all about those grocery store tubs.
I found out about using baking soda after visiting Jerusalem where I tasted hummus that changed everything. After trying loads of different methods, this one always gives me that dreamy texture. My next-door buddy who always said he "couldn't stand hummus" completely changed his mind with one taste, and now he asks me to bring it to every potluck.
Key Hummus Components
- Canned chickpeas: Give you easy prep without losing quality
- Chickpea water: Helps you nail the perfect thickness
- Baking soda: Does wonders by softening the outer shells
- Fresh garlic: Forms the core flavor base
- Good tahini paste: Makes everything incredibly smooth
- Fresh lemon juice: Cuts through richness with tangy zip
- Good olive oil: Gives that smooth feel and depth
- Kosher salt: Brings out all the flavors naturally
- Ground cumin: Adds a warm earthiness throughout
Flawless Preparation
- Chickpea Softening:
- Start by draining and rinsing chickpeas, but save some of that liquid for later. Put the chickpeas in a pot with fresh water and baking soda. This powder raises the water's pH, breaking down those tough skins. Bring everything to a boil, then turn it down and let it bubble for 10-12 minutes until the chickpeas get super soft and you see skins floating around.
- Good Washing:
- When chickpeas feel right, dump them in a strainer and wash them well under cold water. This gets rid of any baking soda taste and stops them from cooking more. Gently rub them between your hands to get more skins off. You don't need to remove every single skin, but getting the loose ones will make your hummus way smoother.
- Tahini Base:
- In a clean food processor, first mix garlic, tahini, and lemon juice by themselves. This makes a smooth starter before adding anything else. Let it run for a full minute or two until it looks much lighter and super creamy. This step keeps your final hummus from being grainy.
- Step-by-Step Mixing:
- Add half your soft chickpeas plus olive oil, salt, and cumin to that tahini mix. Run the processor until everything looks totally smooth before adding the rest of the chickpeas and some liquid. This way works better than dumping everything in at once and won't overwork your machine.
- Getting It Just Right:
- After all chickpeas are in, keep the processor running while slowly adding more of that saved liquid or cold water until it looks perfect. Good hummus should move slowly when you tilt the bowl but still hold its shape. For the absolute best texture, let the processor run for 3-5 minutes, stopping now and then to scrape down the sides.
- Letting It Settle:
- Put your finished hummus in a serving dish and let it sit out for 15-30 minutes before eating. This waiting time lets all the flavors blend together and the texture settle. When ready to serve, make a small dip in the middle, pour in some good olive oil, and add whatever toppings you like.
 Pin it
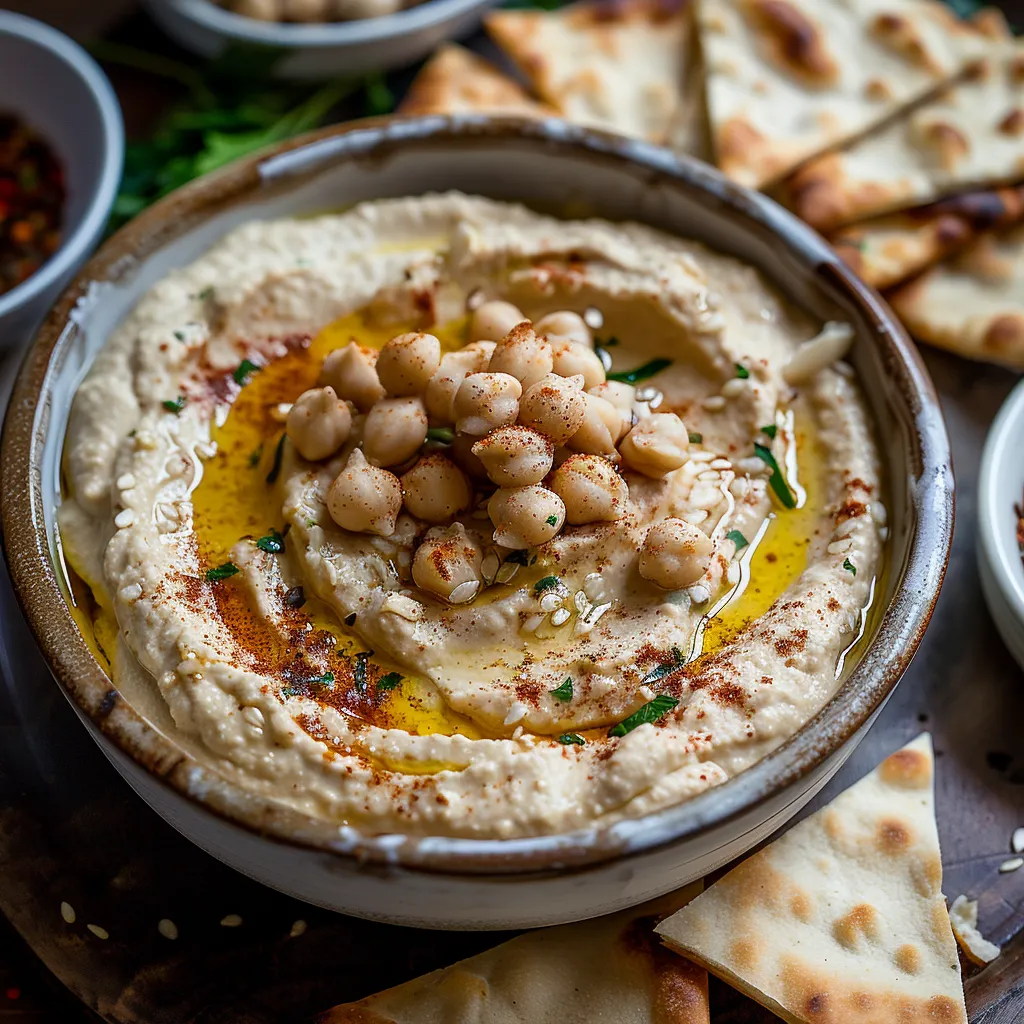
I really enjoy eating this hummus with hot, just-made pita bread for a real treat. There's something magical about the mix of warm bread and cool, silky hummus. My little girl calls it our "Sunday special" because we've made it our weekend lunch tradition with fresh veggies and olives, making our own little taste of the Mediterranean right at our table.
Delightful Serving Ideas
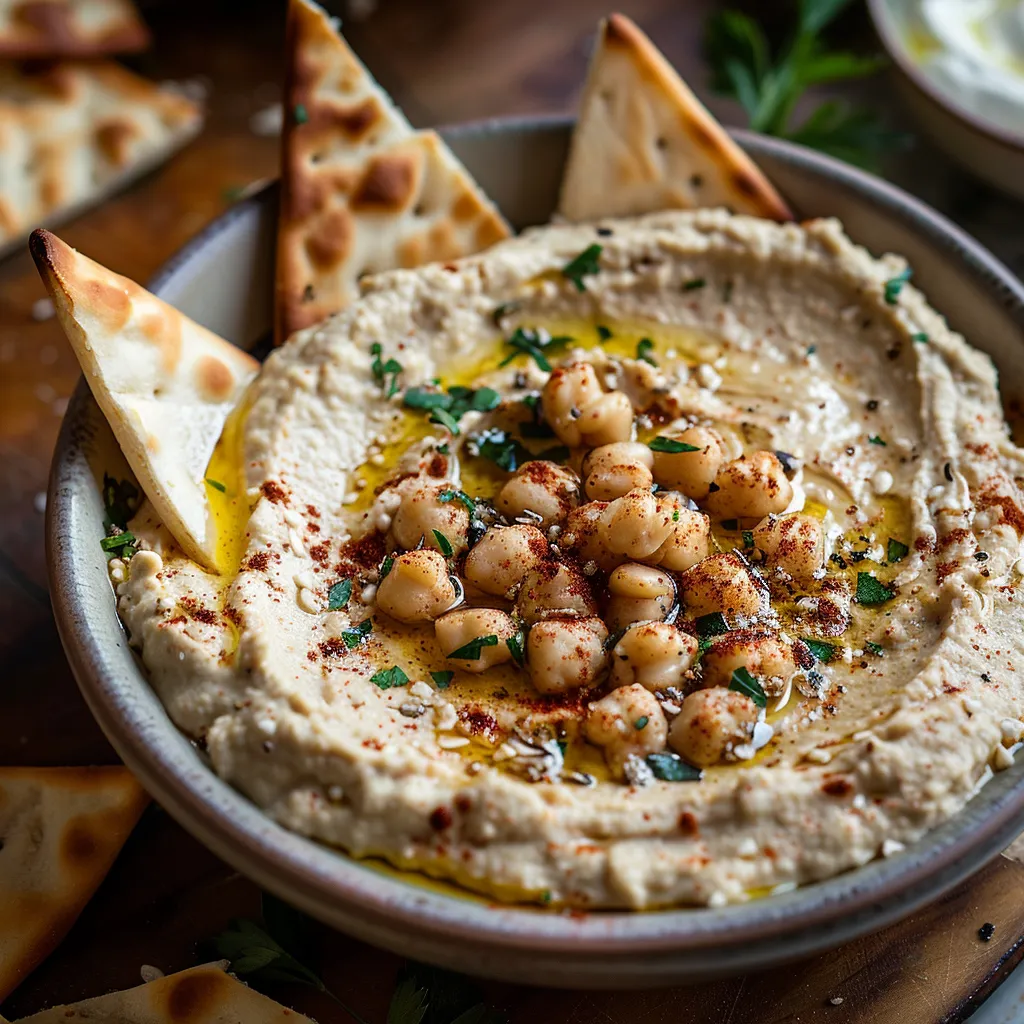
Build a Mediterranean snack board with this hummus in the middle, ringed by warm pita, tasty olives, chunks of feta, and crisp vegetables. Layer it thick on flatbread before adding grilled veggies and herbs for an easy lunch. Swap it in for mayo on sandwiches to add more protein and flavor to your everyday meals.
Fun Flavor Twists
Change up this basic version by throwing in some roasted red peppers for sweet smokiness. If you love herbs, add fresh cilantro and parsley during the last blending step. Make it spicy by mixing in harissa or roasted jalapeños. For something that looks amazing, swirl some pesto, olive spread, or roasted garlic oil on top before serving.
Keeping It Fresh
Store your homemade hummus in a sealed container in the fridge for up to five days. If it gets too thick while stored, just mix in a tablespoon of warm water to bring it back to life. You can freeze portions in small containers for up to three months, then thaw overnight in the fridge and stir well before eating. For the best taste, let cold hummus sit out for about fifteen minutes before digging in.
 Pin it
What makes this super smooth hummus so wonderful is how simple yet amazing it is. While it takes a few more steps than just opening a store container, the difference in how it feels and tastes makes it totally worth the effort. This dish connects us to old-world cooking while fitting perfectly into today's meals, showing us that sometimes those ancient food traditions really are unbeatable when done right.
Frequently Asked Questions
- → Why bother removing the skins for smoother hummus?
- Skins make hummus gritty, giving it a rough texture. Taking them off gives you that luxurious, creamy feel you expect from restaurant-style dips. The baking soda step in this method makes peeling them super simple.
- → Any good alternatives if I don’t have tahini?
- Don’t worry if you’re out of tahini. Swap in Greek yogurt for creaminess, extra olive oil for richness, or even sesame oil for a hint of similar flavor. The taste changes a bit, but it’ll still be delicious.
- → How long can I keep it in the fridge?
- This hummus will stay fresh for 4-5 days in a sealed container in the fridge. Actually, after a day, the flavors combine even better. Just wait to add olive oil on top until you're ready to dig in!
- → Is it okay to freeze homemade hummus?
- Absolutely! Pour a little olive oil over the surface to stop freezer burn, pack it in a sealed container, and freeze for up to 3 months. When you’re ready to eat, thaw overnight in the fridge, stir, and add a splash of lemon to perk it up.
- → What can I mix in or serve on top for variety?
- This smooth hummus is like a blank canvas! Blend in things like roasted peppers, sun-dried tomatoes, or jalapeños. For toppings, try ground beef, za'atar, pine nuts, or spicy harissa for an extra pop of flavor.