
 Pin it
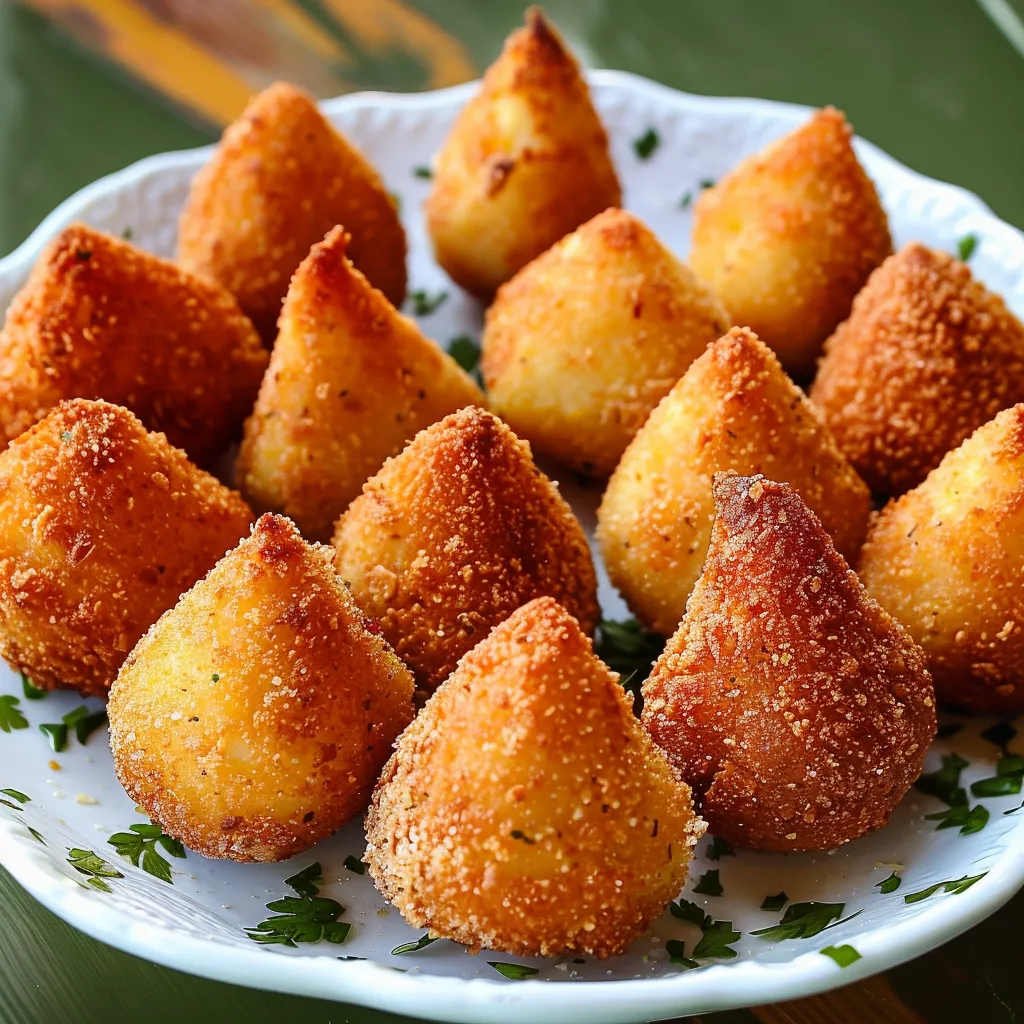
These crowd-pleasing Brazilian croquettes turn basic ingredients into crispy, golden delights with a smooth, well-flavored chicken center. Each one gets carefully molded into the signature teardrop shape, making the perfect handheld bite that brings real Brazilian taste straight to your home.
My Brazilian neighbor taught me this dish, and I found out that getting the dough temperature just right when shaping is key - slightly warm dough gives you the smoothest finish possible.
Key Ingredients
- Boneless chicken breasts: Pick plump, fresh ones without any off-color spots
- Good butter: Adds flavor and helps get the dough just right
- Russet potatoes: Their starchiness makes the perfect dough texture
- All-purpose flour: Look for 10-12% protein content for the best structure
- Garlic cloves: Choose firm ones with tight skin
- Sweet onions: Add mild flavor that won't take over
- Cream cheese: Brings richness to the filling without too much tang
- Fresh parsley: Adds a nice fresh kick to the mix
- Fine breadcrumbs: Give you the most uniform coating
How To Make Them
- Getting The Filling Ready:
- Cook your chicken in a pressure cooker with veggies until soft. Shred it while it's still warm using two forks, making sure the pieces are even but not tiny. Cook your onions and garlic until they're golden and smell amazing. Mix them with your shredded chicken and spices, then let everything cool down and blend together.
- Making The Dough:
- Cook potatoes until a fork slides in easily, then mash them until they're completely smooth. Mix your liquids and fats in a heavy pot and bring to a gentle boil. Slowly add flour while stirring non-stop to avoid lumps. Keep cooking until the dough pulls away from the sides of the pot.
- Forming The Coxinhas:
- Work with the dough while it's still a bit warm but cool enough to touch. Make even-sized portions (a scale helps). Flatten each piece into a thin circle, put filling in the middle, then carefully shape it into the classic teardrop, making sure there aren't any air bubbles.
- Coating Them:
- Set up a simple station with milk and breadcrumbs. Dip each coxinha in milk, then roll it in breadcrumbs until it's fully covered. Gently press the coating so it sticks well.
 Pin it
My grandma from Brazil always told me to add a tiny bit of nutmeg to the filling - you can barely taste it, but it adds this mysterious depth that makes everyone ask what your secret is.
Cooking Tips For Success
Turn your kitchen into a mini Brazilian snack stand by setting up a good workflow. Keep your dough under a slightly damp towel so it won't dry out while you're working. Shape each coxinha with gentle but confident hands to get that classic teardrop look. When frying, keep your oil between 350-375°F (175-190°C) for that perfect golden outside. Watch for the telltale bubbles that show you've got the right cooking temperature.
Tasty Twists
Try different Brazilian regional styles by changing up the filling. For a Minas Gerais take, throw in some fresh corn and catupiry cheese. Make a spicy northeastern version with malagueta peppers and cilantro. For something more modern, mix hearts of palm or sun-dried tomatoes into your chicken. Some folks even make breakfast coxinhas filled with scrambled eggs and bacon.
Keeping Them Fresh
Your coxinhas will stay tasty if you store them right. Let fried ones cool completely on a wire rack before putting them away to avoid sogginess. For uncooked ones, freeze them in a single layer on a parchment-lined tray first, then bag them up. You can fry frozen coxinhas without thawing - just cook them a bit longer. Leftover cooked ones can be brought back to life in an air fryer at 350°F (175°C) for 3-4 minutes.
 Pin it
Coxinhas are really what Brazilian street food is all about - they're comforting but take real skill to make well. Over my years making these snacks, I've learned that taking your time shaping them and watching them carefully while frying makes all the difference. There's nothing like that moment when the crispy outside breaks open to reveal the hot, flavorful filling inside - it takes you right to the busy streets of São Paulo. Whether you serve them at a casual get-together or fancy dinner party, these golden treats always wow everyone and create memories around your table.
Frequently Asked Questions
- → Can I freeze coxinhas?
- You bet! Breaded coxinhas stay good frozen for about 2 months. First put them on a tray, freeze them solid, then pop them in a freezer bag.
- → Why does my dough stick to my hands?
- When dough gets too sticky, try putting a bit of oil on your hands before you shape it. Always keep your dough under plastic wrap so it doesn't dry out.
- → How do I get extra crispy coxinhas?
- Try a mix of water and cornstarch instead of milk before adding breadcrumbs. Just stir 2 tablespoons cornstarch into 1 cup water and dip your coxinhas in this first.
- → How long do leftover coxinhas last?
- Keep any extras in a sealed container in your fridge for up to 3 days. Warm them up at 350°F for about 10 minutes to bring back the crunch.
- → What's the best way to fry coxinhas?
- Cook them in small groups of 4-5 at a time with enough hot oil to cover them. Let them cook about 3-4 minutes on each side until they turn a nice golden brown.