
 Pin it
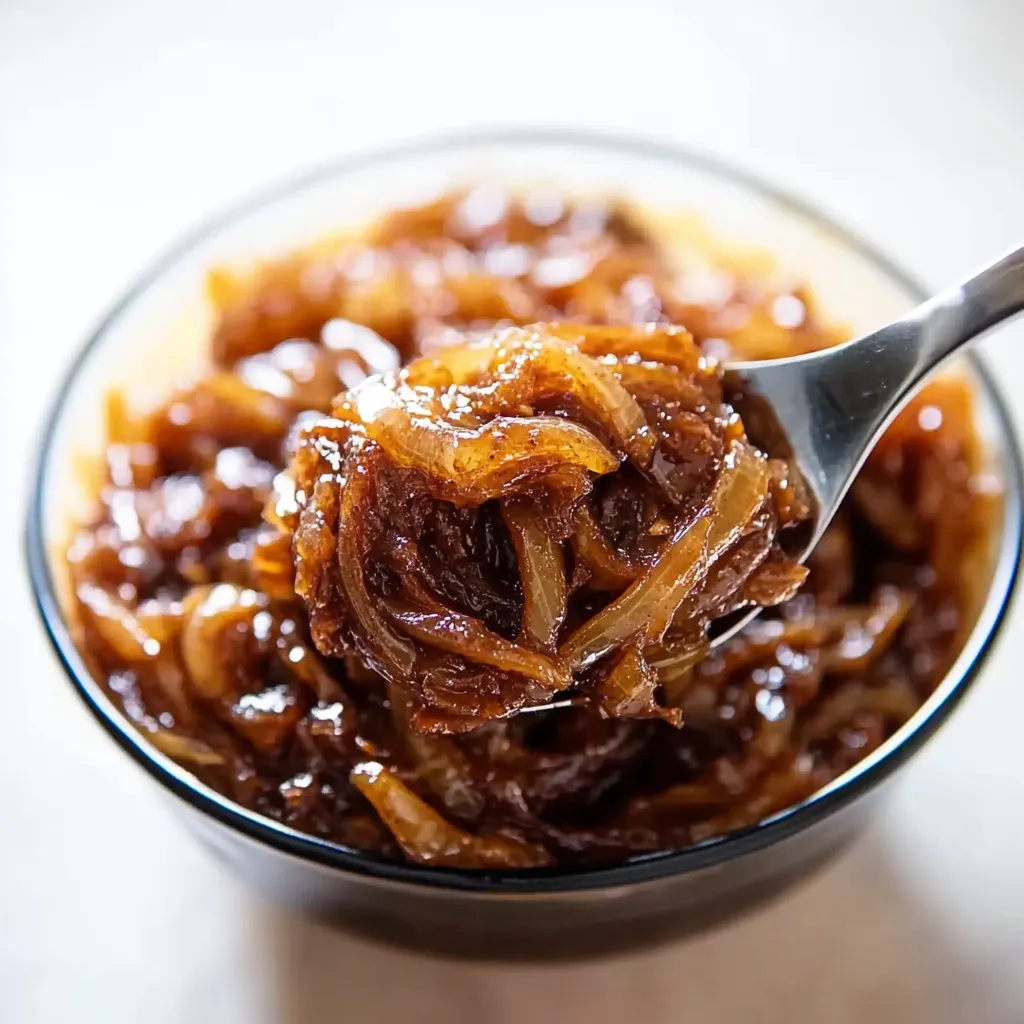
Turning ordinary onions into sweet, amber-brown delights might be one of the most satisfying cooking projects ever. When you slowly cook them down, they develop an amazingly deep, sweet taste that works magic in so many dishes. You'll need to be patient, but you'll end up with a flexible kitchen staple that makes everything from simple soups to basic sandwiches taste way better.
I've put in tons of time getting this method just right in my kitchen at home. It all began with a simple craving for French onion soup and turned into something I do every week. These days, I always make sure there's a batch waiting in my freezer, ready to turn my everyday cooking into something special. I've come to love how my house smells when I'm making these - it's become one of my favorite parts of cooking.
Must-Have Tools
- Yellow onions: They have just the right amount of sugar to caramelize beautifully.
- Unsalted butter: Adds fantastic flavor and helps manage the browning.
- Kosher salt: Pulls out water and makes the natural sweetness pop.
- Black pepper: Brings a gentle warmth that works well with sweet onions.
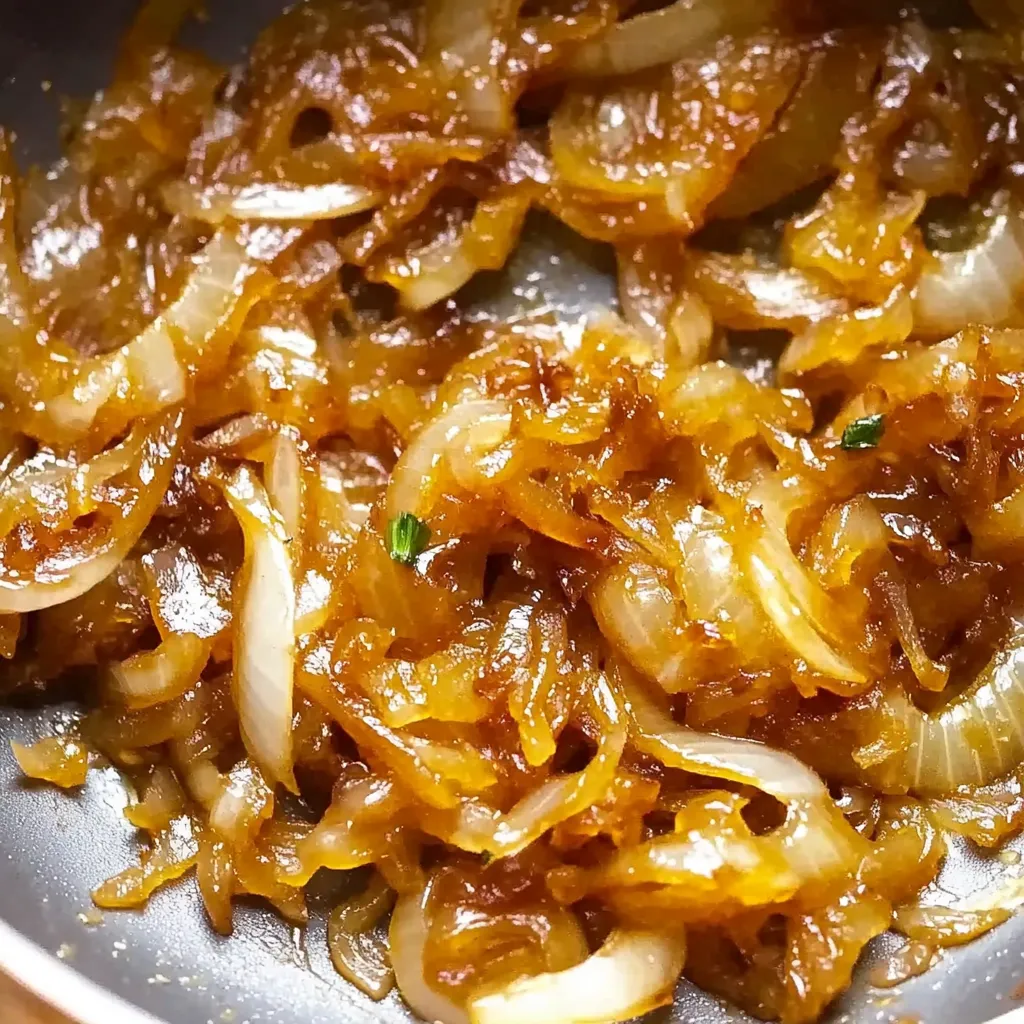
Mastering The Browning Process
- Smart Cutting:
- Cut onions into even slices about one-eighth inch thick. Cut off both ends and slice from top to bottom so they'll hold their shape while cooking.
- Starting Out:
- Let butter melt in a thick-bottomed pan until it's bubbly. Throw in your sliced onions and mix them around in the butter. Leave them alone until they get soft and see-through.
- The Magic Moment:
- Turn heat down to medium-low and stir now and then, letting the onions slowly darken. Add tiny splashes of water if needed to stop sticking and to scrape up those tasty brown bits from the pan.
 Pin it
When I was little, my grandma always had a container of caramelized onions in her fridge. She taught me that taking your time is what makes them special. I can still picture her carefully stirring the onions, telling me how each stage of browning brought out new flavors. Whenever I make them now, all those memories come right back to me.
Countless Uses
Make an ordinary grilled cheese sandwich taste fancy by adding a thick layer of these sweet onions. Mix them with roasted veggies for extra flavor depth. Stir them into your morning eggs for a breakfast upgrade. Their rich sweetness makes almost any savory dish taste better.
Fun Twists
Try using different onion types for new flavor profiles. Throw in some fresh thyme or bay leaves while cooking. Pour in a splash of white wine or balsamic vinegar to add more complex flavors. You can even add a tiny bit of sugar to speed things up when using onions that aren't naturally very sweet.
Keeping Them Fresh
Store your finished onions in a sealed container in the fridge. Divide them into small freezer bags for easy use later. Let frozen portions thaw in your fridge overnight. Warm them gently in a pan with a little water to bring back their silky texture.
 Pin it
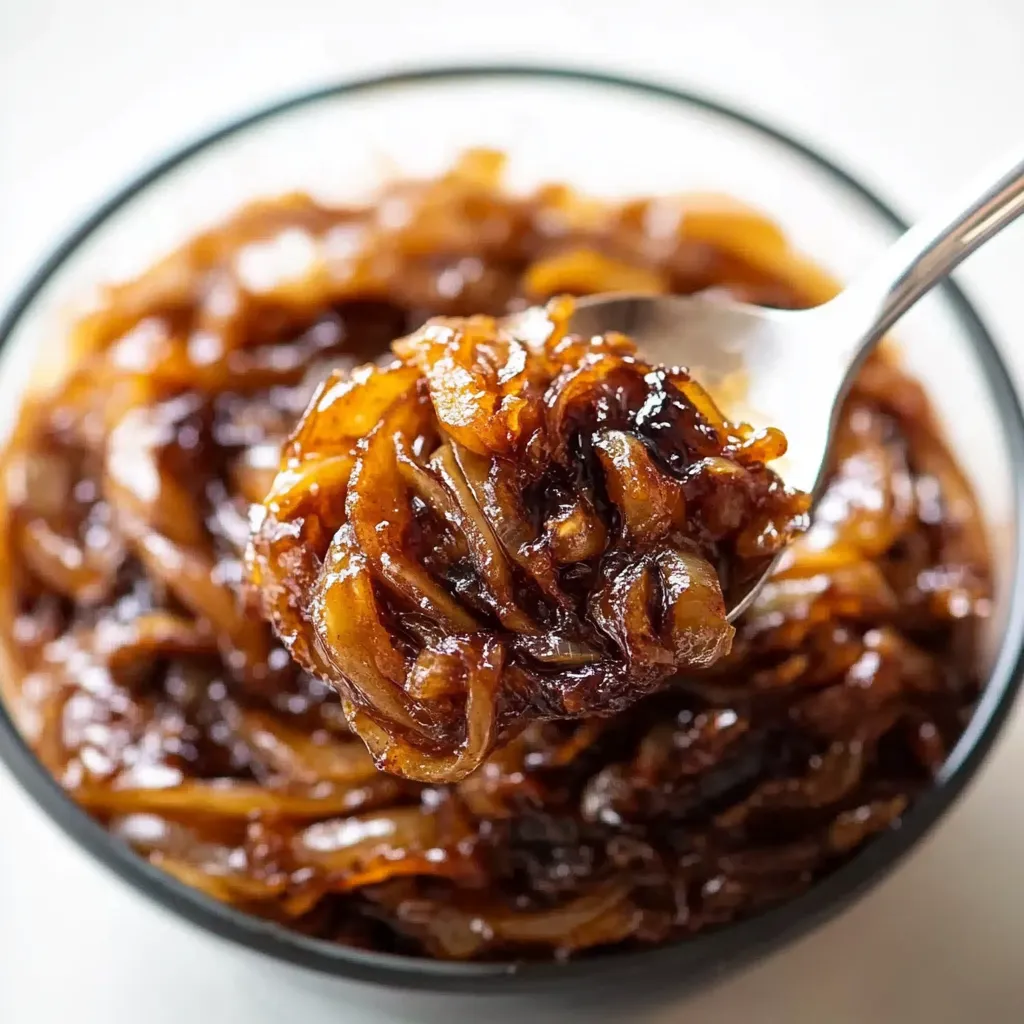
After trying to get this technique just right for years, I've figured out that properly caramelized onions deserve every minute you spend on them. There's something peaceful about the whole process, watching them slowly change. When folks taste how deep and rich these onions are, they get why there aren't any shortcuts. It really shows how time and care can turn the simplest ingredients into something amazing.
Frequently Asked Questions
- → Why do my onions take so long to caramelize?
- Real caramelization isn't quick. It needs 1 to 2 hours. Quickly cooked onions might look brown but won't taste as sweet and rich.
- → Can I speed up the process by increasing heat?
- Cranking up the heat browns onions faster but won't give you true caramelization. They might just burn instead. Stick with low heat and take your time.
- → What's the best type of pan to use?
- Go for a big stainless steel or cast iron pan. They spread heat evenly and give enough room for moisture to escape from the onions.
- → Why add water during cooking?
- The water helps loosen those tasty brown bits stuck to the bottom of the pan. This stops burning and mixes more flavor into your onions.
- → What kind of onions work best?
- Yellow onions do the job great. But try mixing different kinds like yellow, sweet, red, or shallots for even more interesting flavors.